4.30.2012

Twelve Goals in 2012: Check-In

Alright, folks, we're officially 25% of the way done with this year, so I figure it's time for a check-in on the ole goal list I created for my blogger self back in January.

Twelve in 2012

1. Start a blog series.
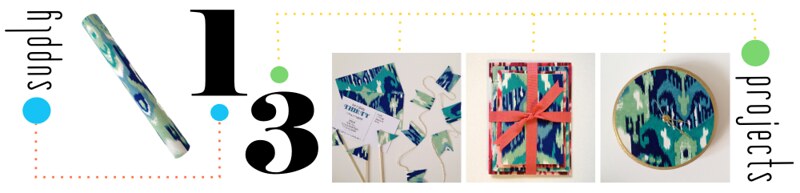
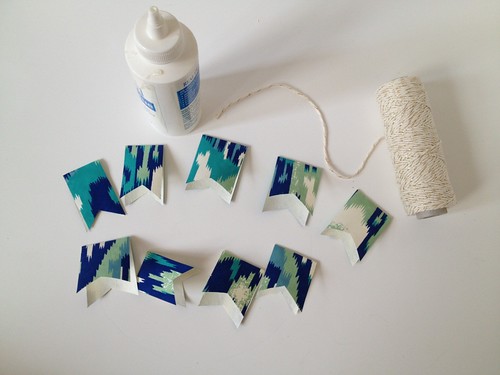
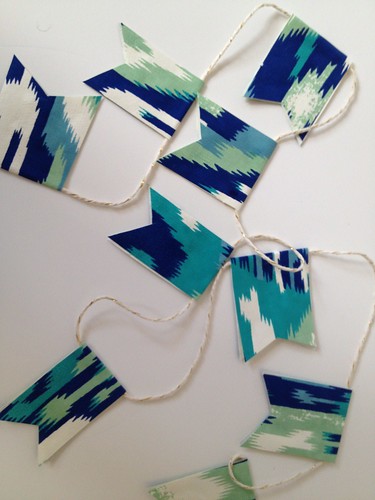
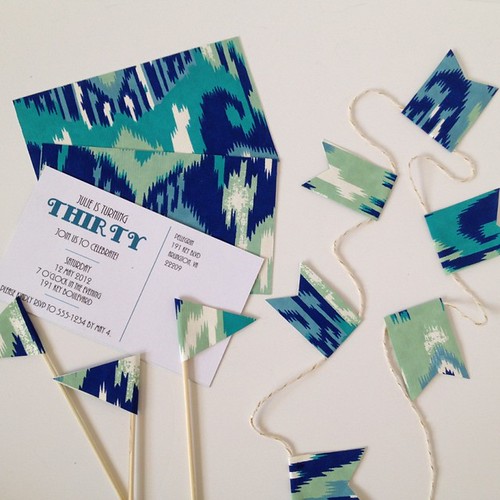
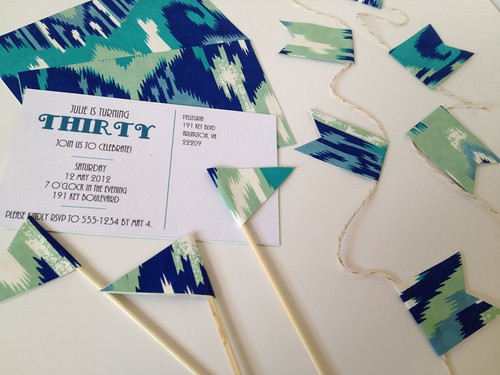
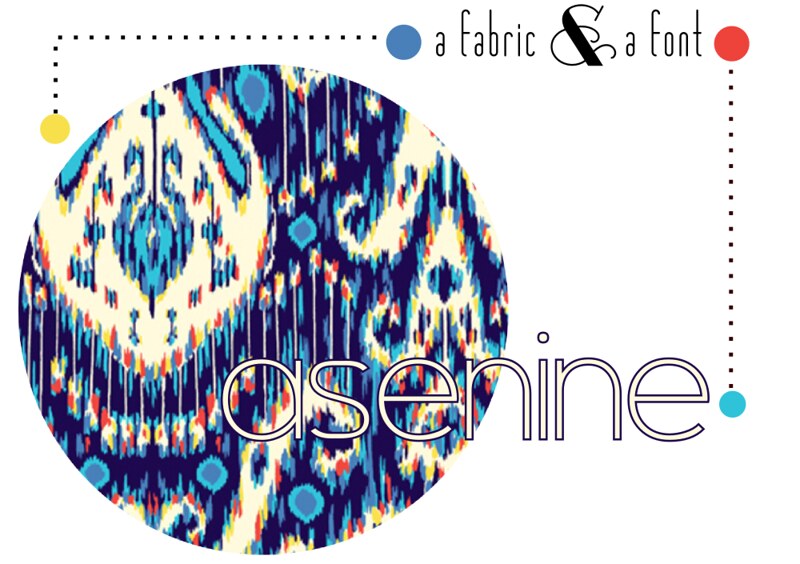
I started this one back in January with my Fabric Paper Glue series.  While I've abandoned that one a bit, I've started a couple of others -- A Fabric & A Font and 1 Supply: 3 Projects -- that I think will be sticking around.
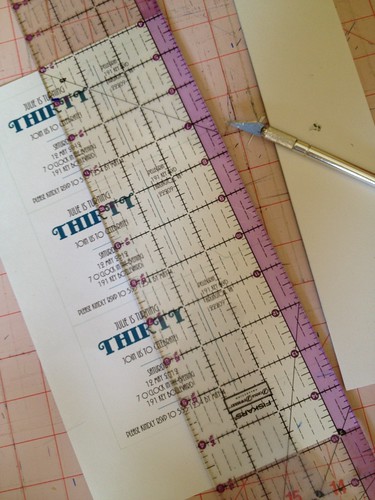
2. [Figure out how to] Take better photos.
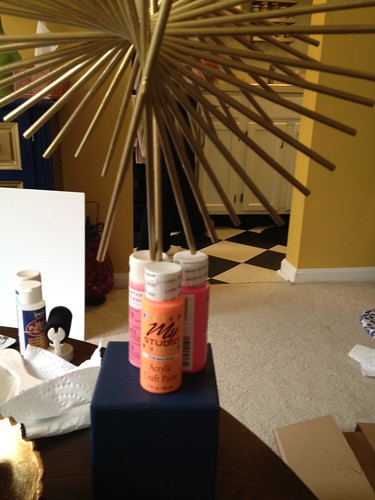
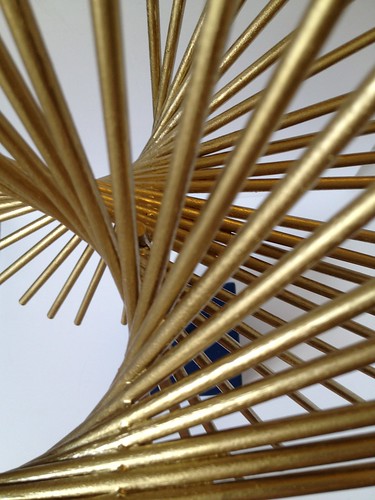
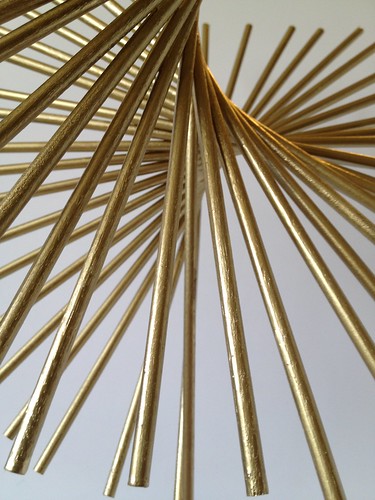
I'm not sure I've learned anything new per se, but I've better committed to using plain backdrops and natural light. 

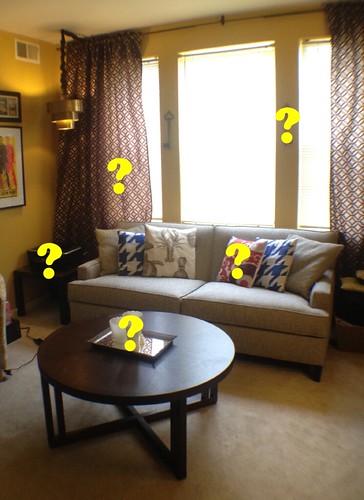
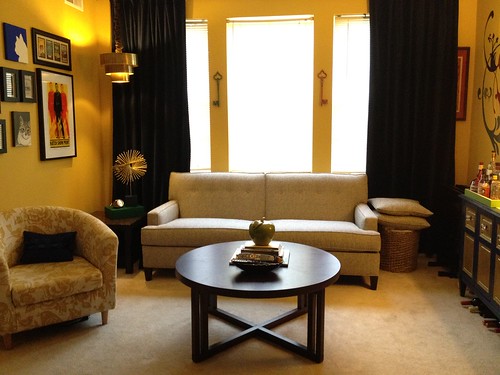
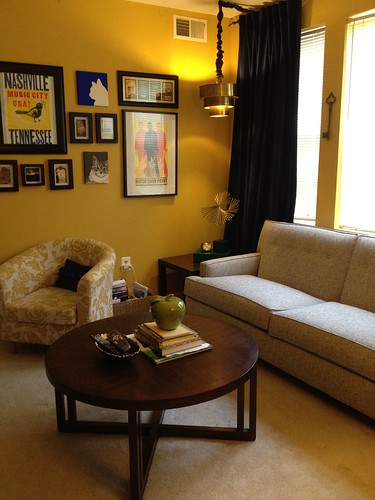
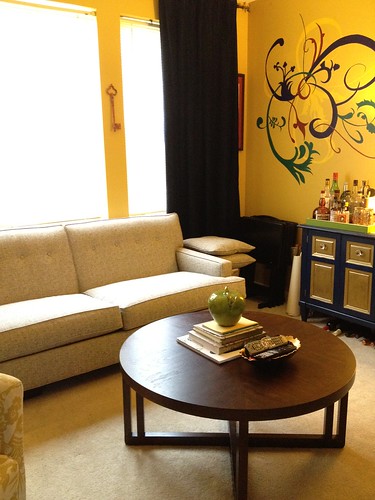
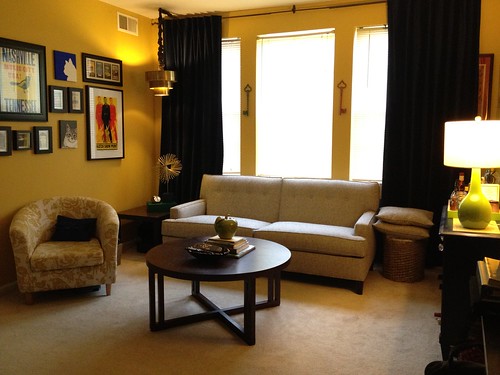
3. Revamp my bathroom.
I'm slowly working towards this goal and acquired many of the pieces, but there's still a few key items that I'm waiting to find.

4. Save for a new kitchen countertop.
Yeah, um, an impromptu Super Bowl Sunday purchase of a pretty sweet television may have set us back on this one a bit.

5. Try more new, different, and original projects.
I've got to say that I have totally rocked this one out.  I'm constantly writing down little ideas or strolling down every aisle in the craft store just to get my wheels spinning.  I'm having a lot of fun with it, and I argue that it's as good for the brain as Sudoku. 

6. Post at least one tutorial a month.
Yup. 

7. Keep the clutter to a minimum.
Yeah, I guess. 

8. Leave my xacto knife laying around on the floor less [and therefore stay married longer].
Check!  A non-bleeding husband is a happy husband.

9. [Make up my mind already and] Choose a new coffee table.
Done and done and done.

10. Follow through on all the tiny little projects I've had on my list for months, maybe years [like changing the screws on my undercabinet lights] [but for the sake of my readers, do not blog about this].
Nope.  Not a one.

11. Throw more parties [woot woot].
Nope.  Not a one.  Sad face.

12. Comment more on others' blogs.
I'm tryin', man.  I should really try harder, because I've sort of been bummed lately about the paucity of comments here on Fabric Paper Glue. 

signature
find me elsewhere
Fabric Paper Glue on Twitter Fabric Paper Glue on Pinterest Fabric Paper Glue on Facebook Fabric Paper Glue on Etsy Fabric Paper Glue on Instagram Fabric Paper Glue on Flickr Fabric Paper Glue via Email

4.27.2012

Miscellaneous Missive

Man, oh, man, do I love a cat in a bag.  Classic. 

I'm spending the latter part of my week in Hotlanta for work, but some of my favorite internet goodies from earlier this week include:
  • Um, popsicles in prosecco?  Uh, yeah.  Although, when I sent the link to Michael he responded with: "Might look cooler than it tastes/popsicle stick to the eye."  That's what I'm dealing with here, people.  (Southern Living via Apartment Therapy)
  • Count me totally smitten by the home of Paper Fashion's Katie Rodgers featured on Glitter Guide.  Light.  Bright.  Quirky.  Plus, she uses neon twine to tie back her curtains, and you know I love some neon twine
  • Can we talk about how adorable this little teacher appreciation project is from Under the Sycamore's Ashley Ann on Skip to My Lou?  I don't have any teachers in my life (that is, actively teaching me or my offspring), but I'm thinking it could make a pretty great mother's day gift, too.
  • My eyes cannot completely absorb and my mind is unable to fully comprehend the beauty that is these hand-painted walls on Design Sponge. Period.

The Fabric Paper Glue rundown this week includes:
Cheers!
signature
find me elsewhere
Fabric Paper Glue on Twitter Fabric Paper Glue on Pinterest Fabric Paper Glue on Facebook Fabric Paper Glue on Etsy Fabric Paper Glue on Instagram Fabric Paper Glue on Flickr Fabric Paper Glue via Email

4.26.2012

1 Supply 3 Projects: Decorative Gift Wrap - Part 1

Graphic

I've extolled my love of World Market's hand-painted wrapping papers before, but seriously, I'm hoarding like 15 rolls of this stuff as I patiently wait for just the right projects / gifts to use it on.  If you've found yourself uncontrollably purchasing or even hoarding beautiful decorative papers, I've come up with 3 very different projects to put these bad boys to use. 

First up is a little collection of party details and decor to get your wheels spinning.

Try This - Decorative Wrapping Paper Party Decor

Set the decor tone with some simple little postcard invitations.

5 - Decorative Wrapping Paper Party Decor Tutorial - Postcard Invitations
Begin by designing something simple.  I used a drawing canvas, some text boxes, and simple lines in a word processing program to create these.  Print them on cardstock.

6 - Decorative Wrapping Paper Party Decor Tutorial - Postcard Invitations
Cover the back of the cardstock with enough decorative paper to cover the area with the postcards.  The best and fastest way to attach the paper is spray adhesive, but be sure to open a window because..whew!  It's strong stuff.

7 - Decorative Wrapping Paper Party Decor Tutorial - Postcard Invitations
Then cut them out.  I used an xacto knife, ruler, and cutting mat, but scissors will work just fine, too.  Now you can mail 'em, cause that's it for these guys!

8 - Decorative Wrapping Paper Party Decor Tutorial - Postcard Invitations9 - Decorative Wrapping Paper Party Decor Tutorial - Postcard Invitations

Now for a little decor for the shindig itself -- some accent flags and a little garland, but really, the possibilities are endless!  And so freakin' easy.

1 - Decorative Wrapping Paper Party Decor Tutorial - Flags2 - Decorative Wrapping Paper Party Decor Tutorial - Flags
The flags are as easy as some skewers, glue, and a few little triangles from the decorative paper.

3 - Decorative Wrapping Paper Party Decor Tutorial - Garland4 - Decorative Wrapping Paper Party Decor Tutorial - Garland
And the garlands?  Just about as embarrassingly easy.  Some twine, glue, and flags.  Done and done.

This handful of simple projects prove that it takes very little to pull a party together aesthetically.  And really, there are innumerable little details you can create with a little bit of decorative paper.  Enjoy!

10 - Decorative Wrapping Paper Party Decor Tutorial11 - Decorative Wrapping Paper Party Decor Tutorial12 - Decorative Wrapping Paper Party Decor Tutorial

signature
find me elsewhere
Fabric Paper Glue on Twitter Fabric Paper Glue on Pinterest Fabric Paper Glue on Facebook Fabric Paper Glue on Etsy Fabric Paper Glue on Instagram Fabric Paper Glue on Flickr Fabric Paper Glue via Email

4.25.2012

Party Inspiration: A Fabric & A Font

Because cohesive party decor can be as simple as a fabric and a font! 

04.22.2012 - 1
a fabric: Lark Kasbah - Midnight by Amy Butler available from Marmalade Fabrics
a font: Asenine by Apostrophic Labs available free from Dafont

signature
find me elsewhere
Fabric Paper Glue on Twitter Fabric Paper Glue on Pinterest Fabric Paper Glue on Facebook Fabric Paper Glue on Etsy Fabric Paper Glue on Instagram Fabric Paper Glue on Flickr Fabric Paper Glue via Email

4.24.2012

Living Room Update + Brass Sculpture DIY

I continue to tackle the issues on my little living room to do list. 

After we got our pretty new sofa and coffee table, it became oh-so obvious that we should find a new home for our printer.  Because the printer had to stay accessible, I had originally intended to find a small cabinet that could house the printer and double as an end table.  Well, we finally figured out how to make the wireless function work.  This sort of changed the definition of accessible, so we were able to move into our media cabinet.  Yay.  This left us with room for decorative detail. 

Enter this picture...again.
Martha Inspiration
This month's Martha Stewart Living, which instigated my whole bookshelf styling venture.  Note that little gold sculpture.  Love it.  Must have it.  So, I made it...or at least something in the same spirit.

1a
1b

Pay no mind to the penny-covered Ikea table upon which it sits.  Actually, I feel a little conflicted about it.  It was an early endeavor when I was looking to try out epoxy.  It sorta works with the whole copper/gold thing I love, but it also reminds me of a frat house for some reason.  Anyway, on with the sculpture...

1c - Brass and Blue Sculpture
I started out with a couple packs of wooden craft dowels and a single skewer.

2 - Brass and Blue Sculpture
In one of the dowels, I drilled a hole at one end the same size (or a tidge smaller) as the skewer.  I drilled it at a bit of an angle.

3 - Brass and Blue Sculpture
In the rest of the dowels, I drilled holes straight through the middle.

4 - Brass and Blue Sculpture
I slid the skewer through the end hole such that the dowel was directly in the middle.

5 - Brass and Blue Sculpture
6 - Brass and Blue Sculpture
Then, I began putting the other skewers on one at a time, adding a little wood glue as I went.

12
Along the way and at the end, I spread them out in a rotating way.  Then, I let Pete gnaw on it a bit.

9 - Brass and Blue Sculpture10 - Brass and Blue Sculpture
Using Martha Stewart's brass liquid gilding, I painted the whole thing brass (after using a little acrylic sealer so that I'd only have to do one coat).

7 - Brass and Blue Sculpture
I picked up a wood block from the craft store.  I drilled a hole the same size (or a tidge smaller) as the center dowel.

8 - Brass and Blue Sculpture
Then, I painted the wood block a deep blue.

11 - Brass and Blue Sculpture
Next, I inserted the center skewer into the block base, applied some glue, and braced it while it dried with a very sophisticated apparatus of paint bottles.

I'm sorta in love with this thing.  I mean, first off, it's brass.  It's cheap - maybe $15, including the gilding (which I only used about half of).  And then it's really dynamic depending on the angle at which you're viewing it.

13
1715
16IMG_2891

This combined with my sweet coffee table styling skills, the abandonment of my accent pillows (I know -- gasp), and some new blue velvet drapes c/o Ikea, and I'm pretty darn happy with where my living room is these days. 

Let's take a look at where I was a couple of months ago -- complete with self-identified problem areas.

Problem Areas

And now, here we are today.

1
2
3
4

And because I can never be pleased ... I've done some serious contemplation about those mini-blinds.  You never - and I mean ever - see mini-blinds in home decor photos.  But I feel conflicted.  We have to have something there because those windows look out to the ground level of a 5-building courtyard, and our condo rules require that they be white from the outside.  We could go with the fuller sized white wooden (or wood-like) blinds, but I'm just not feelin' that for our room.  I've contemplated perhaps leaving the mini-blinds and just covering them from the inside with like seagrass roller or roman shades.  But three window coverings seems excessive.  If you've made it this far, what do you think?

Mandy P
find me elsewhere
Fabric Paper Glue on Twitter Fabric Paper Glue on Instagram Fabric Paper Glue on Pinterest Fabric Paper Glue RSS Feed Fabric Paper Glue on Flickr Fabric Paper Glue via Email Fabric Paper Glue on Facebook Fabric Paper Glue on Etsy
Pin It button on image hover