 Try This: Art-Inspired Chevron Tote Bag
I've been on a bit of bag kick lately, no? Sometimes, bags are the easiest way for me to take something that inspires me and make it my own thing. And that is just what this week's project is: the product of inspiration.
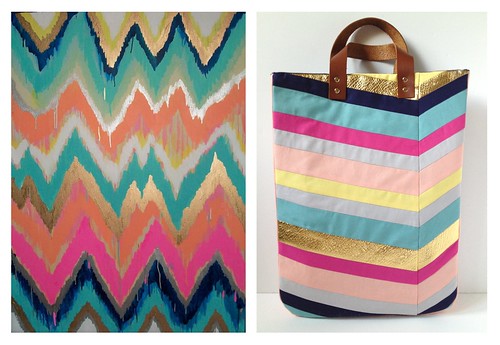
If you get around the blogosphere as much as I do, there's no doubt that you've seen the painting below by
Etsy artist Jennifer Moreman in somebody's round-up. As soon as I saw it, I knew I needed to use those colors, so I did a bit of a literal interpretation of this lovely painting for this week's bag tutorial.
 Materials
: 8 Small Rivets and Setter, 2 - 14" lengths of 1" Brown Leather Strapping, Hole Punch, Hammer,
Chevron Templates
The following fabrics (the exact fabrics I used are in parentheses):
1/4 yd - Yellow (Kona Cotton Lemon)
1/4 yd - Teal (Kona Cotton Sage)
1/4 yd - Pink (Kona Cotton Bright Pink)
1/4 yd - Grey (Kona Cotton Ash)
1/4 yd - Peach* (Kona Cotton Peach)
1/4 yd - Gold (Snake Skin-Embossed Pleather that I picked up from JoAnn)
1/2 yd - Navy* (Kona Cotton Navy)
*In addition to the cuts you'll make to create the chevron pattern (instructions below), you'll need 3 - 12" x 16" and 1 - 3" x 42" cuts of Navy fabric for the back and lining and 1 - 3" x 42" cut of the Peach fabric. For the two 42" lengths, you can create them by sewing together shorter lengths of 3" strips, but try to keep the seams in the middle, which will be the bottom of the bag.
Heavy Sew-In Interfacing
in the following cuts:
1 - 3" x 42" (see note above to create the length from multiple pieces)
2 - 3" x 10"
Medium Sew-In Interfacing
in the following cuts:
2 - 12" x 16"
If you've never used rivets before, don't be intimidated. They're super easy to use. For beginners, I'd suggest getting yourself a little starter kit like this one.
 Directions
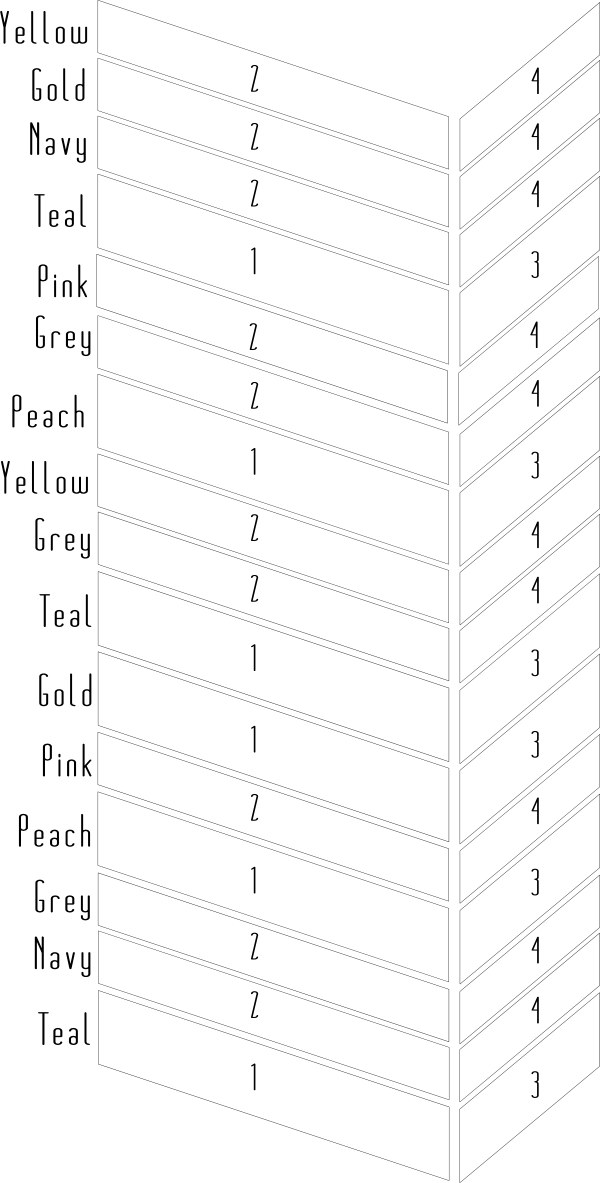
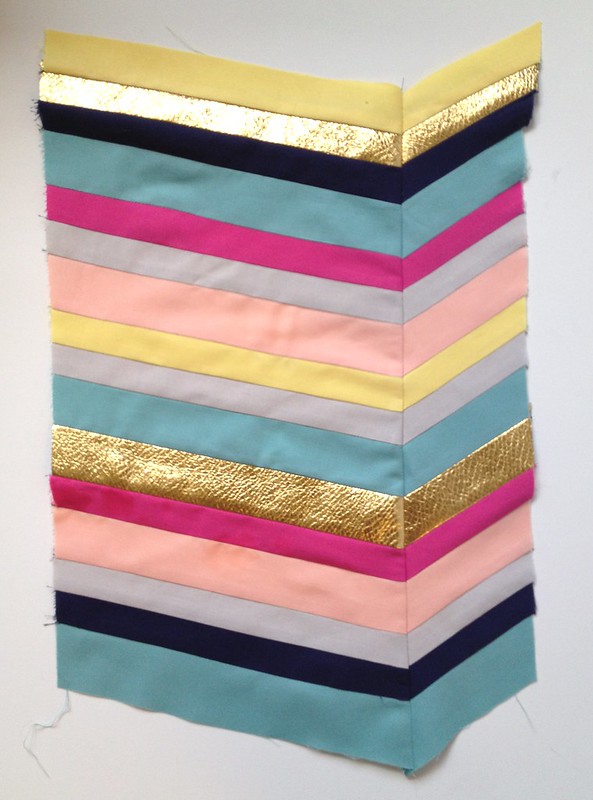
: In addition to the fabric cuts above, begin by cutting and laying out the chevron pattern above by using the
downloadable chevron template and the diagram above. Each number in the diagram corresponds to the number on the associated chevron template piece.
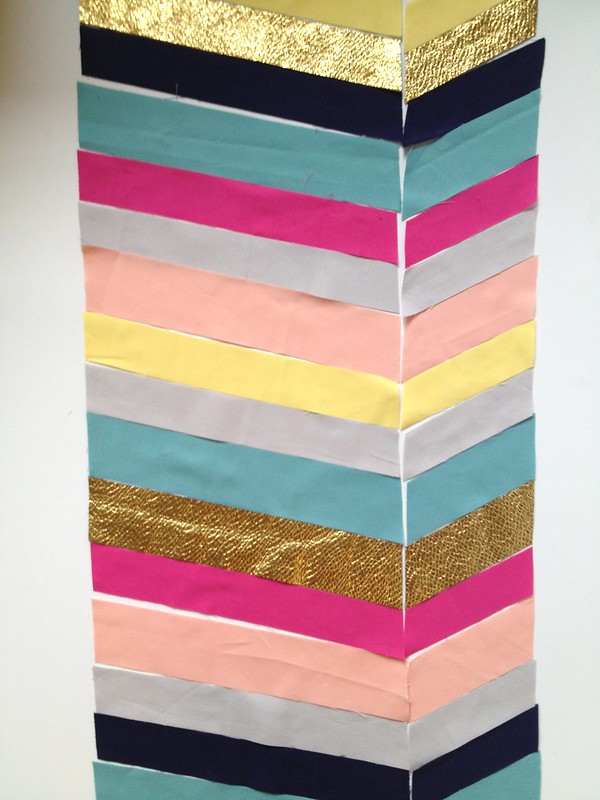
Sew all the pieces on each side together using the same seam allowance (i.e. distance from the edge to the stitch) for every seam. I used a 1/4" seam allowance. Press.
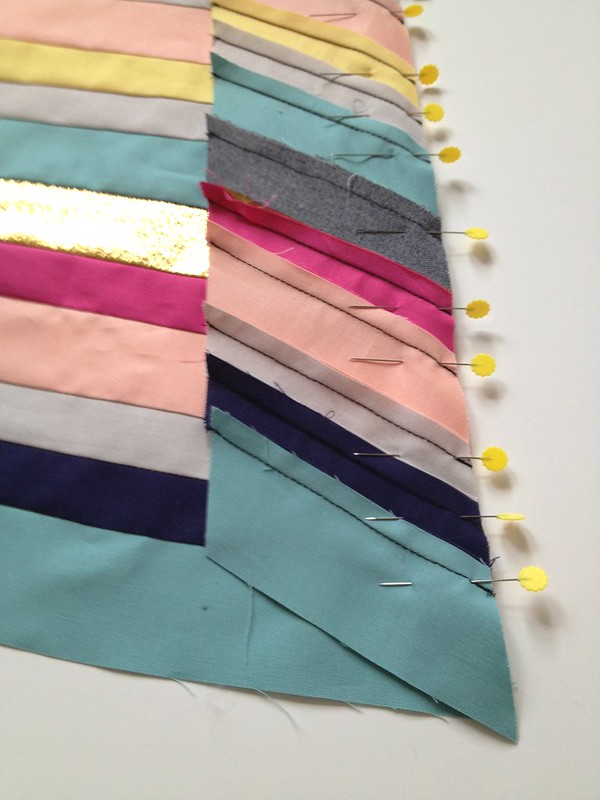
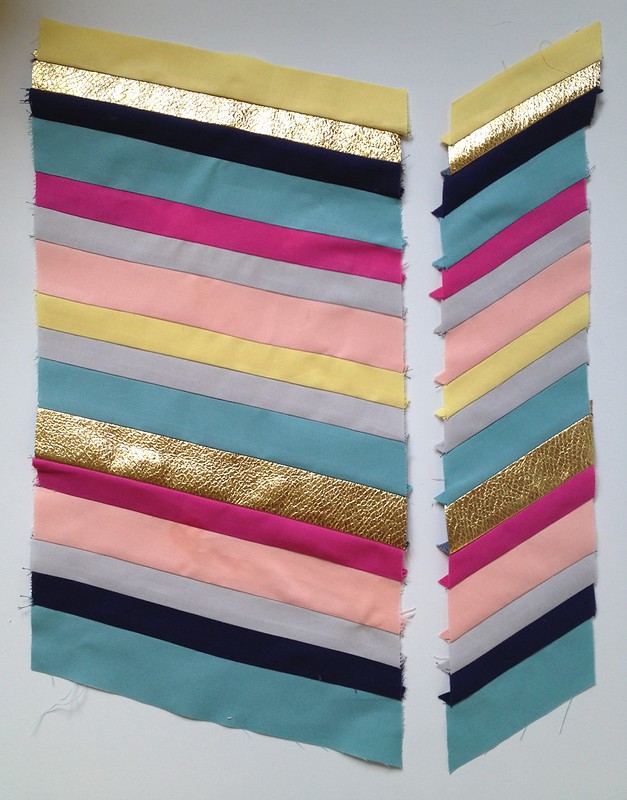
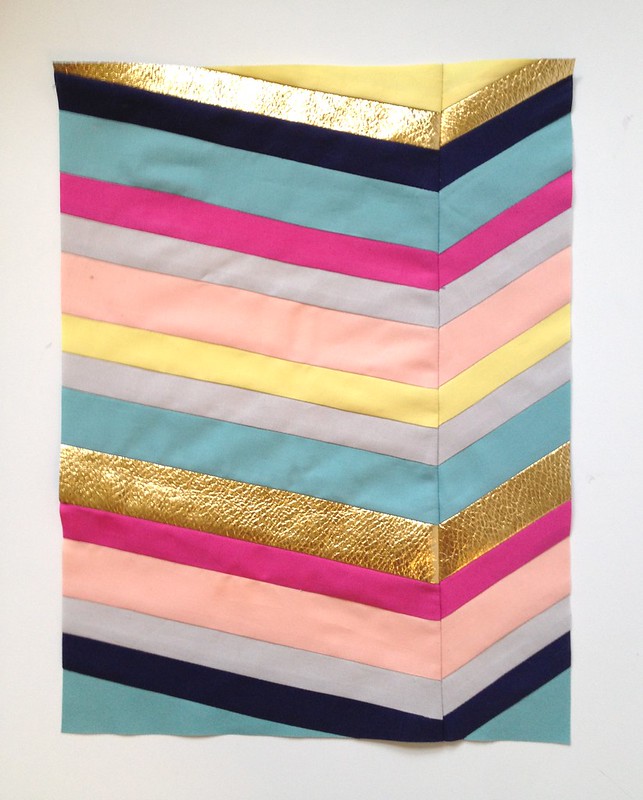
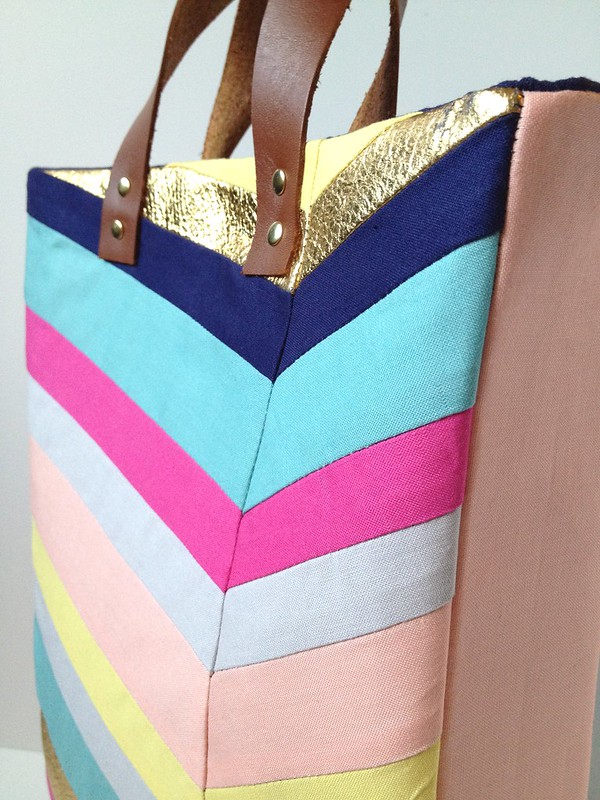
Pin and sew the two sides together matching up the seams so that you get a clean chevron. Press.
Cut down to a 12" x 16" rectangle.
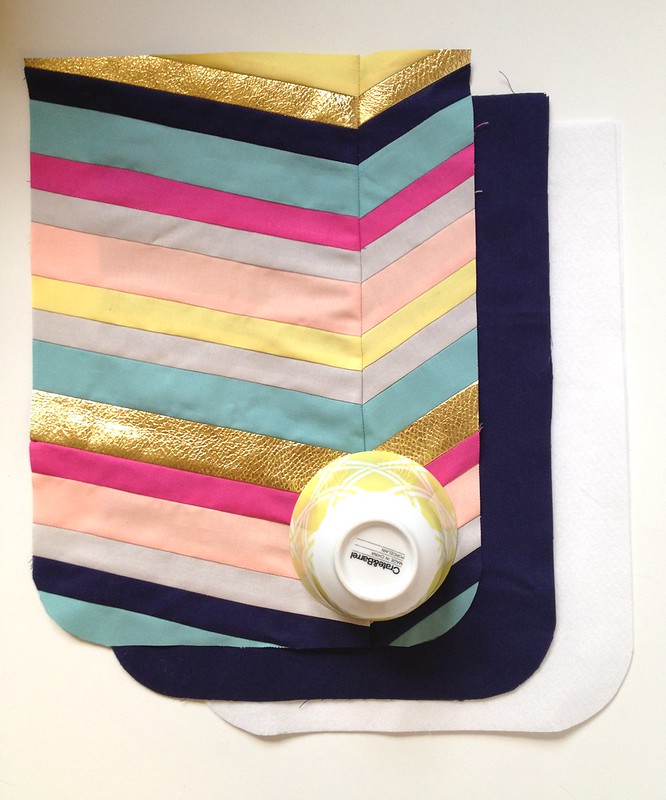
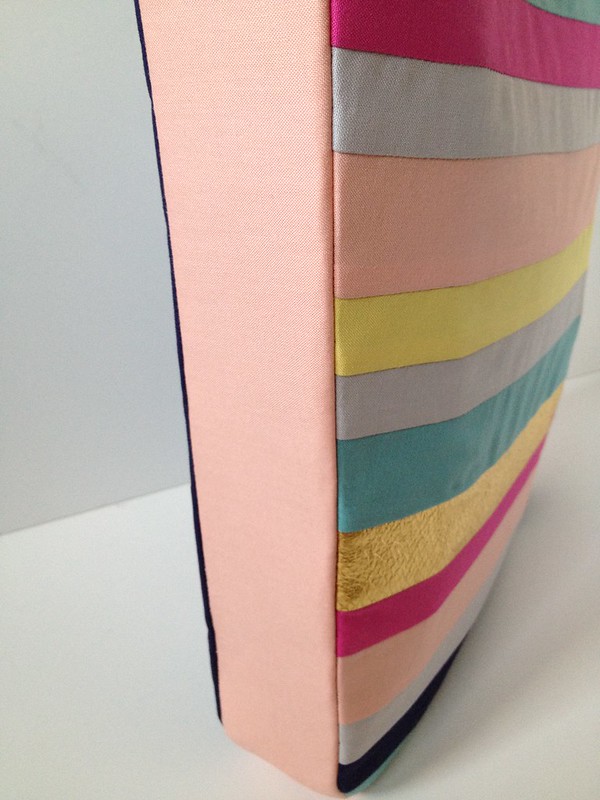
Using a bowl as a pattern, round the bottom corners of all the 12" x 16" pieces -- including the chevron front, the 3 navy panels for the back and lining, and the 2 pieces of medium-weight sew-in interfacing. The bowl I used has about a 3" diameter.

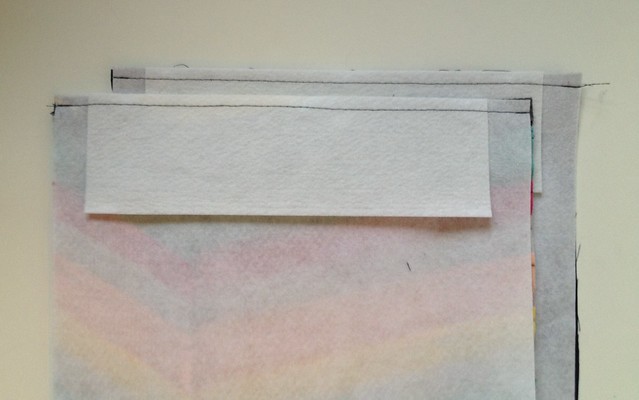
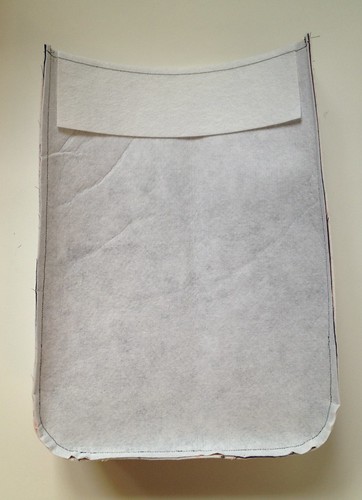
Line up the two pieces of medium-weight sew-in interfacing with the back of the chevron front and one of the navy pieces. On top of the medium interfacing, center the heavy-weight sew-in interfacing at the top of each piece and pin all three layers--chevron front/navy back, medium interfacing, and heavy interfacing together. Stitch the three layers together at the top about 1/4" from the edge. This step just keeps the three layers together for the rest of the steps, so you want this seam close enough to the edge that it won't show later.
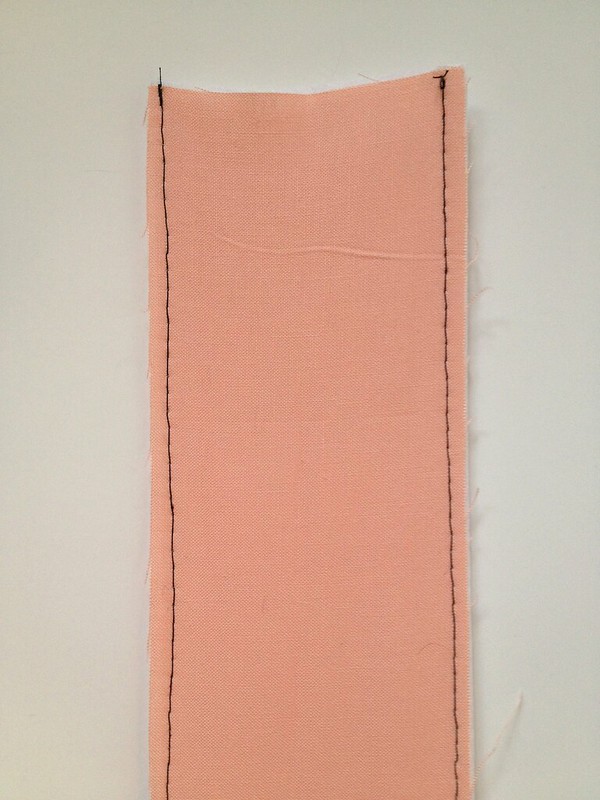
Similar to the last step, stitch the 42" strip of heavy-weight sew-in interfacing to the 42" strip of peach fabric close to the edge. This will just keep the two pieces together for the next steps.
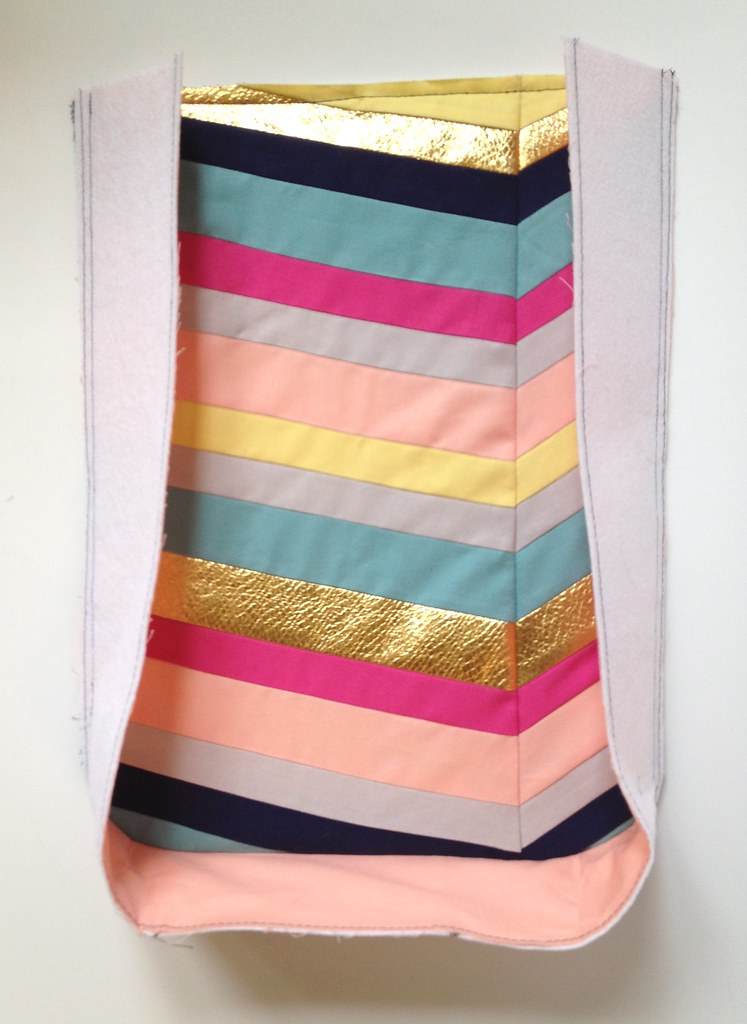
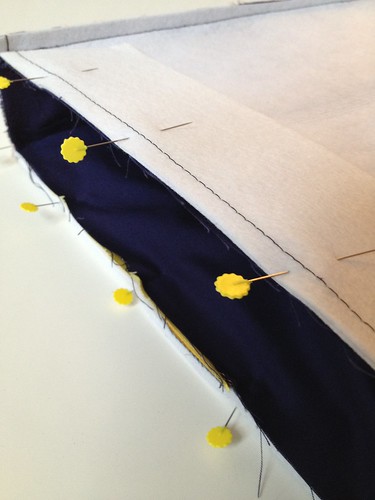
With right sides facing, sew the chevron front to the 42" strip as shown. This seam should be just inside the seam you made to affix the long peach strip to the long interfacing strip. This will take a little patience and maneuvering to get those corners through the machine with the heavy interfacing. Just go slow, taking it in strides around the corners.
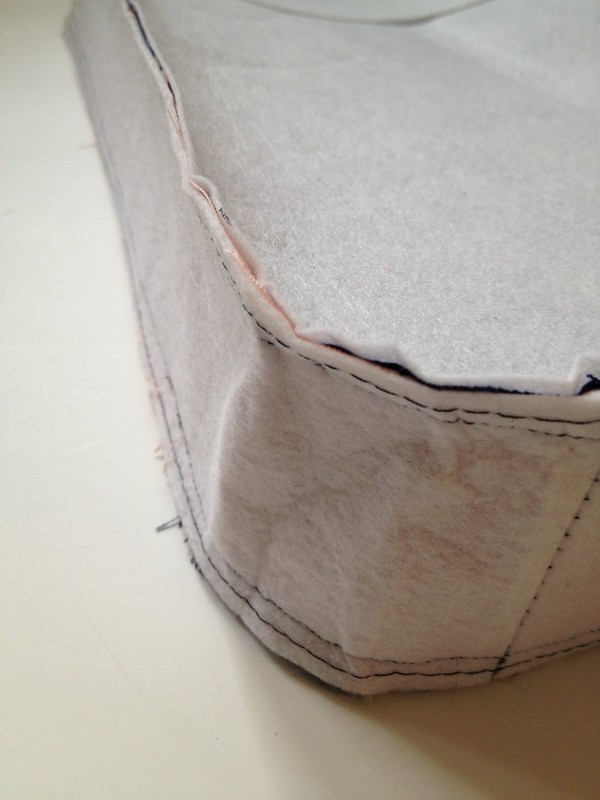
Repeat the step above with the navy backing. All the right sides should be facing in at this point.
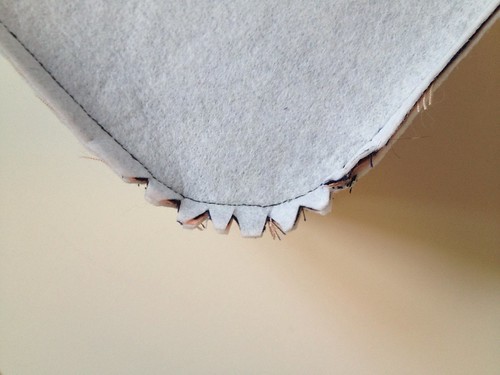
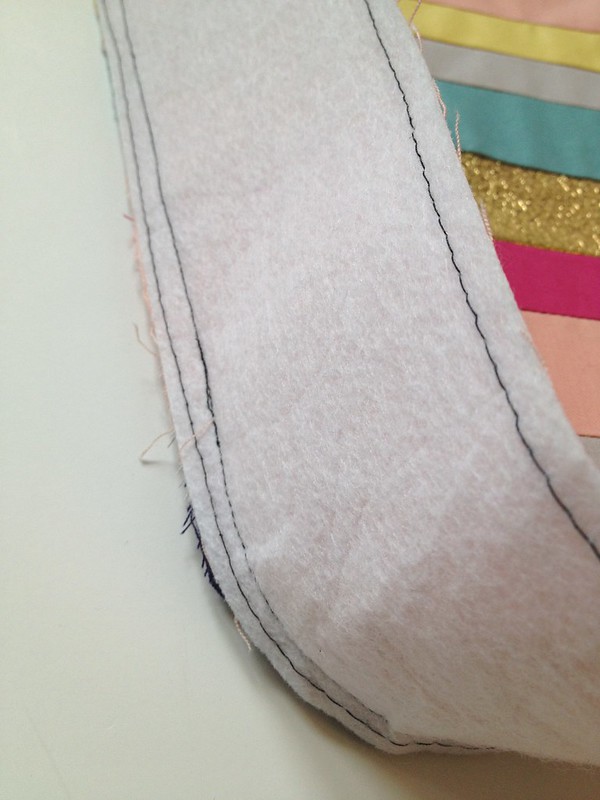
Cut little notches into the seam allowances of the rounded bottom corners. This will make the curves smoother when you turn the purse right-side-out.
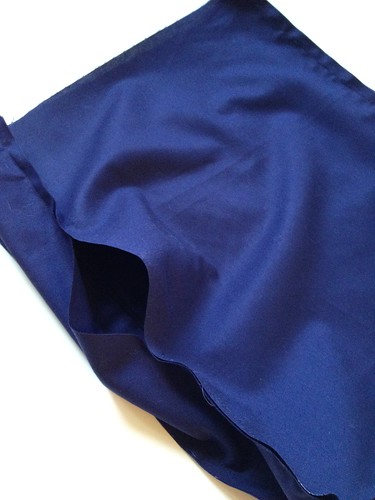
Repeat these same construction steps with the remaining navy pieces--leaving about a 5" hole in one of the side seams. This hole will be how you will turn the whole purse right-side-out. If you want to install a pocket, you'd want to do it before constructing the lining. For a magnetic snap, you'd want to do it after constructing it but before the next step.


Turn the lining right-side-out and place into the wrong-side-out outer bag such that the right sides of each are facing each other and the seams match up. Pin around the top, and stitch around twice, making sure to make your seam further in than the seam you made earlier to keep the layers in place.
Now pull the whole bag through the hole in the lining and top stitch the lining hole shut.

Tuck the lining into the bag, and press the whole thing. You might have to pull out your binder clips to sort of manipulate the bag into a more structured form.
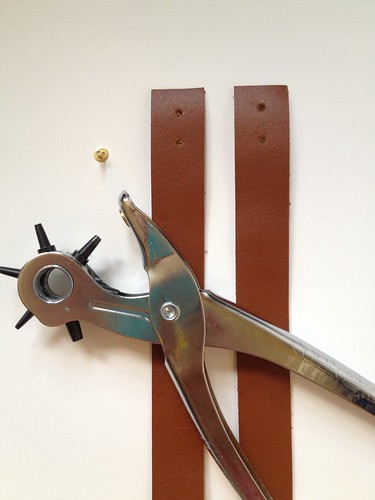
To add the straps, first punch two holes about 1/2" apart in each end of each leather strap - 8 holes in total. The holes should be just big enough for the rivets to fit through.
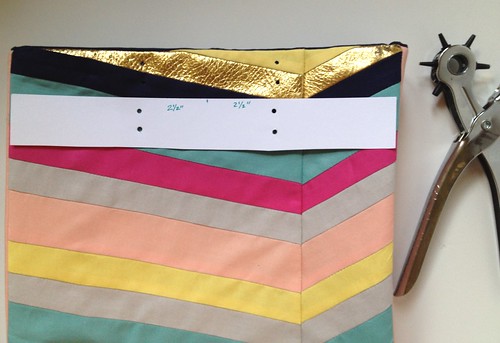
Trace these holes onto your bag where you want them affixed on both the front and back. I placed each pair of holes 2.5" from the bag's mid-point and about 1/2" from the top. I created a little template for myself with some scrap paper just to make sure my holes were identically placed on the front and back of the bag. Use the same hole punch as above to punch holes in the bag where you placed your marks.
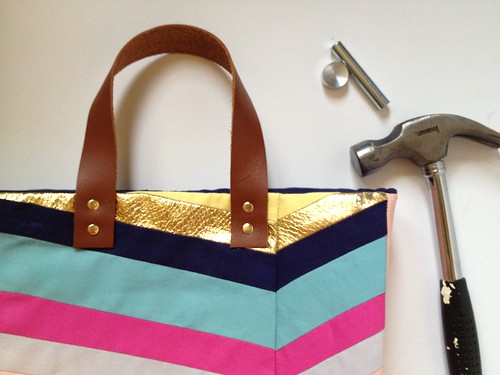
Attach the handles to the bag using the rivets and setter.
The rivets that you use should only be about as long as the thickness of the fabric + straps together. Install the rivets according to the directions with your installation kit. I also watched this video, which I found really helpful. These are super easy to install and only take about 2 to 3 whacks of the hammer each.
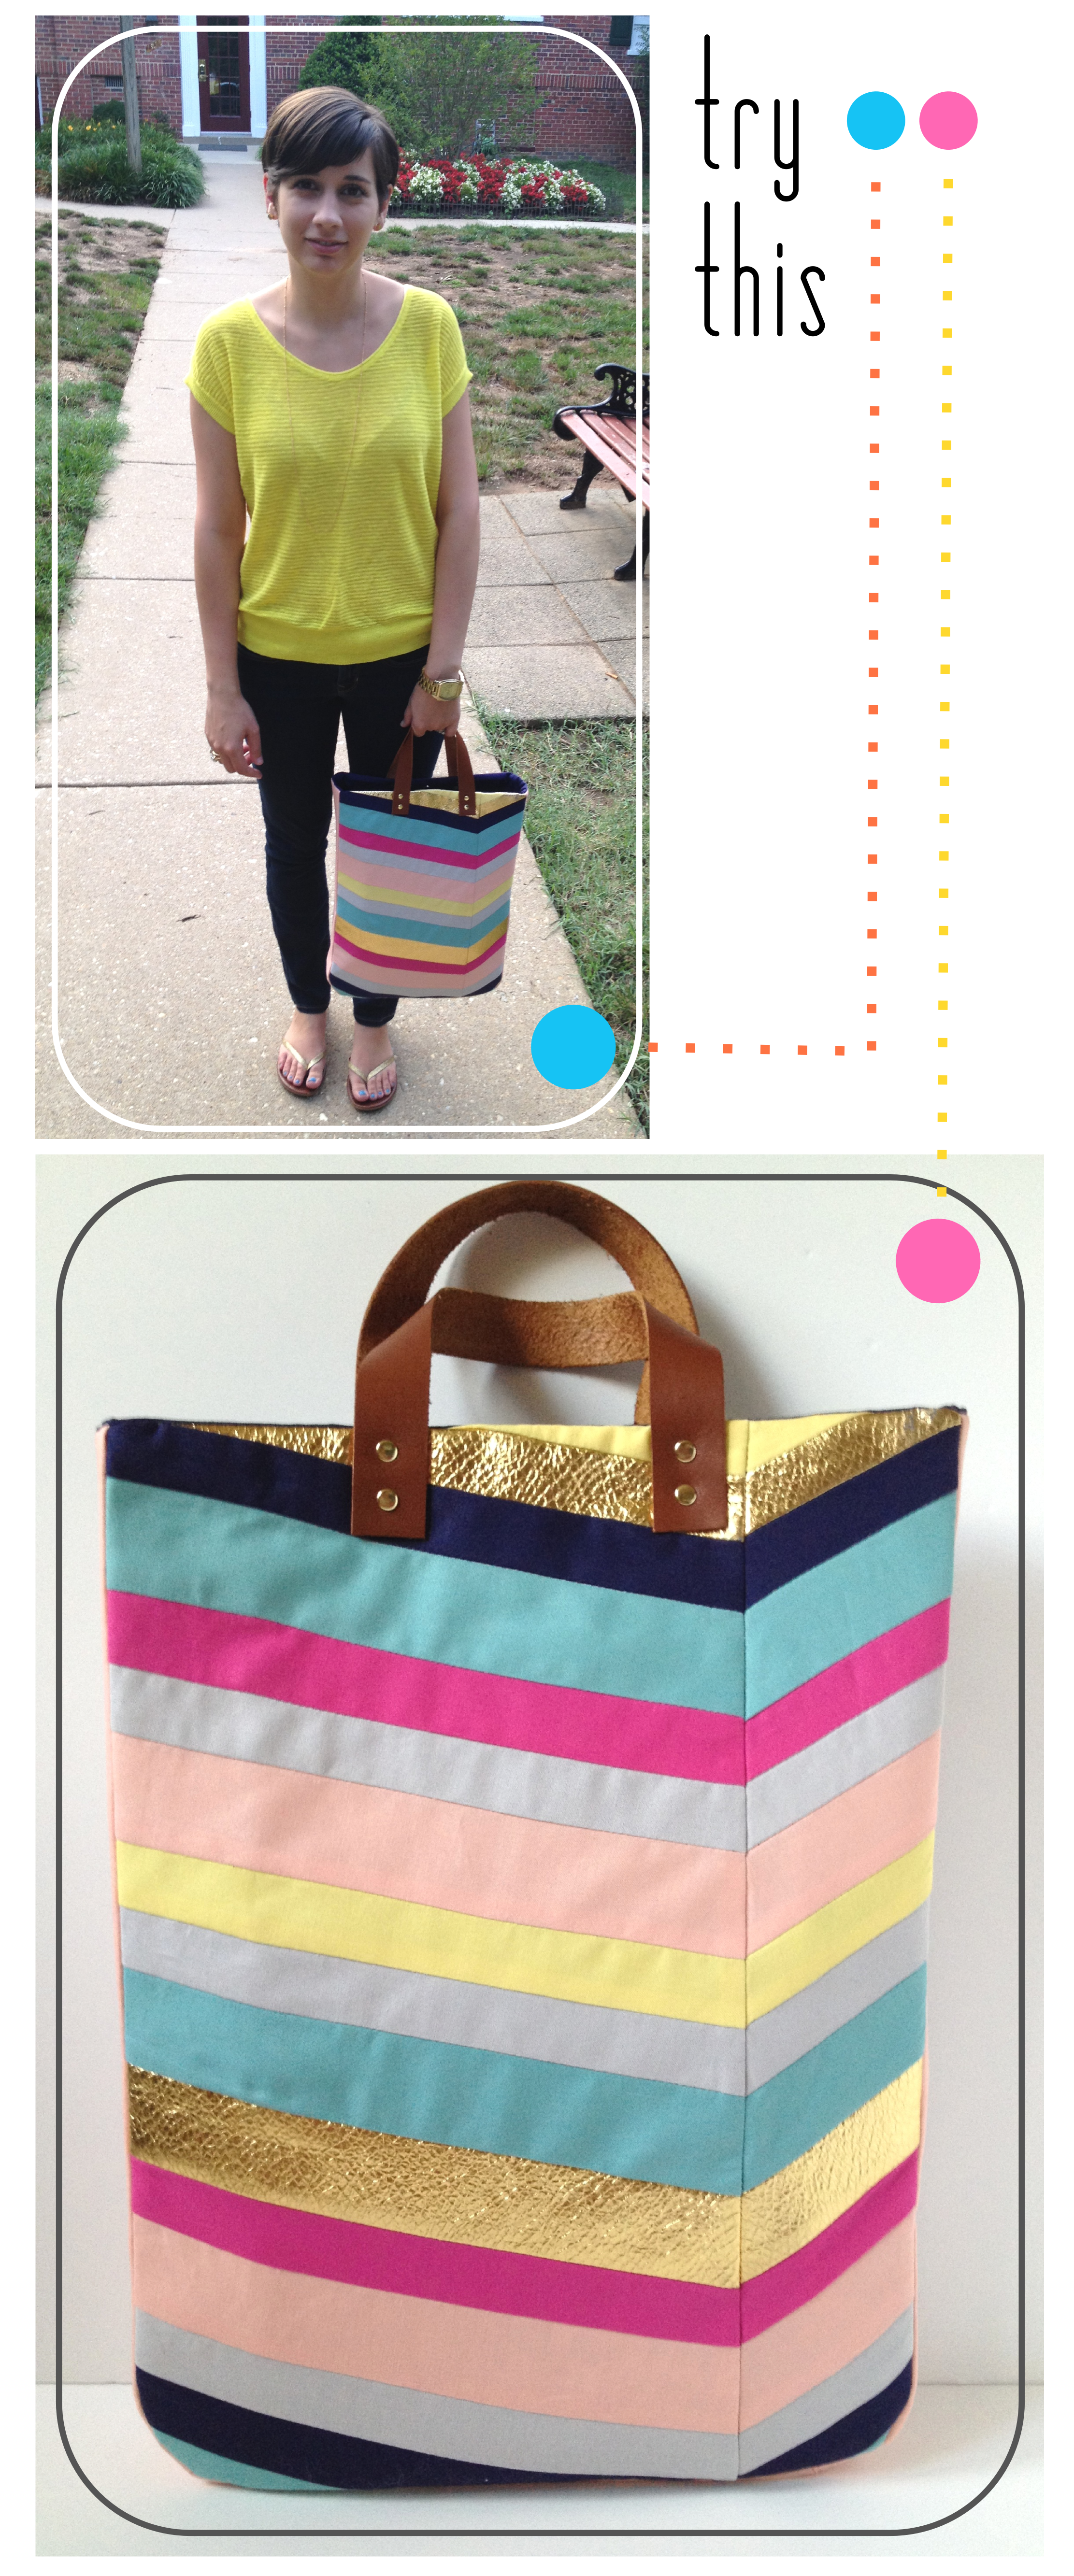
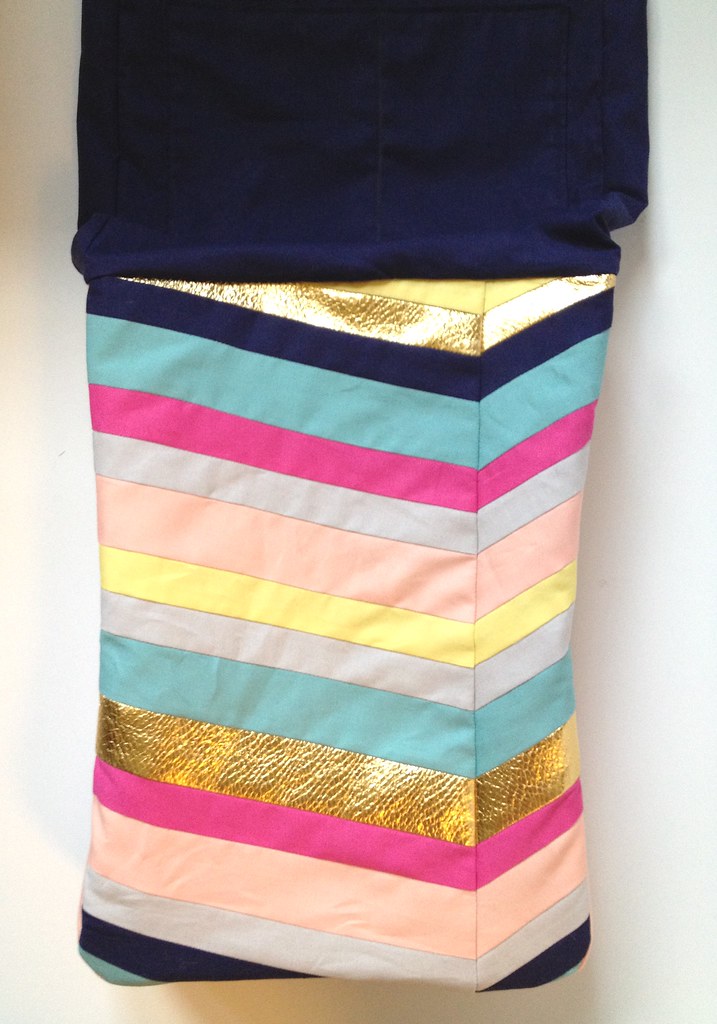
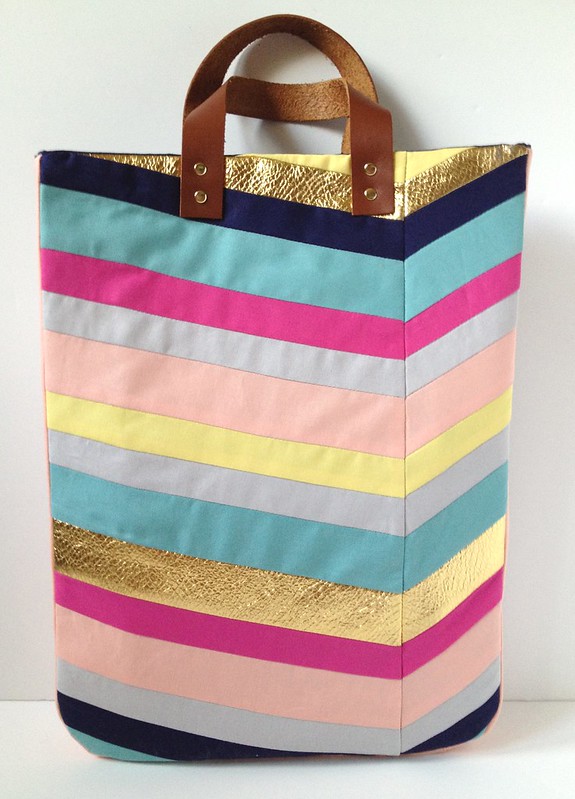
There we go. This art-inspired chevron tote is complete!
Michael has an uncanny ability to take the most awkward pictures of me. With that said, here I am using the bag. It's a sturdy little guy, and fits tons of stuff!

Alright, here's the money shot -- a side-by-side of my inspiration and the final product. Not too bad.
 If you do give this tutorial a try, please be sure and share a picture through the "Share Your Projects" link at the top of the blog page. I'd love to feature some!

find me elsewhere