
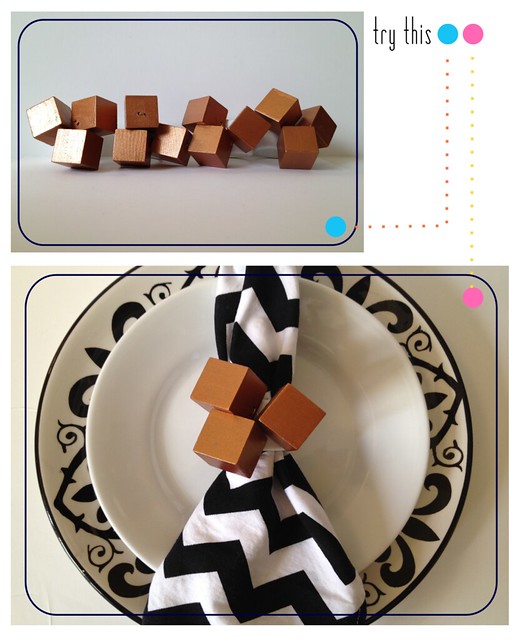
Copper Skewb* Napkin Rings
*Michael suggested this name. I humored him.
Skewed cubes = skew + cube = skewb.
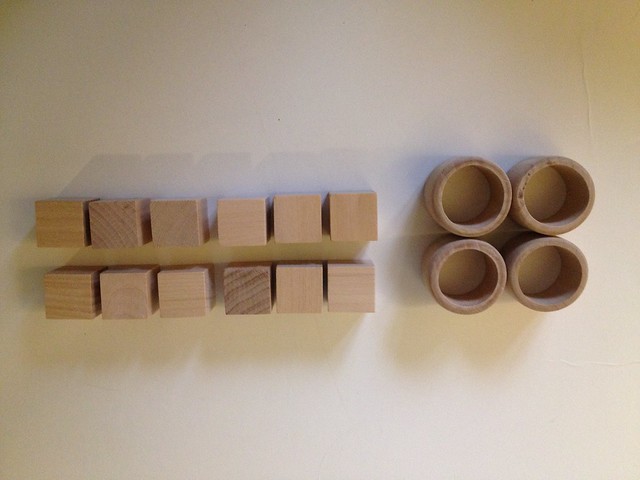
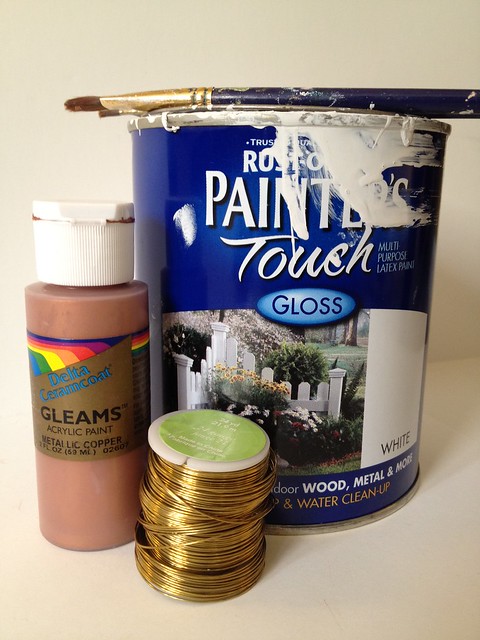
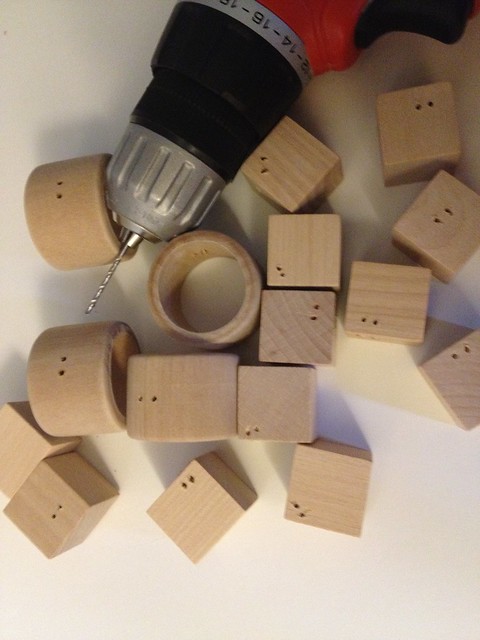
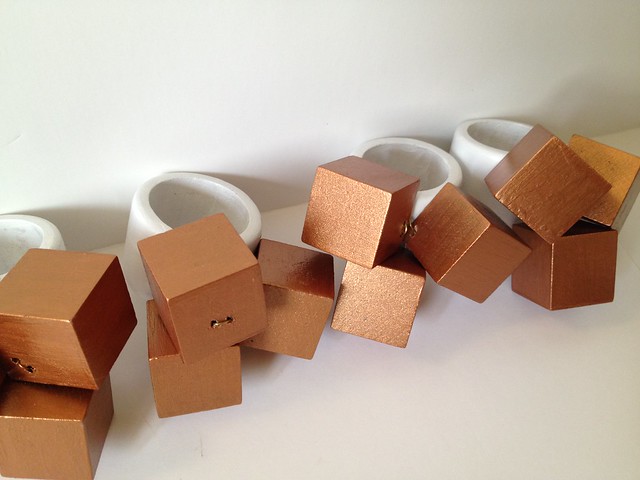
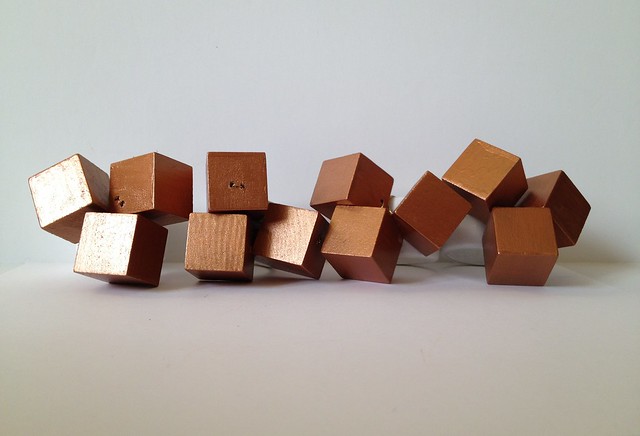
Materials: 4 - wooden napkin rings, 12 - 1" wooden cubes, glossy white paint, metallic copper paint, craft paint brush(es), gold or copper bead wire, electric drill, tiny drill bit (~1/16")
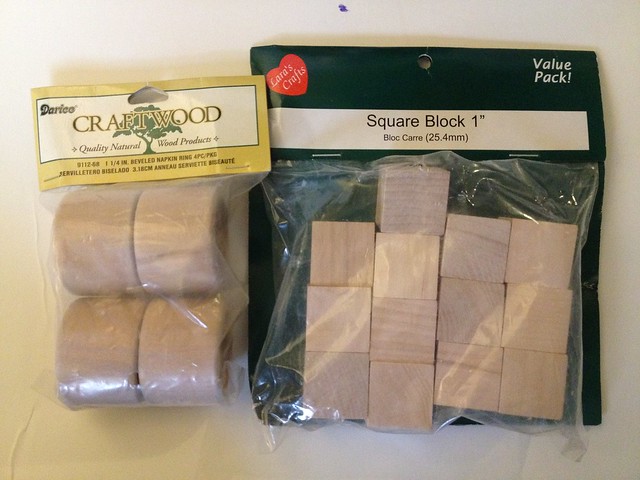
First off, let's all brace ourselves for how cheap this project is. Braced? Alright. $2! (assuming you have some basic supplies already on hand)
Directions: Using just about the tiniest drill bit you can find (I used 1/16"), drill a couple of holes through your rings and a couple of holes all the way through two adjacent sides of each cube.

Now, you get to paintin'. Give each ring and each cube a few coats of the white and copper paint, respectively.
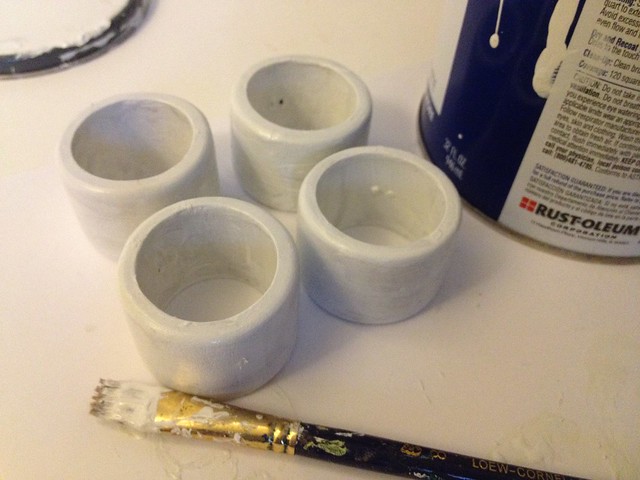
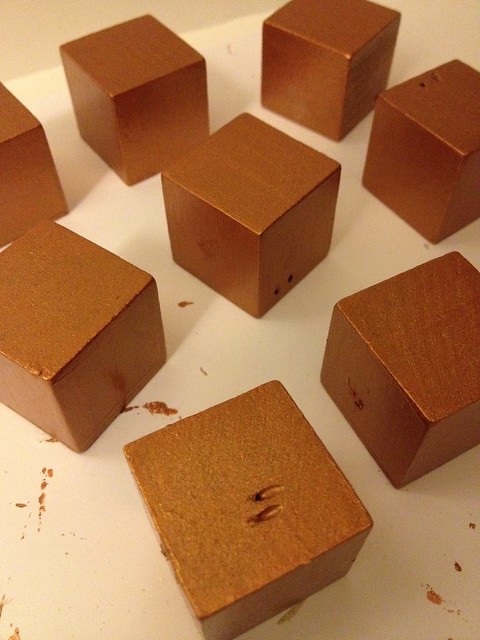
Let everything dry. I'm uber impatient, but you gotta do this or you'll just muck everything up. I gave mine a little less than a day to dry.
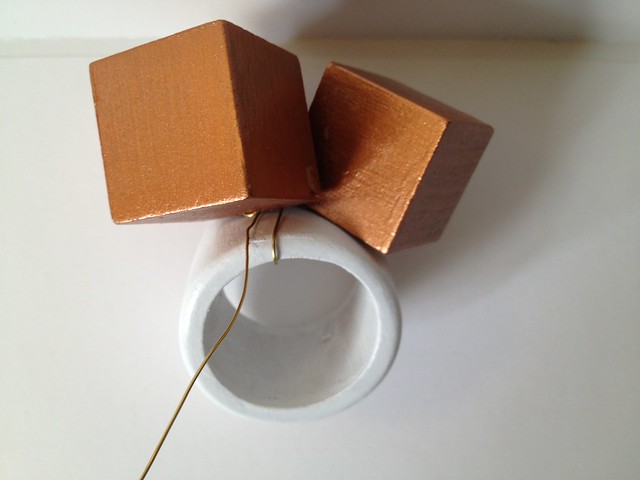
To make each ring, start with three cubes and about a foot of bead wire.
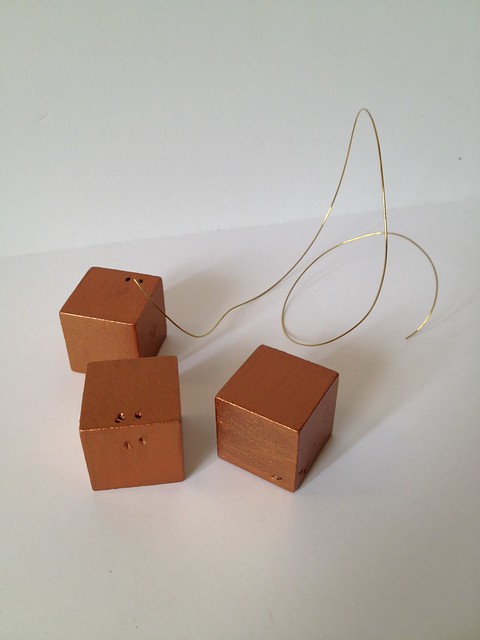
Thread the wire through all three cubes.
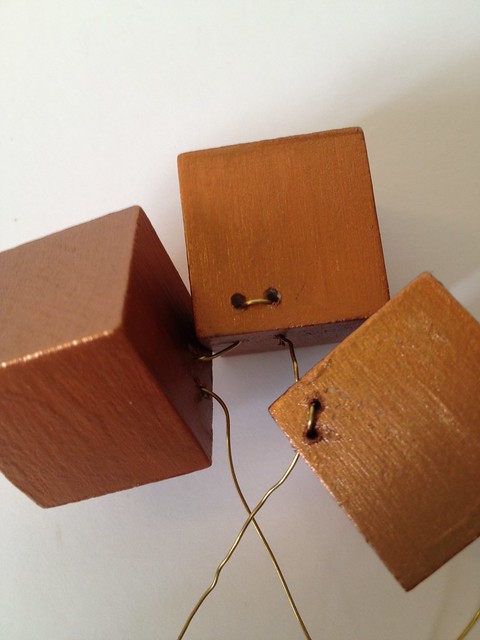
Gather the cubes up tightly and give the wire a twist or two.
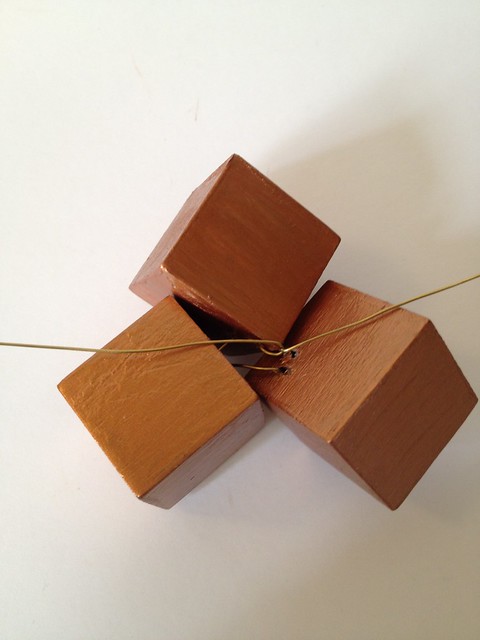
Thread each wire end through the holes in your napking ring.
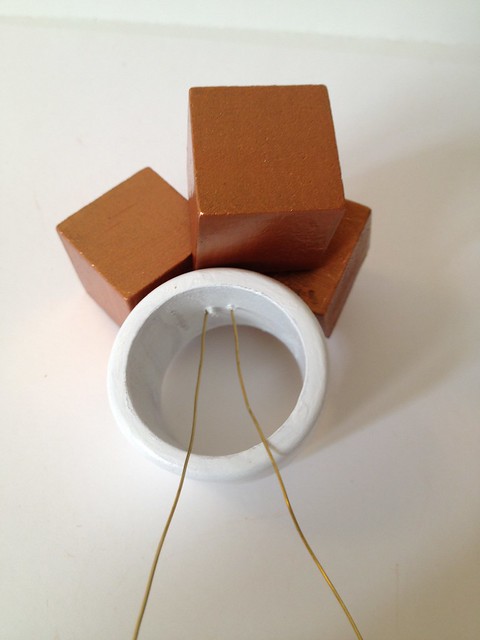
Bend the wire ends in opposite directions.
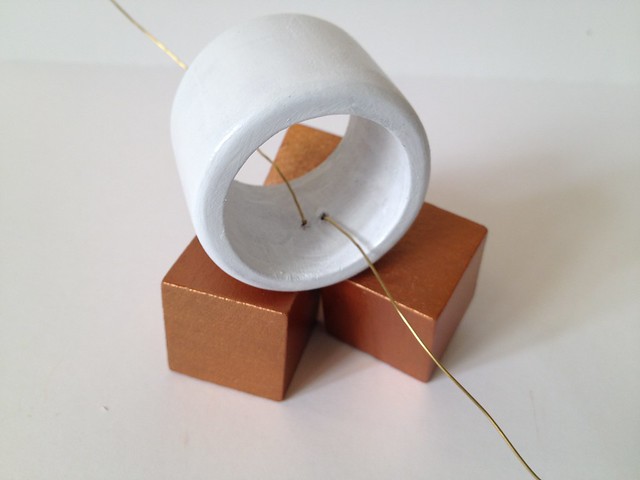
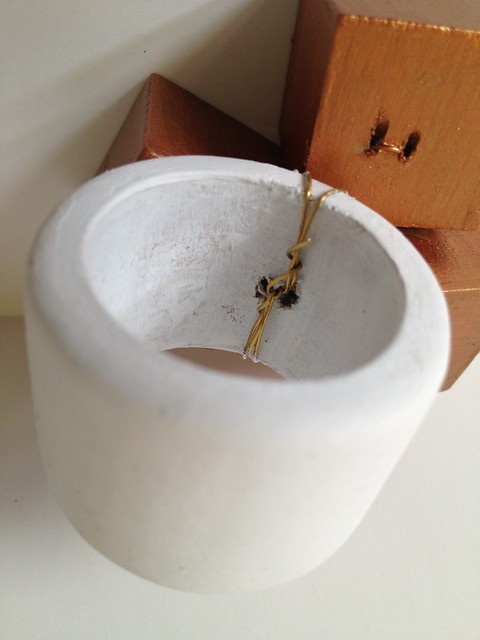
Wrap each wire end around the ring and between the cubes.
Inside the ring, twist the wire ends around on themselves a few times and clip off the ends.
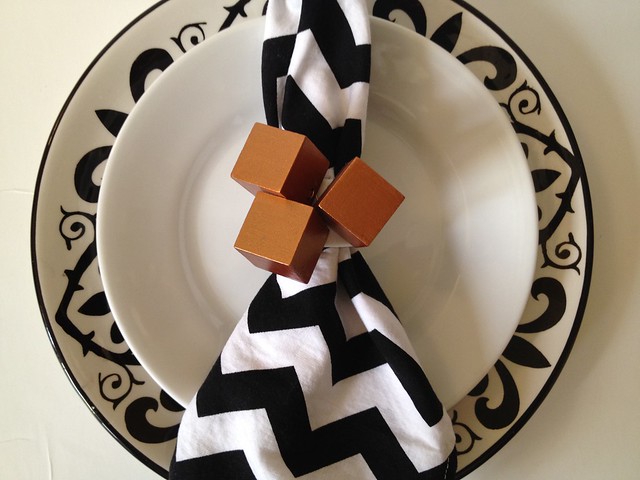
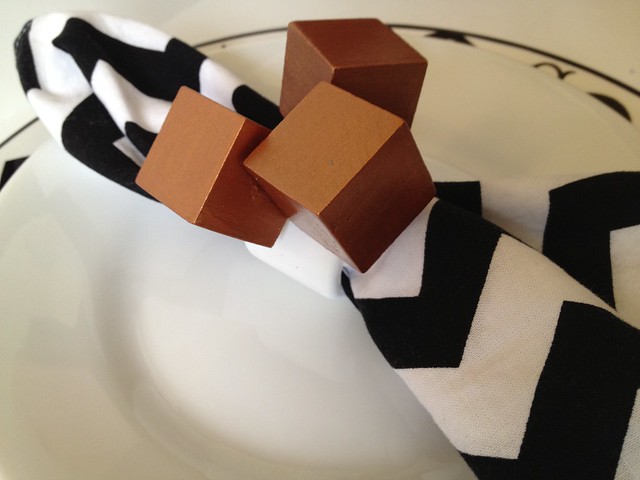
That's it, my friends! Now put 'em around some fun napkins, place it atop some layered plates, invite all your sophisticated friends over for an uber-trendy dinner party, impress them with your crafting skills, and dazzle them with your use of the word "skewb."

These are super cool!
ReplyDeleteAlso, re: my comment on your previous post...I don't understand why you think you need to take better photos.