
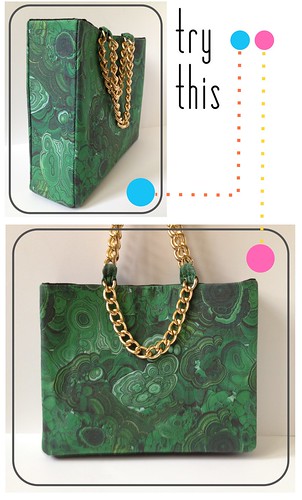
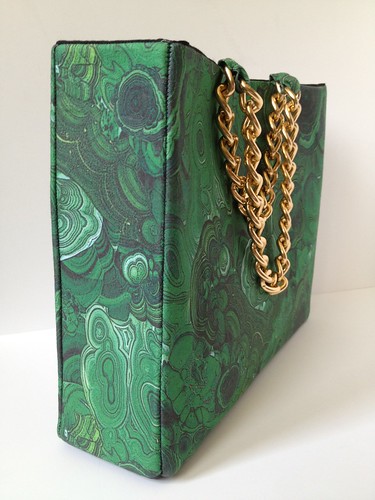
Try This: Malachite + Gold Shoulder Bag
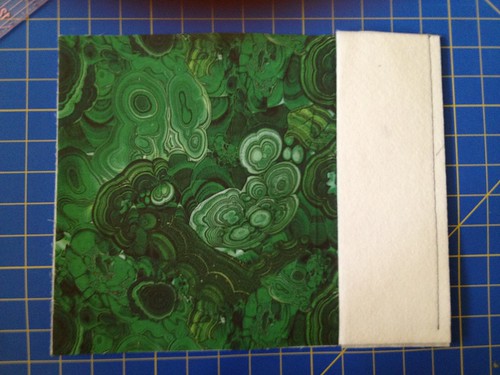
Have you spend much time on Spoonflower? Well, it's dangerous. There are so many beautiful fabrics. I spent an hour or so one day looking around, searching random terms, and found this this malachite fabric. I ordered up a fat quarter and patiently waited for inspiration to strike. I eventually decided it would make a striking purse combined with some bold gold details. And that is how this project came about. I'm a little more than proud of this project, but I'll admit up front that it might very well be a miracle if this tutorial makes any sense at all.
Materials: fabric (see below for specific cuts), heavy interfacing, medium interfacing, spray adhesive, 1 yard - heavy gauge gold chain, thread, sewing machine
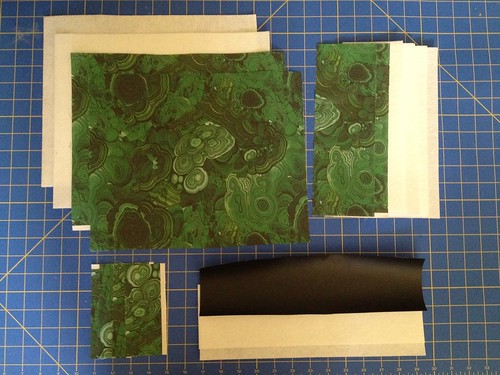
CUTS OF FABRIC
Outer Fabric
2 - 10" x 12.5" (front and back)
2 - 3.5" x 10" (sides)
1 - 3.5" x 12.5" (bottom)
4 - 2.5" x 5" (tabs)
Heavy Interfacing
2 - 10" x 12.5" (front and back)
2 - 3.5" x 10" (sides)
1 - 3.5" x 12.5" (bottom)
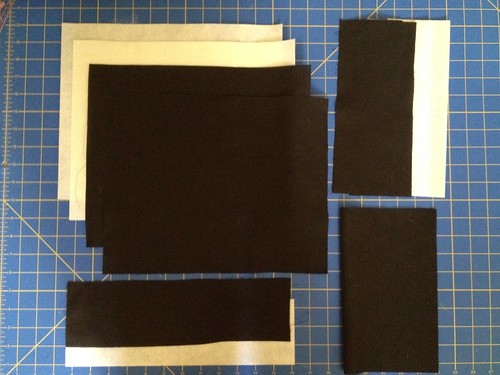
Lining Fabric
2 - 10" x 12.5" (front and back)
2 - 3.5" x 10" (sides)
1 - 3.5" x 12.5" (bottom)
9" x 11" (pocket)
Medium Interfacing
2 - 3.5" x 10" (sides)
1 - 3.5" x 12.5" (bottom)
(ignore the front/back interfacing shown above with the lining pieces - I nixed those)
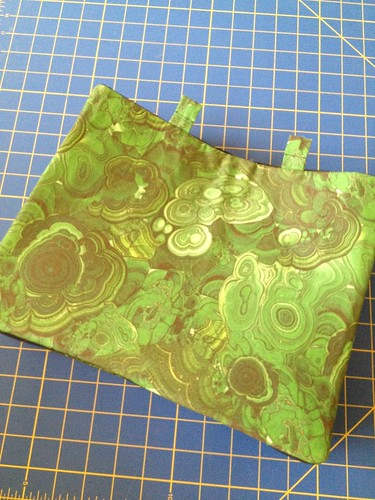
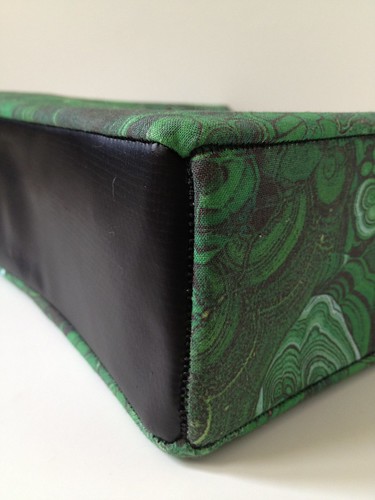
I used the malachite fabric in Kona cotton for the outside and plain black cotton for the lining. Instead of the cotton for the bottom, I used a piece of black vinyl. I ordered this thick gold chain from M & J Trim.
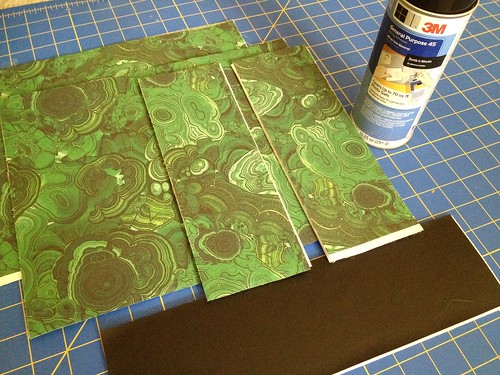
To hold everything in place during the sewing, I used spray adhesive to affix all my outer fabric cuts to each heavy interfacing cut. Let me warn you now, working with heavy interfacing in this way can feel unwieldy and very difficult to work with, but it'll give the bag great structure in the end.
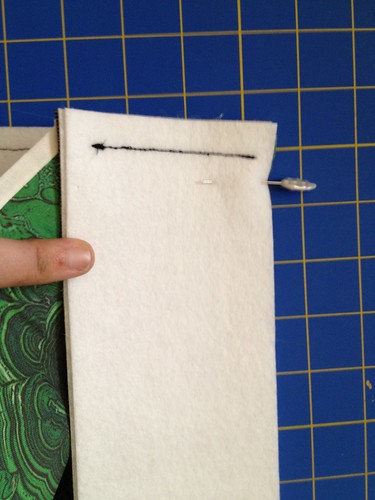
Now, build a box beginning with one side and working around - side, bottom, side. Begin, by sewing one side panel to the front panel, right sides facing as shown in the pictures.
The key to building the box, is leaving a gap at the beginning and end of each stitch the length of your seam allowance. I used about a 5/8" seam allowance.
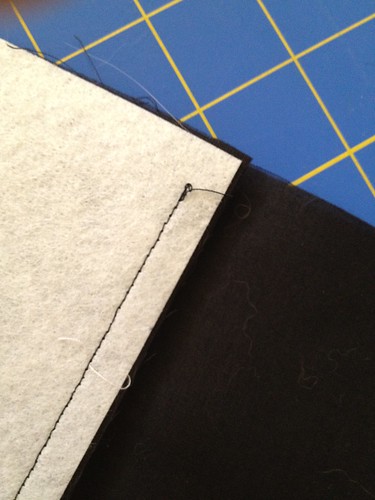
Now, sew the opposite edge of the same side panel to the back panel.
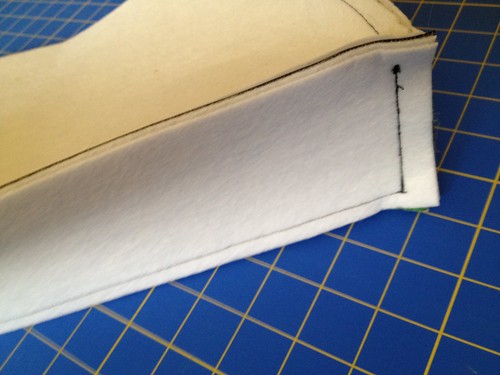
Okay, here's where I might struggle explaining it and I'm not totally convinced that my pictures are that self-explanatory. Sew the bottom panel to the bottom edge of the side panel. See how you're beginning and ending each seam where the other seams ended/began?
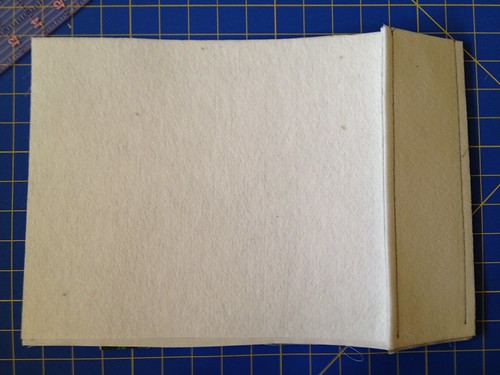
This is what the seam on the bottom piece will look like after that step. Now, manipulate your fabric so that you can sew one edge of the bottom panel to the bottom edge of the front panel.
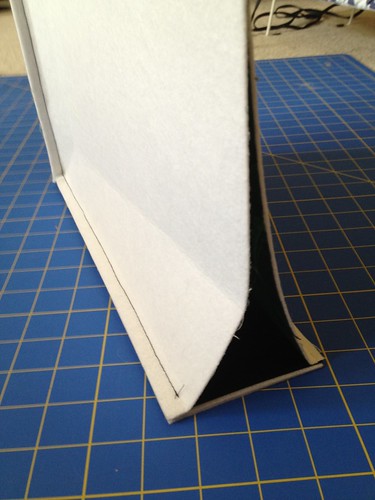
This is what that looks like.
Now sew the opposite edge of the bottom panel to the bottom of the back panel. Sorta lookin' like a box, no?
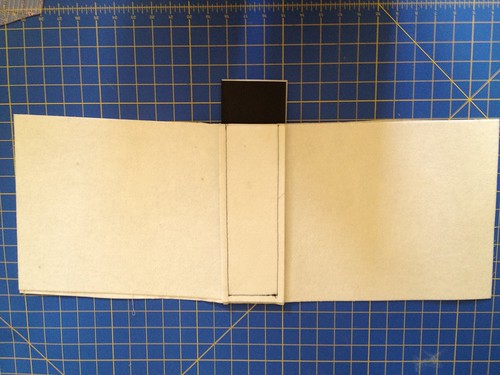
Begin the other side by sewing the bottom edge of the other side panel to the bottom panel. Again, leave seam allowance at the beginning and end of your stitch.
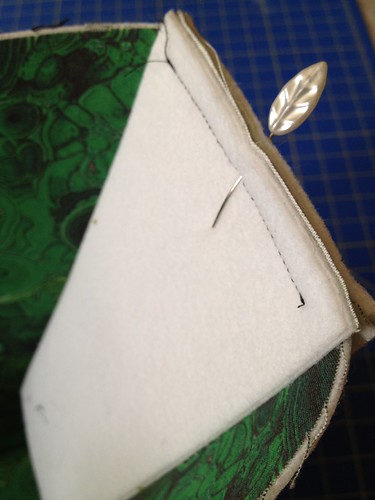
Now, sew the side of this last side panel to the side of the front panel. See, so close to done.
Finish it off by sewing the last edge to the back panel. (No pic of that, but guess what, it now looks like a box.)
Now to the lining. Let's make a pocket! Take the lining fabric pocket cut and fold in half longways so that you end up with a rectangle 9" x 5.5". Sew around the perimeter, leaving a gap about 2.5" wide.
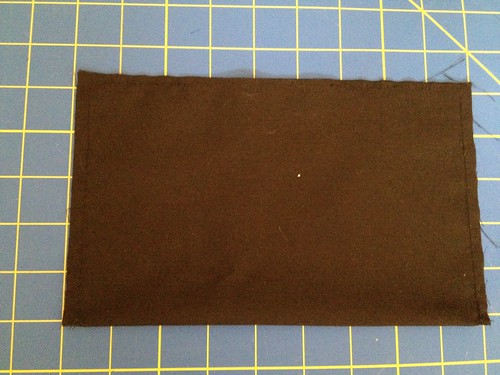
Pull the fabric through the gap, so that the stitching is on the inside.

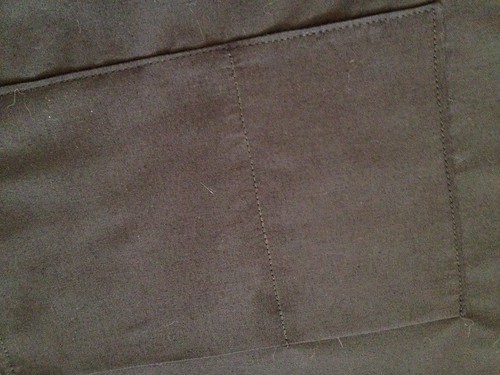
Press and pin onto the middle of the back lining panel.

Sew around the sides and bottom of the pocket. Make sure to position it so that you sew the gap closed. I also added one more seam down the middle to create a little phone pocket. (Looks like my pic is upside down, which is appropriate because I accidentally ended up sewing my lining in such that my pocket ended up upside down. I refused to correct it. Oopsie.)
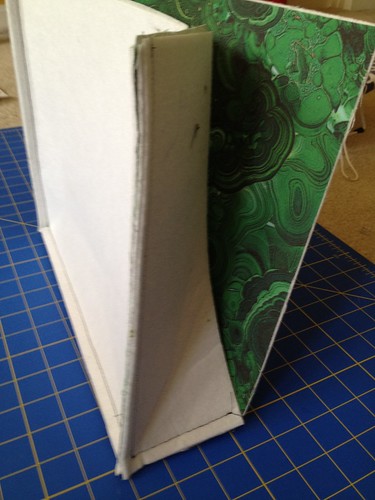
Repeat all the steps above to create the same box for the lining. This time, you're only using interfacing on the sides and bottom, not on the front and back panels. Make sure to leave a gap a few inches long in one of the sides so that when we sew this all together, you'll be able to pull the purse through.
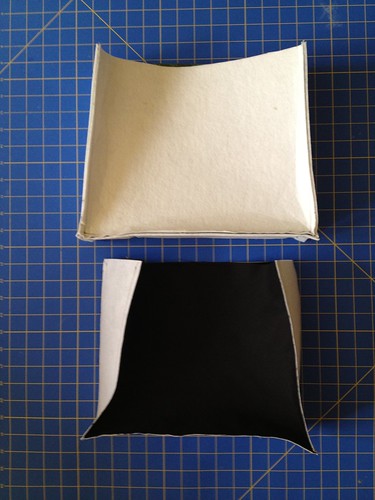
Now, you've got a box for the outside and box for the inside.
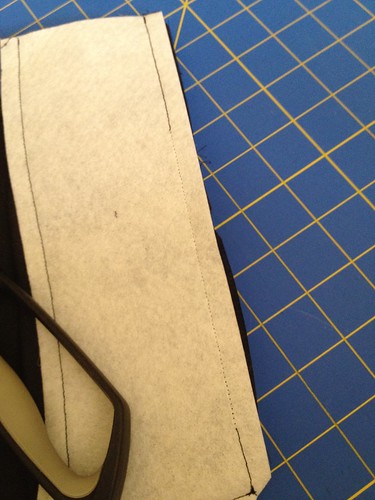
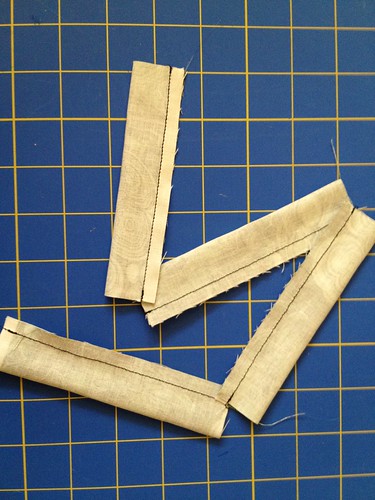
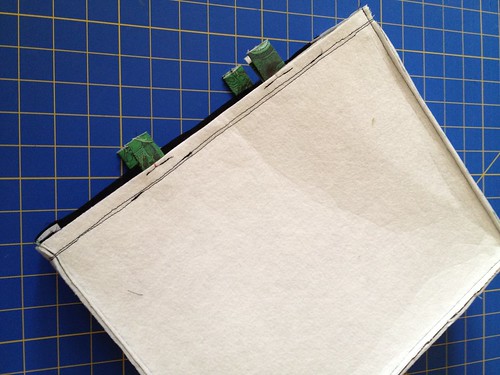
To make the tabs for the chains, take each of the tab cuts of outer fabric, fold in half longways, and sew as shown.
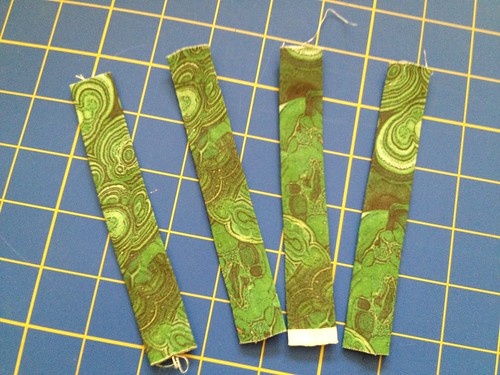
Turn each right side out and press.
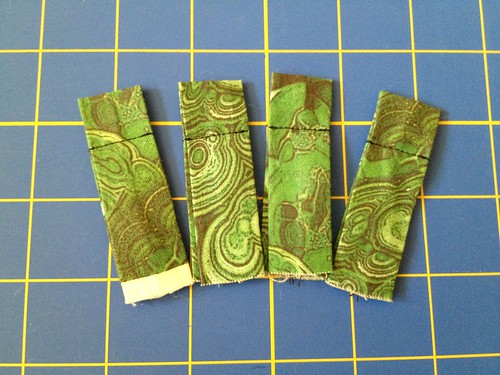
Fold in half and topstitch about 1/2" from the fold.
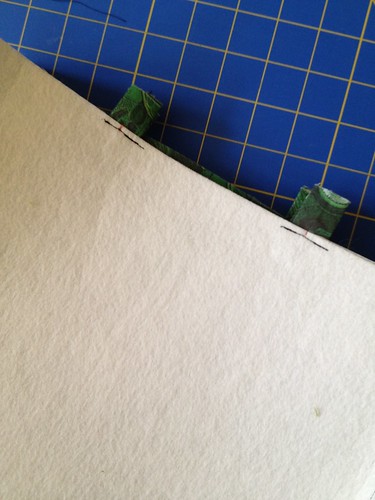
Now, we're going to baste the tabs into place. So flip them upside down so that the folded edges are facing towards the bottom of the bag, and pin them inside the outer box for the purse such that the right side of the tabs are facing the right side of the purse front and back. The picture should speak for itself. 2 tabs in front and back. Each tab about 2.5" from the middle point. Stitch them into place.
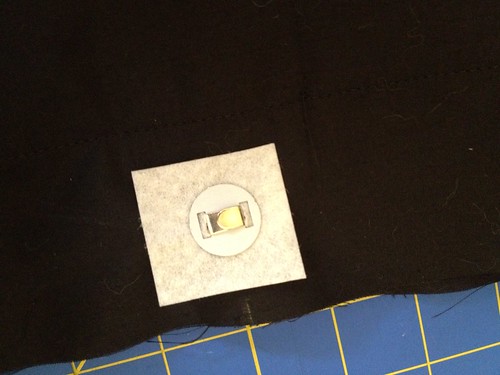
Install a magnetic snap closure onto the bag lining. Brace it with a little cut of interfacing.
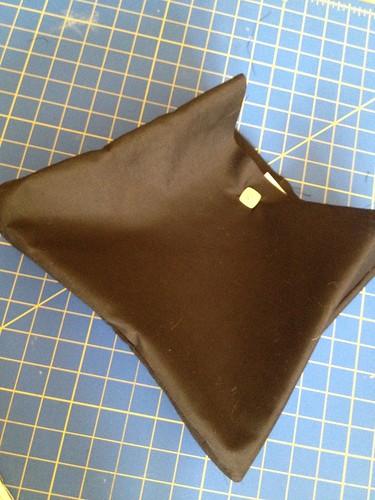
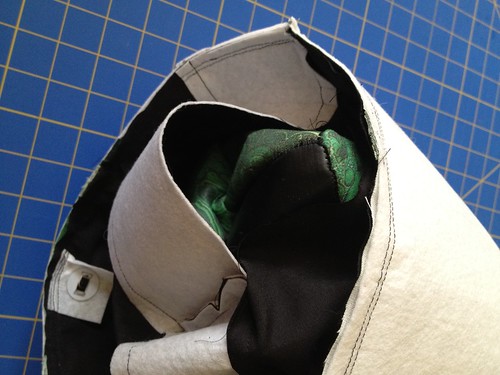
Now, turn the lining wrong side out like in the pic. (Wrong side out might actually feel like right side out, but remember that the finished seams will actually face inside when complete.)
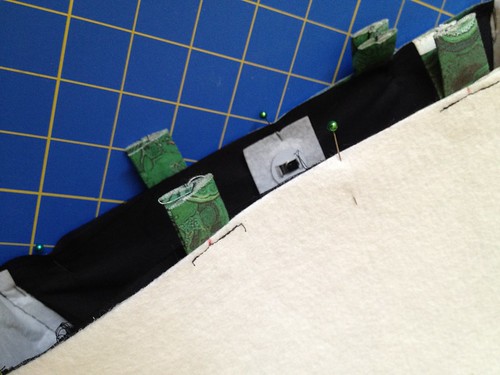
Put the wrong side out lining into the wrong side out outer purse box. Pin the top, unfinished edges to each other all around.
Stitch around the top a couple of times.
Carefully pull the whole thing through the hole in the lining. It won't be easy to do this, but just be patient. Just pull it through, and make sure to poke and shape all the corners out.
Once you've pulled it all through, stitch up the hole in the lining. (See how my pocket is upside down? Yeah, don't do that.).

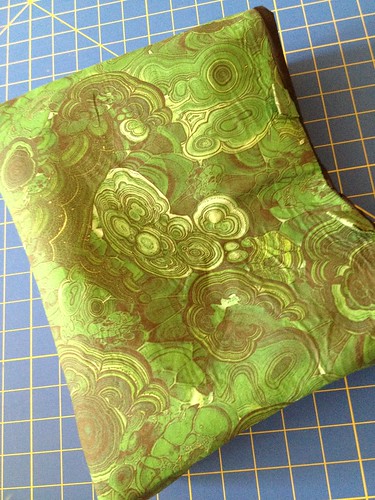
Now, tuck the lining into the purse. This is what it will look like. Kinda lumpy and wrinkly and frumpy. Just sad.
To get it looking all boxy and sleek, carefully press the edges and corners. I used binder clips to sort of clamp the edges/corners into submission.
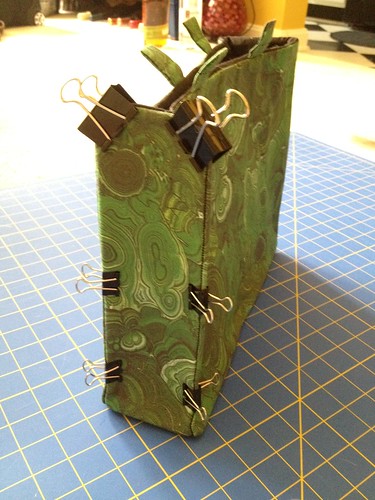
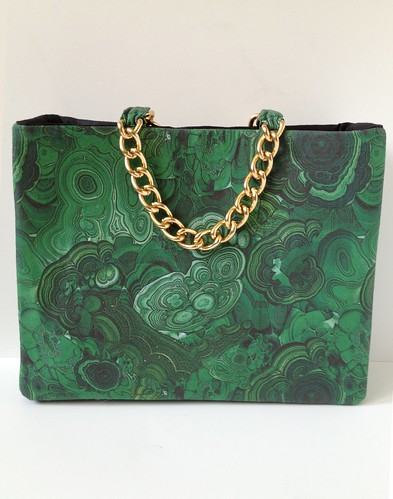
Now, you've got a nearly complete purse.
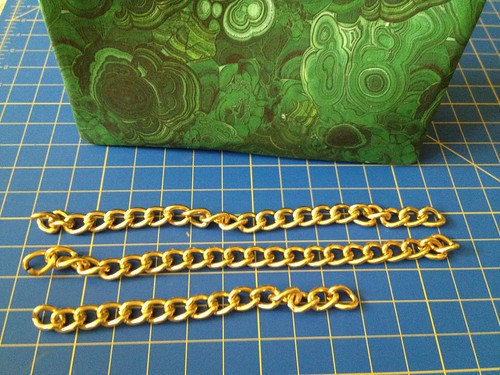
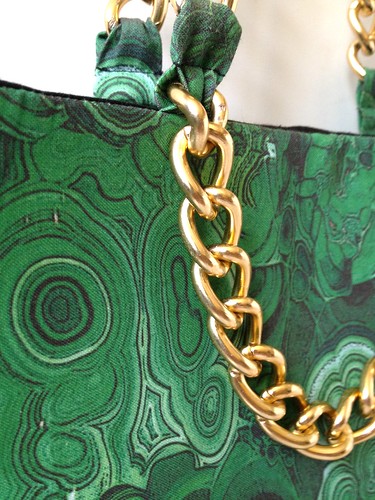
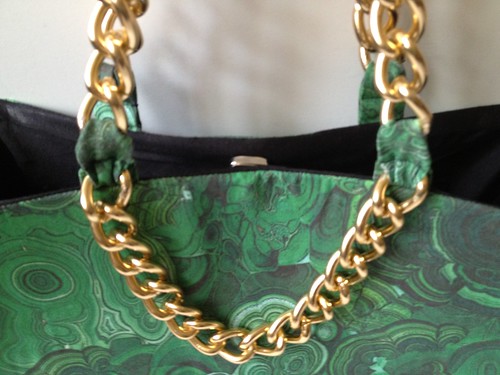
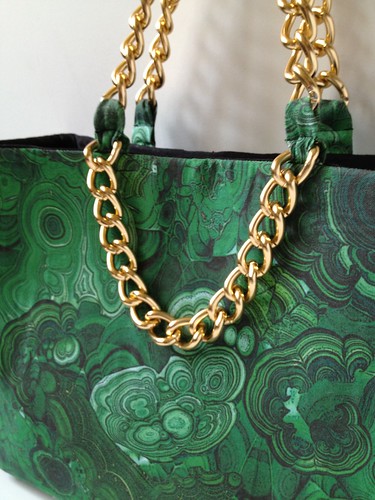
...except for the all-important gold accents. Divide your yard of chain into 2 - 14" pieces and one 8" piece.
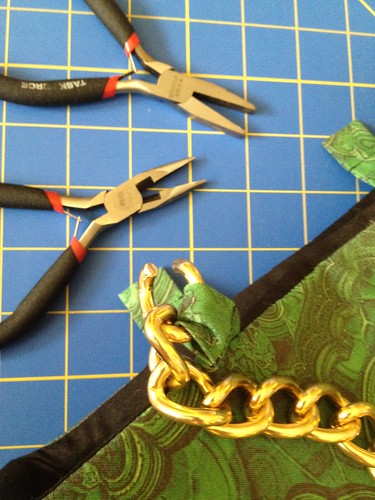
Use two pairs of pliers - one in each hand - to open the links. The longer pieces will be the handles. Loop the end of each handle through the end of each tab, and close the links. Loop the ends of the shorter piece through the bottom opening in the tabs on the front panel.
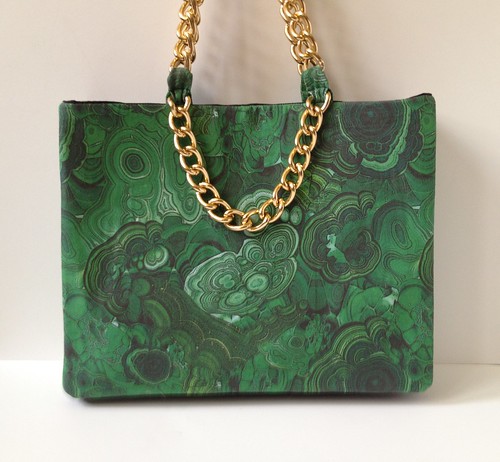
Easy as that! Yeah, I know, that didn't sound that easy. It's definitely a more advanced project, but it looks kinda awesome, no?

find me elsewhere


This is stupid cute! ...going to Joann's to find out how much sewing machine lessons will cost... :)
ReplyDeleteThis bag looks so luxe! Love it, Mandy
ReplyDelete