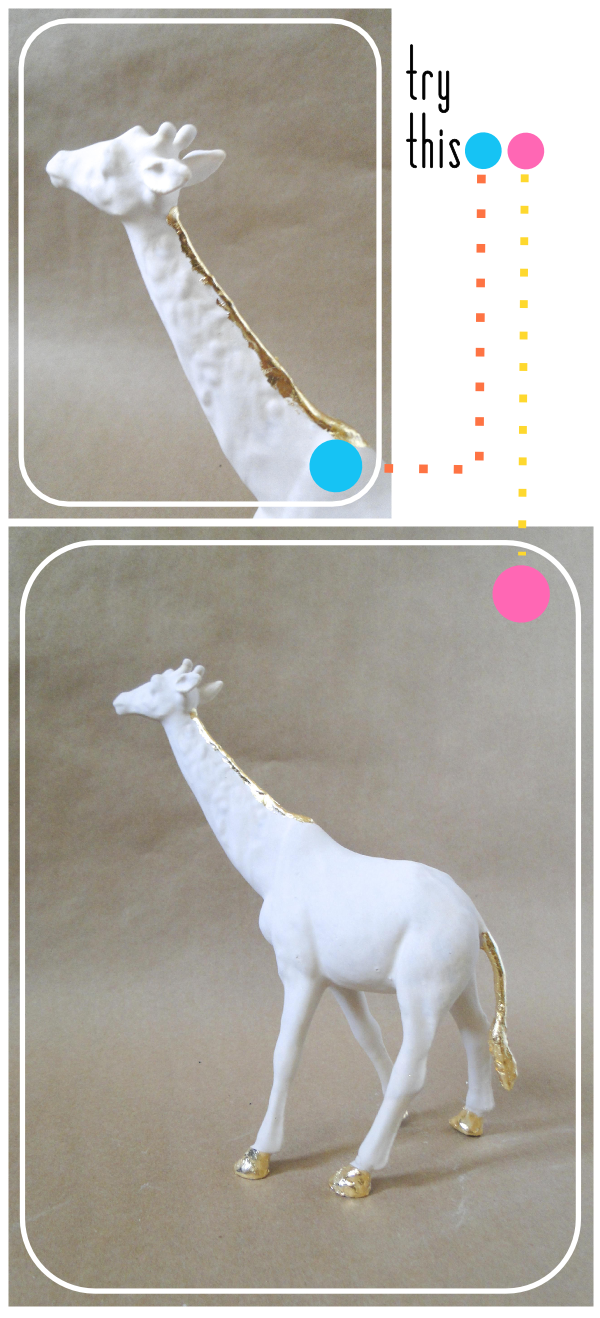
Try This: Gilded Ceramic Animal Sculpture
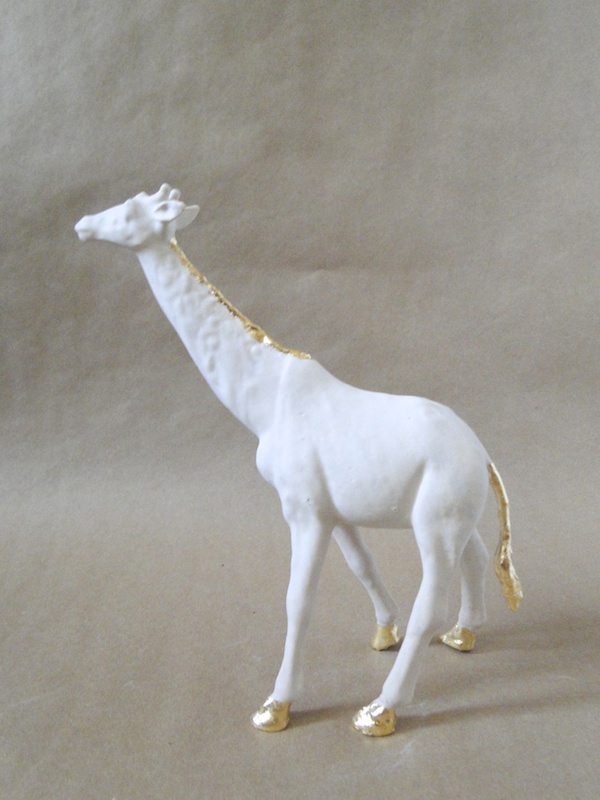
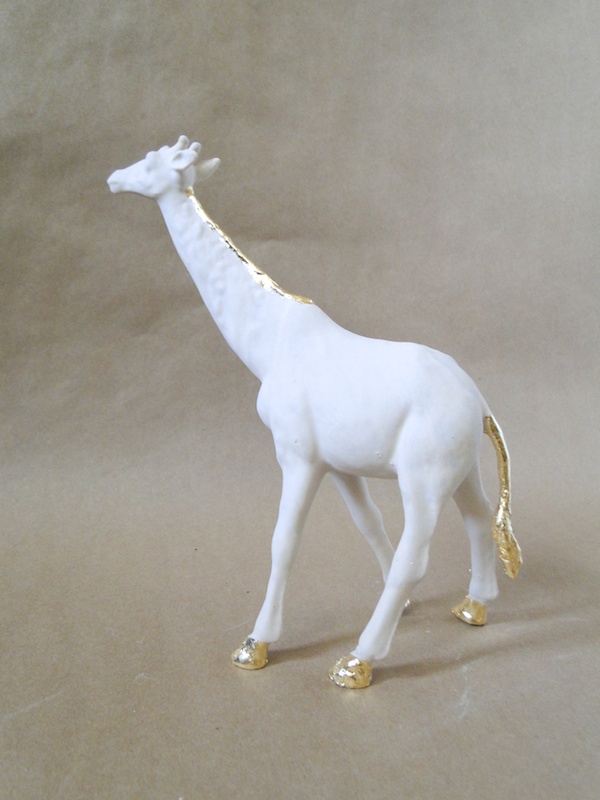
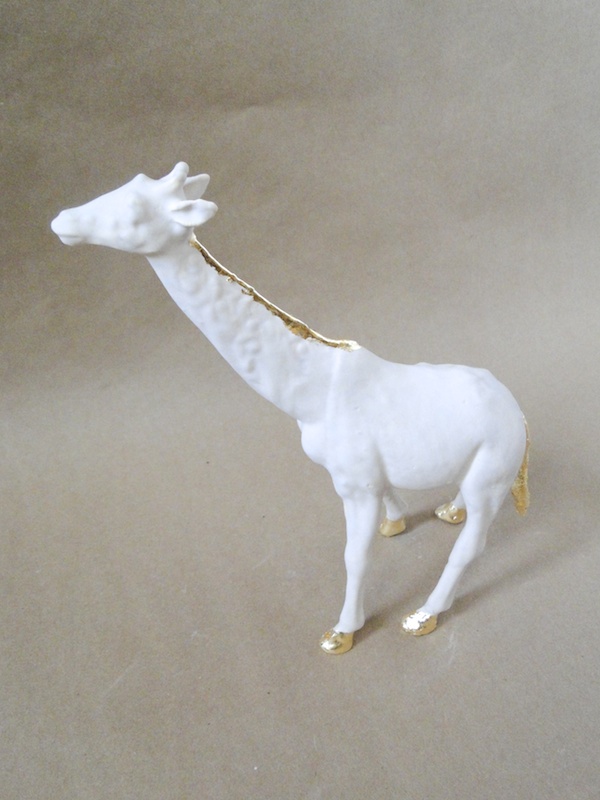
You know what you probably need like you need a hole in the head? Another plastic animal toy tutorial. Yeah, well, sorry...cause you're gettin' one! Actually, you're gettin' TWO, because I'll be back next week with another Merry Modern Christmas tutorial featuring even more plastic animal toys. In this one, I'm turning a Target dollar bin giraffe toy into a sculpture with the look of ceramic and gold.
Read on for the full tutorial.
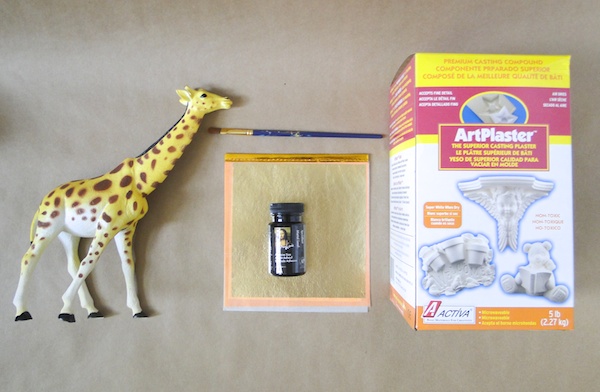
MATERIALS: Plastic Toy, Plaster of Paris, Bucket, Gilding Adhesive, Gold Gilding Sheet, Paint Brush
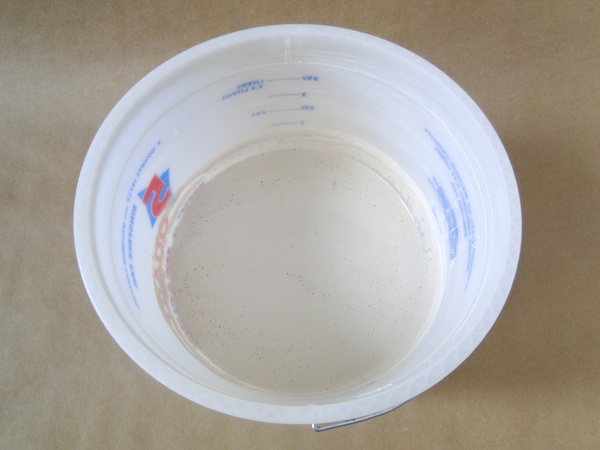
ONE: In a medium size bucket, mix up some plaster following the directions on the plaster.

TWO: To the extent that you can depending on how big your bucket is and the depth of your mixed up plaster, dip the toy in the plaster. What you're not able to cover by dipping, just spoon some plaster mixture over the area, and smooth it out with the back of the spoon. Allow about an hour to dry.
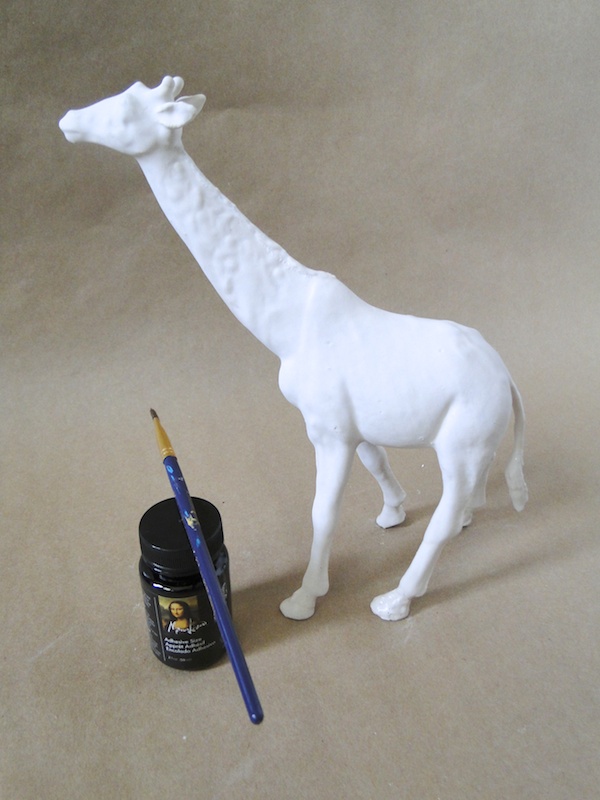
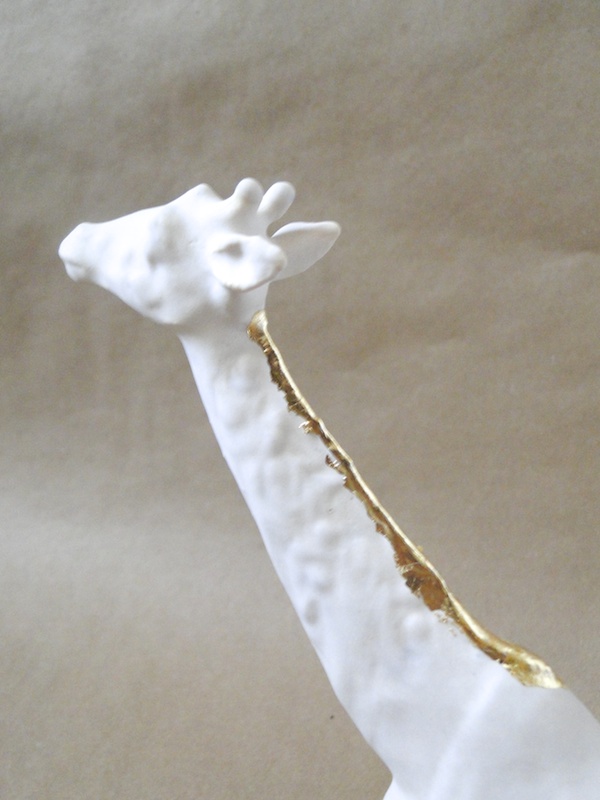
THREE: Pick a few features to gild. I went with the giraffe's hooves, tail, and neck ridge. Apply the gilding adhesive to those areas, and allow time to get tacky. The exact setting time should be indicated on your bottle of adhesive.
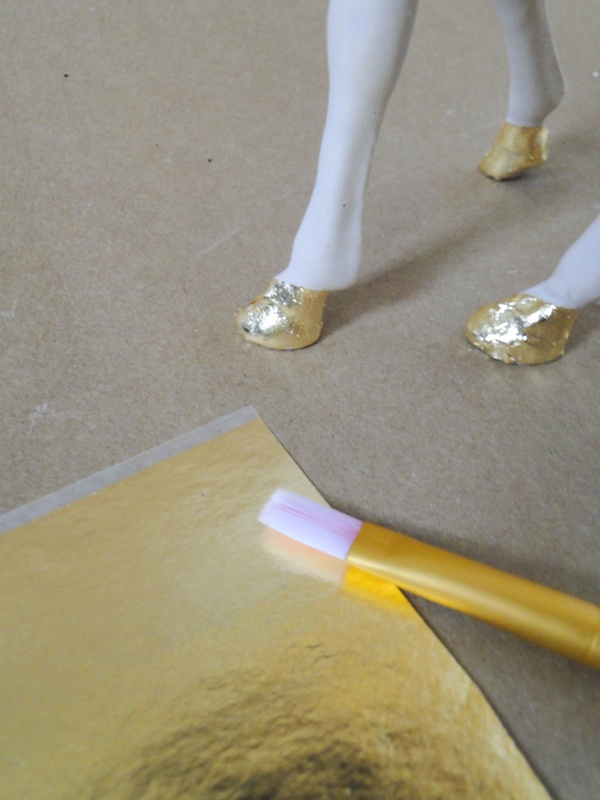
FOUR: Rub the gilding sheets onto the tacky adhesive, and use a dry paint brush to brush smooth and clear away any excess. If you want to seal it with a gilding seal or varnish, be my guest. I just left mine unsealed, and it's held up just fine.
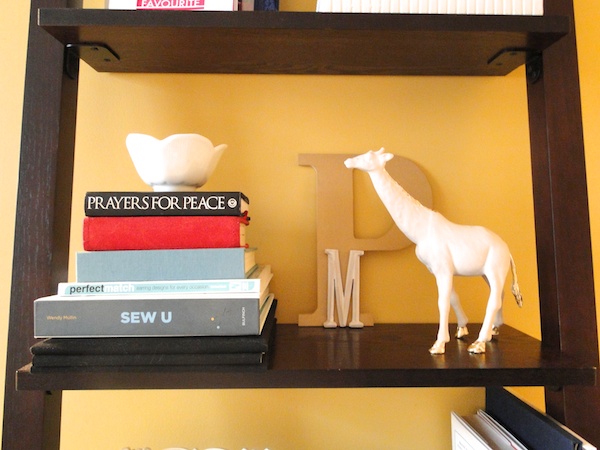
Now, you've got yourself a semi-fancy little sculpture with the look and feel of ceramic and gold.
I imagine this technique could be used on a whole host of random objects. Can you think of any other fun household items that would look good ceramicized and gilded?

find me elsewhere
If you've ever given one of my tutorials or cocktails a try or you've just been inspired by something you've seen here on Fabric Paper Glue, be sure to share a photo. I'd love to feature it!

No comments:
Post a Comment
Note: Only a member of this blog may post a comment.