
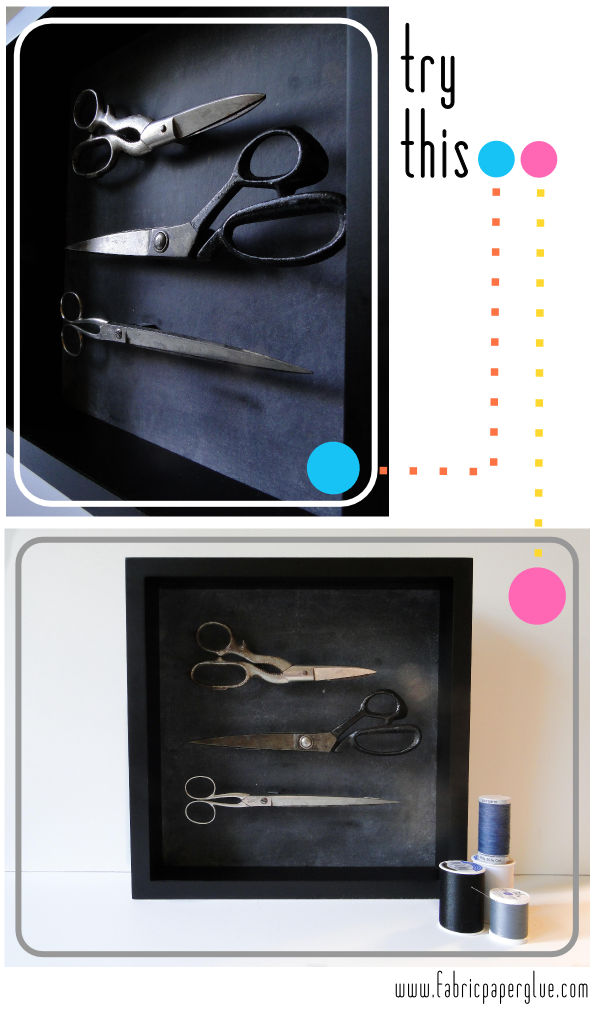
Try This: Vintage Scissor Artwork
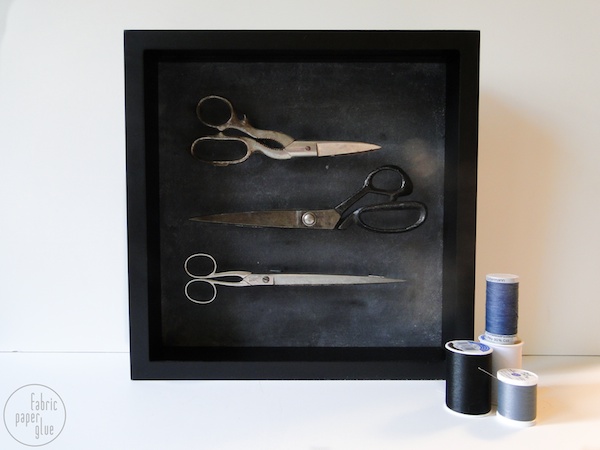
I recently rounded up a whole boatload of beautiful sewing scissors, and in doing so, I discovered the bevy of charming vintage scissors for sale on Etsy. Without much thought, I made a pretty little trio my own, and in short order, I made those babies into some artwork for our gallery wall. With this step-by-step, you can too!
Read on for the full tutorial.
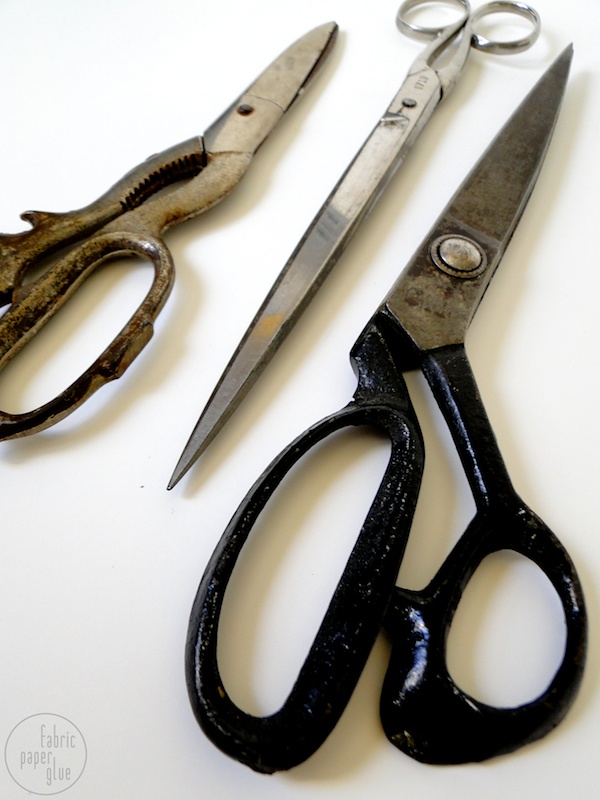
MATERIALS: a trio of vintage scissors, an adequately-sized shadow box, chalkboard paint, chalk, 5 - 1/2" wooden cubes, 5 - small wood screws (approx 1/2" in length or less), drill, small drill bit, epoxy glue
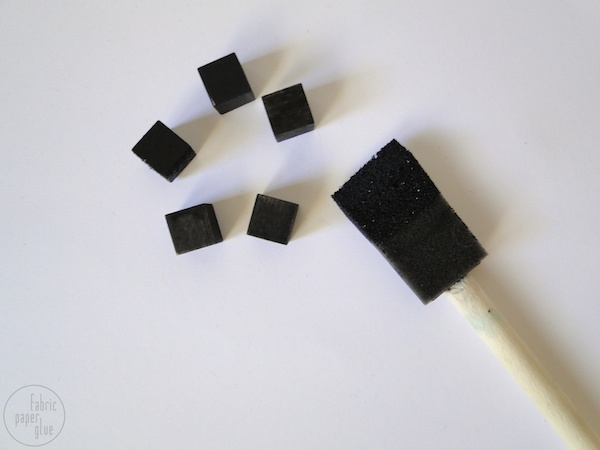
ONE: Paint the wooden cubes with the blackboard paint.
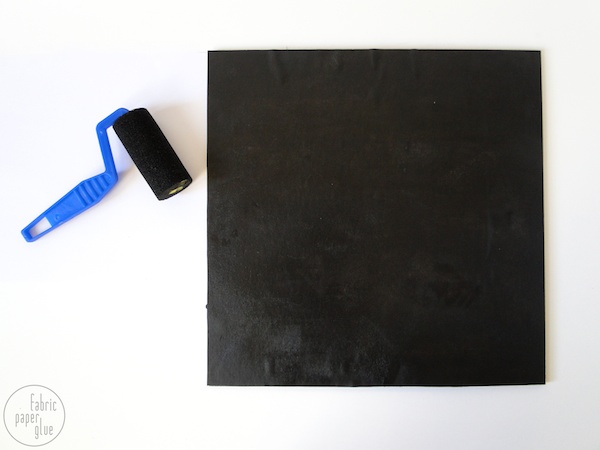
TWO: If the backer for your shadowbox is smooth, paint it with chalkboard paint. Mine had some hardware peeking through, so I just attached a piece of poster board with spray adhesive and painted that.
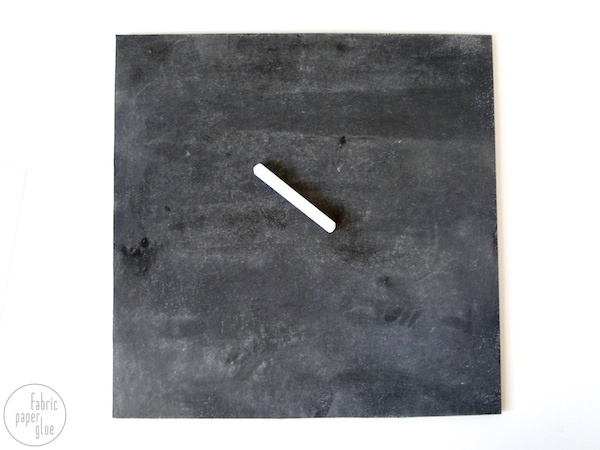
THREE: Prime the shadowbox backing by covering it in chalk. Gently wipe it away, but leave a generous amount of chalk dust behind. This is what gives it that industrial look. You'll want to prime the wooden blocks too so that they blend in.
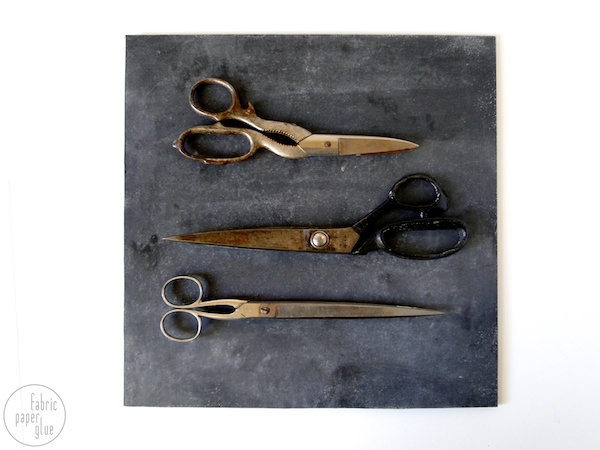
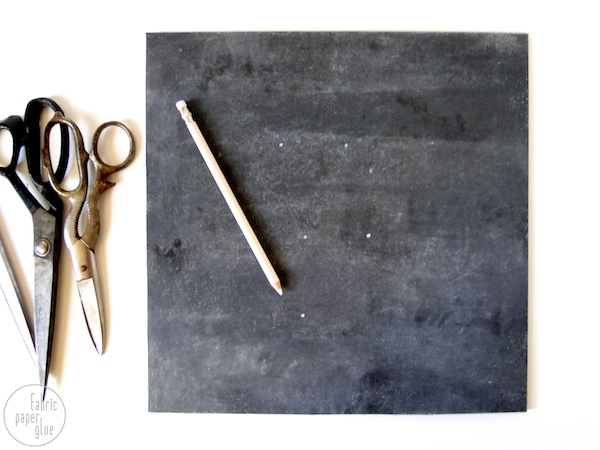
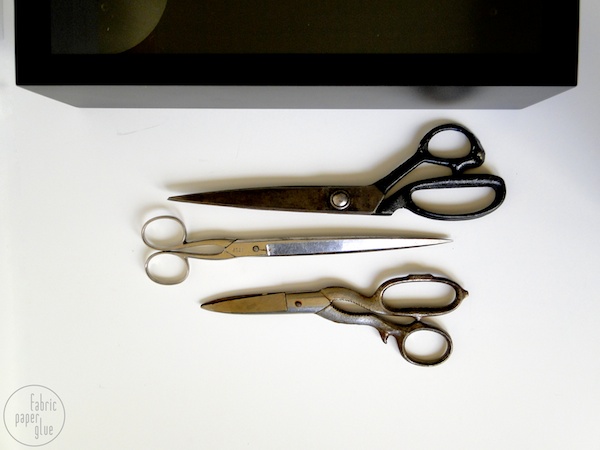
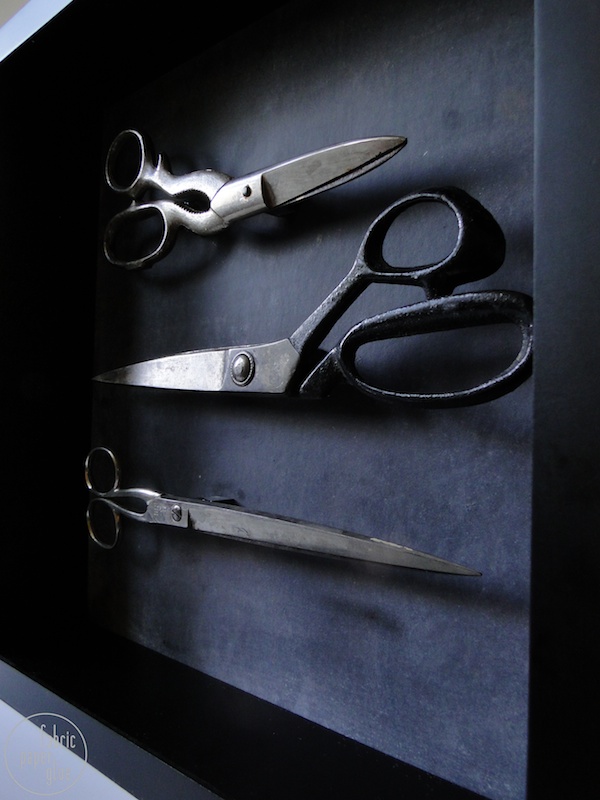
FOUR: Determine a layout for your scissors. Then mark one to two support points for each pair of scissors. For the two heavier pair, I marked one point at the hinge and another around the handles. For the lighter pair, I marked only one point right at the hinge.
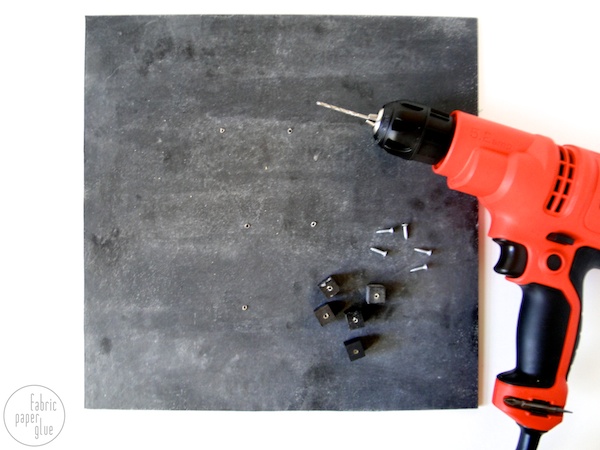
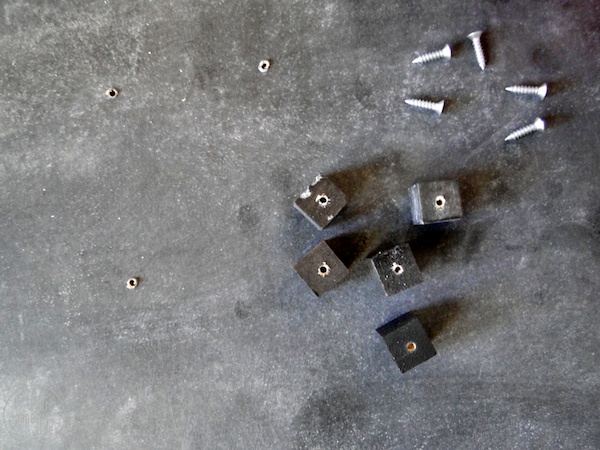
FIVE: Using a drill bit just smaller than your small wood screws, drill through your shadowbox backer at the support points. Also drill starter holes into the back of each of the wooden blocks, but do not drill all the way through.
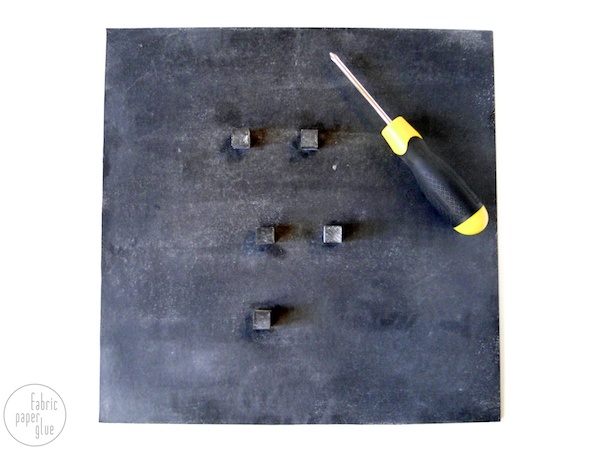
SIX: Affix the blocks to the backer by screwing the screws through the back into the blocks. Twist until tight but level. Since you might have smudged it, even out your chalk dust by simply reapplying chalk in those areas and gently wiping it away until it looks nice.
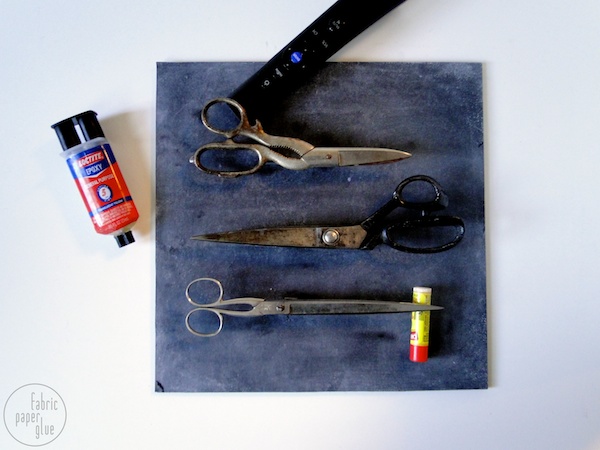
SEVEN: Affix the scissors to the cubes using a heavy duty adhesive like epoxy. While the glue sets, prop the scissors into place with sophisticated supplies like lip balm and a remote control. Once the glue has set, put the backer back into the shadowbox frame and hang.
I will note that this adhesive basically renders these useless. I bought these beauties for a steal and with this purpose in mind, so I didn't mind.
Obviously, everyone won't be into displaying shears, but I imagine this method would work quite nicely for displaying a whole host of objects and finds.
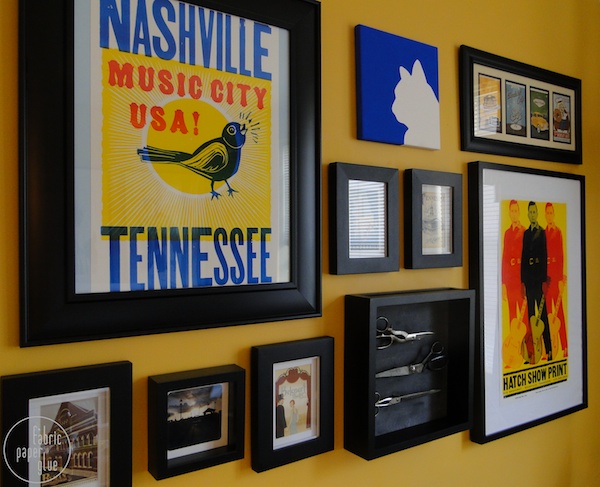
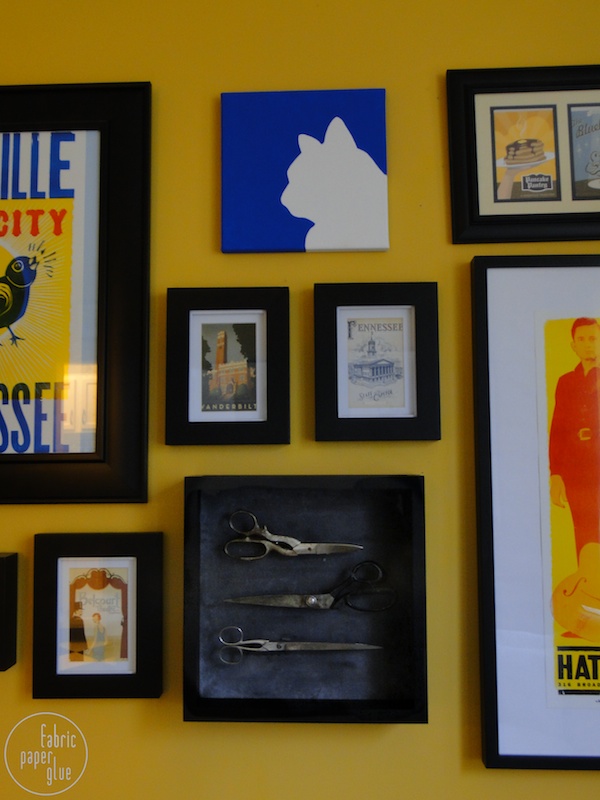
My new art has a nice little home on our gallery wall.

find me elsewhere
If you've ever given one of my tutorials or cocktails a try or you've just been inspired by something you've seen here on Fabric Paper Glue, be sure to share a photo. I'd love to feature it!
I love it! I was in fact just wondering what I should do with these two shadow boxes I bought a while ago because they seem to contain endless possibilities.
ReplyDeleteBest,
Melody of From Scratch
http://melodycharlotte-fromscratch.blogspot.com
Hi, Melody. Oh, my. The possibilities for shadow boxes are endless! But sometimes that can be part of the problem in the creative process, huh? I'm glad I could get the gears turning!
DeleteIt fits in so nicely with all the other pieces, great job!!
ReplyDeleteI'm glad you think so! I was sort of wondering if it was a little too industrial for the rest, but I like to think it's sort of playful like the other art.
DeleteThis is absolutely fantastic! I have two old scissors and have been on the hunt for more. This is the perfect solution for when I do acquire more!
ReplyDeleteSo awesome! Great tutorial photos too...
ReplyDelete