

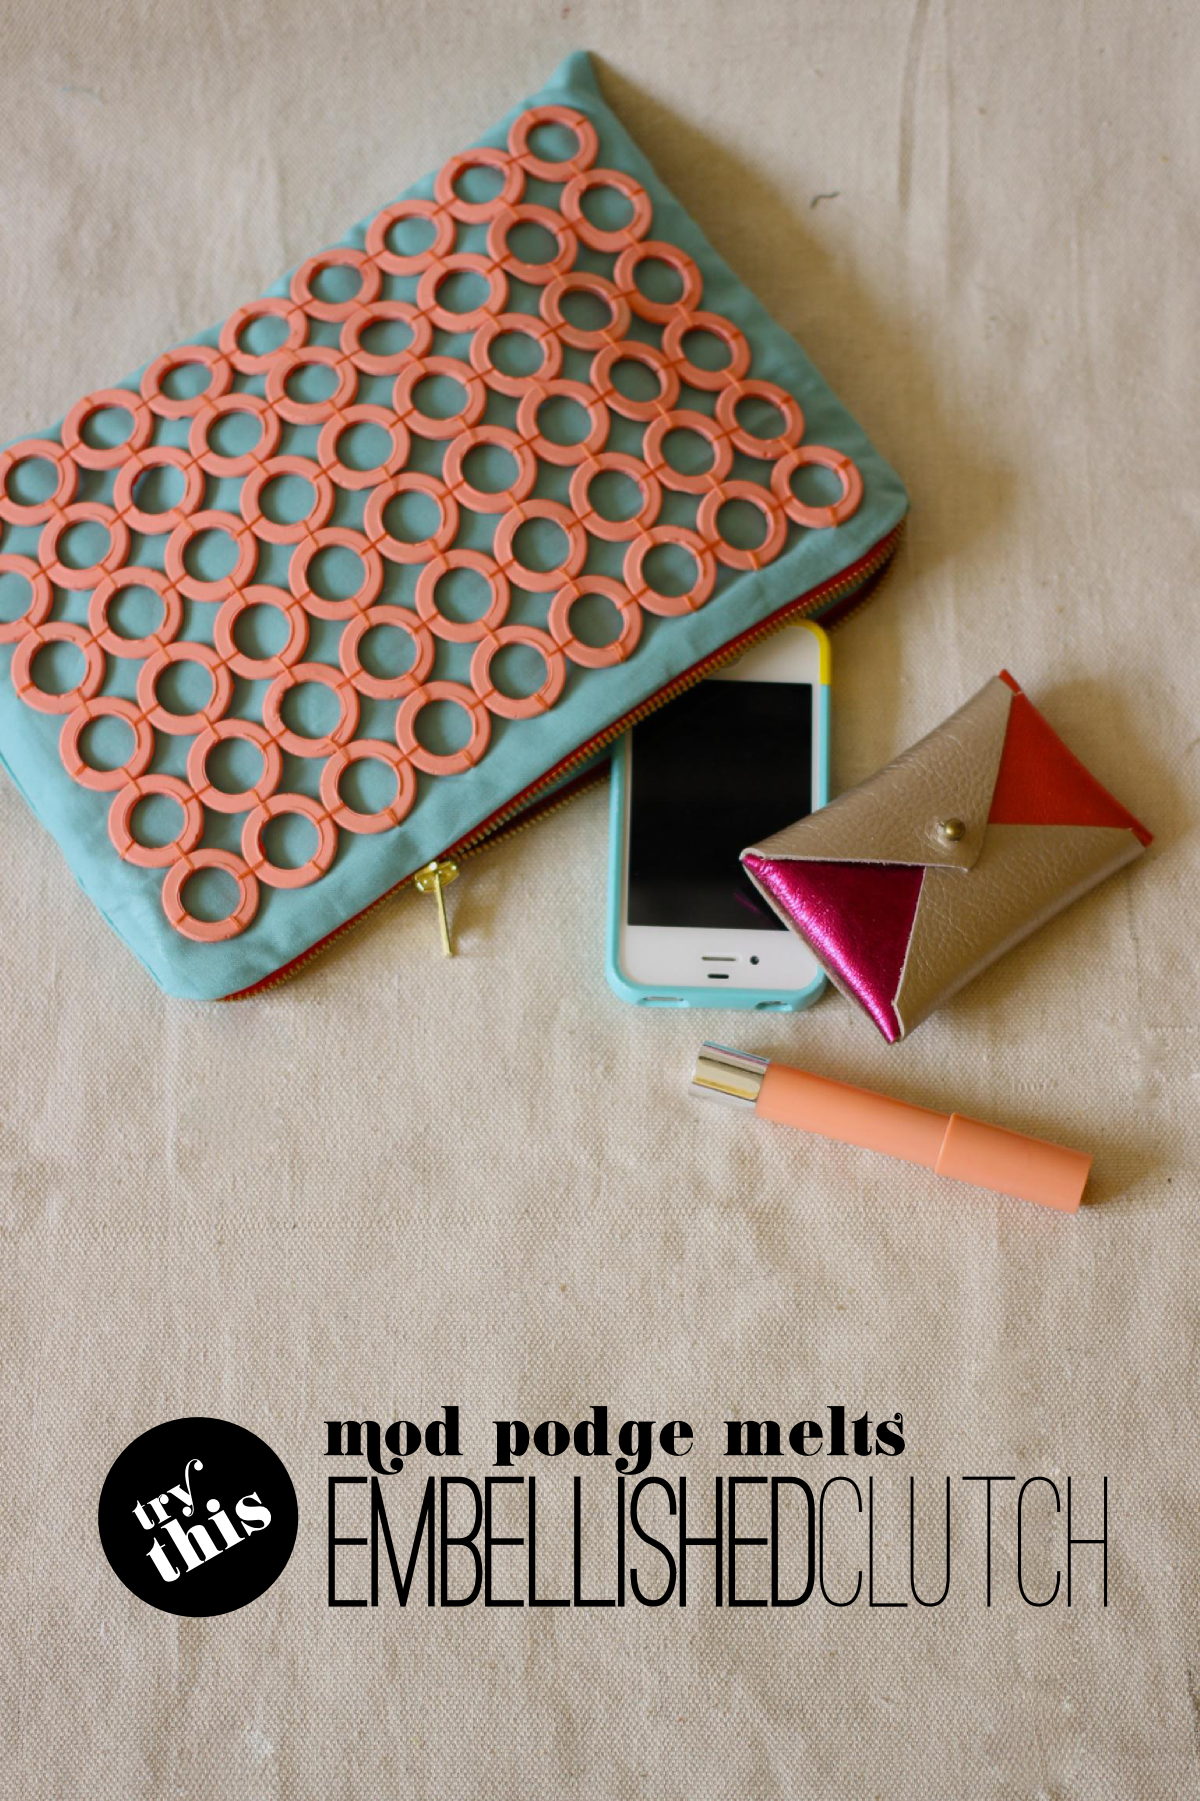
Today, I've got a tutorial for basically the perfect summer clutch -- it's bright, it's colorful, it's unique. ...And it uses a cool new product recently added to the Mod Podge arsenal. Read on for the full tutorial.
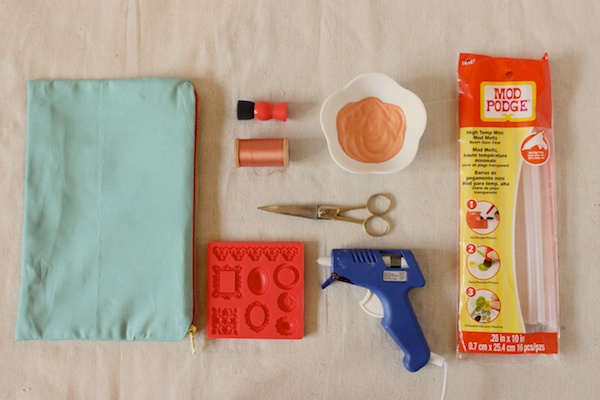
MATERIALS: Mod Podge Mod Melts Sticks, Mod Podge Mod Melts Frames Mold, Glue Gun, Satin Paint, Paint Dauber, Needle & Thread, Plain Zippered Pouch or Clutch
All Mod Podge Mod Melts products are available at Michael's in the same section as all the other Mod Podge products. As for the zippered pouch, you can either use a store-bought one or whip up your own (like I did) with a super simple tutorial like this one.
All Mod Podge Mod Melts products are available at Michael's in the same section as all the other Mod Podge products. As for the zippered pouch, you can either use a store-bought one or whip up your own (like I did) with a super simple tutorial like this one.
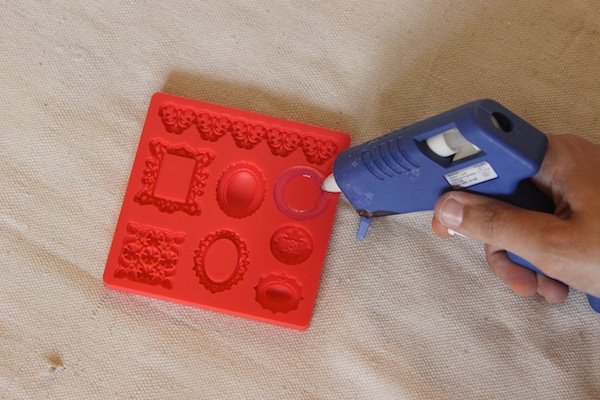
Use the glue gun to fill the circle frame mold with the Mod Melts. Allow to cool for about 5 minutes. Pop the circle out, and trim any excess. (Confession: I didn't actually trim the excess (and you'll know why once you get to the next step), and I don't regret it one bit. Once that coral-ish satin paint gets on there, they actually take on this really cool terracotta effect which makes the imperfections look all the more at home.)
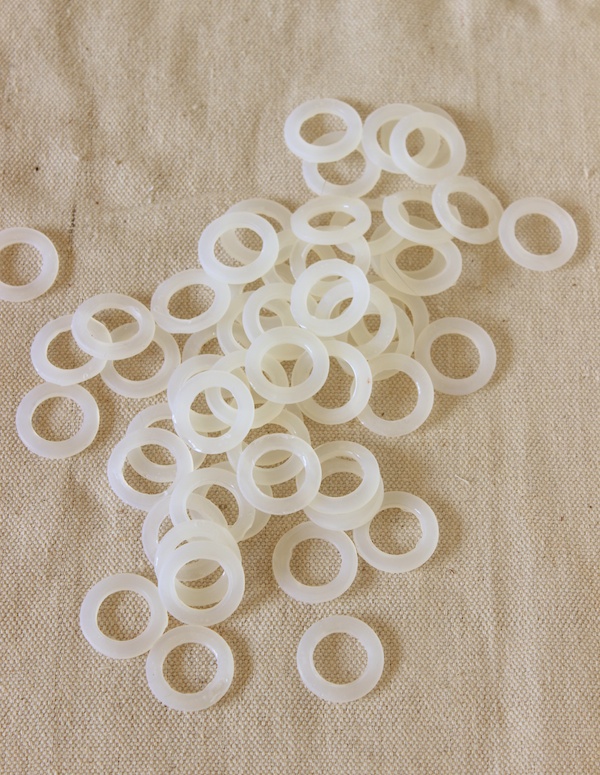
Repeat a gazillion times. Seriously though, counting some mess-ups, I made about 60. "But, Mandy, that'll take 300 minutes?!" Yeah, I'm not sure how the math works on that, but it didn't take that long. I got into a rhythm and knocked them out during one night's TV-watching session.
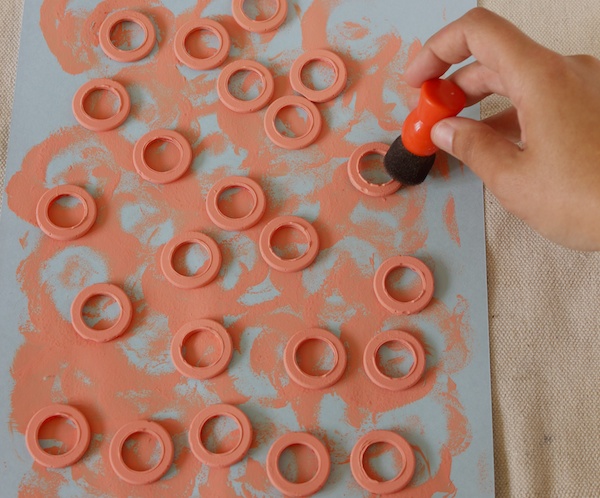
Give all your circle frames a coat of paint. Be sure to use a matte or satin finish acrylic paint. I'm told that glossy paints won't stick as well.
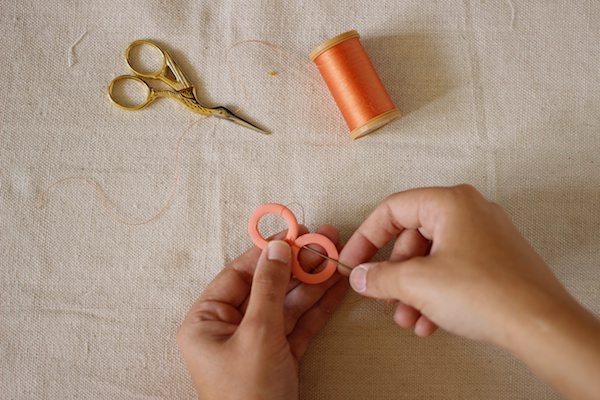
Use a needle and thread to attach the rings to one another by wrapping a matching thread around two adjoining circles about three times. Tie the thread off on the back and add a little dab of glue to keep the knot secure. Keep going, creating a rectangular grid that covers most of the front of your pouch. My pouch called for a grid 9 circles wide by 6 circles tall.

Hand sew the grid to the front of the clutch by stitching each of the outermost circles to the shell of the pouch's front.
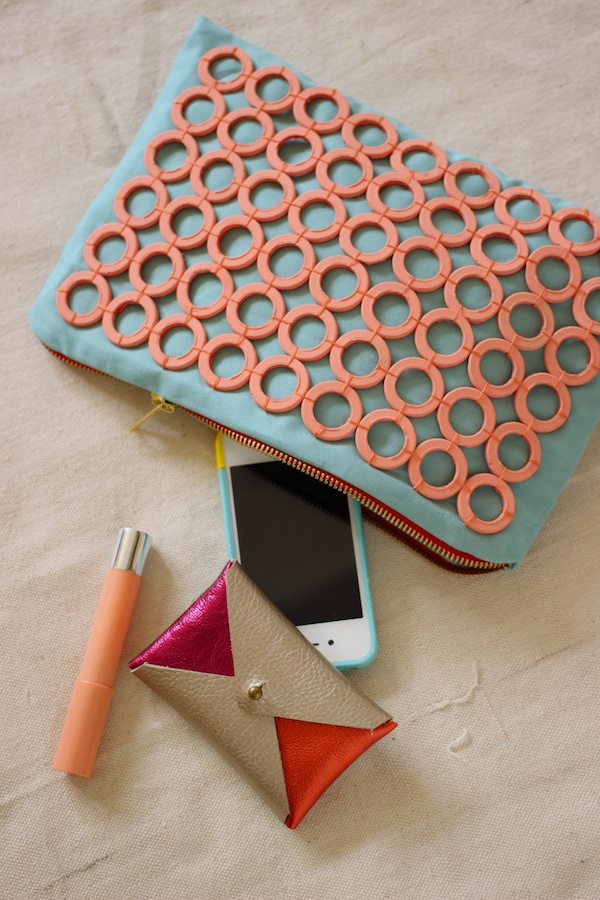
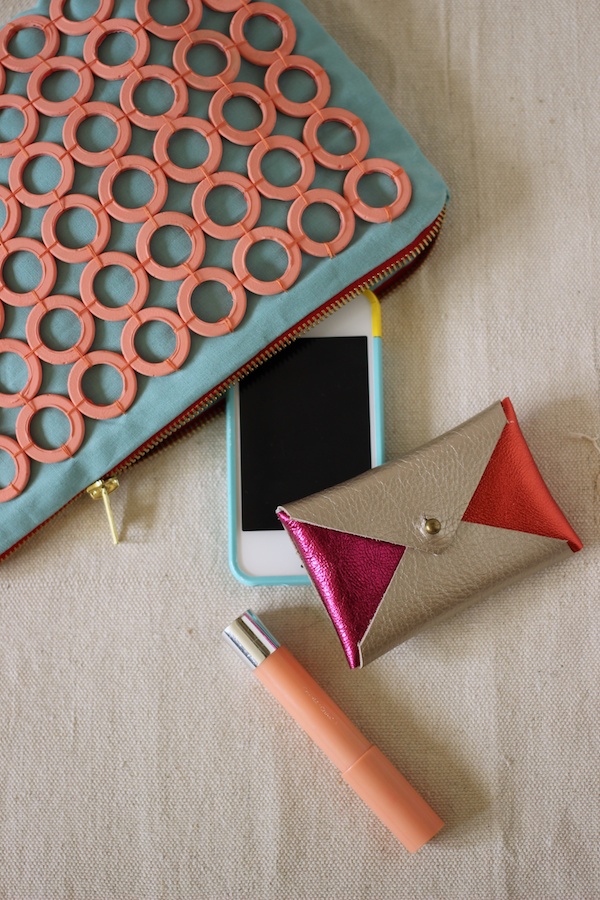
I made my pouch from regular ole quilting cotton, and the extra bonus of the Mod Melts grid is that it added some serious structure to an otherwise pretty flimsy pouch. I'm absolutely in love with my clutch and can't wait to break it out for a night out.
What do you think? What delightful summery color combo would you use?


To keep track of all the new products and great projects from Plaid - the fine folks behind Mod Podge - follow them on their blog, Facebook, Twitter, and Pinterest!
Disclosure: I completed this post as part of a marketing campaign for the release of the new Mod Podge Mod Melts line of products. As part of the campaign, I received supplies and other compensation. All opinions -- and circle-makin' man hours -- are my own. Thanks for supporting the sponsors that help keep Fabric Paper Glue goin'!
Disclosure: I completed this post as part of a marketing campaign for the release of the new Mod Podge Mod Melts line of products. As part of the campaign, I received supplies and other compensation. All opinions -- and circle-makin' man hours -- are my own. Thanks for supporting the sponsors that help keep Fabric Paper Glue goin'!
That looks so amazing and fun!
ReplyDeleteThis is soooo cool!
ReplyDeletenever thought of this technic before! ;)
This is so cute! I've heard a lot about the mod podge melts - I think I need to try this out sometime SOON. Thanks for sharing!
ReplyDelete-Ashleigh
www.craftistaskits.com
Wow! How pretty! Great Mod Melts project.
ReplyDeleteKC
this is crazy crafty! love the coral and blue combo, and modge podge melts? AWESOME! I can't wait to try them.
ReplyDeleteI would love to see what awesome use you would come up with. I just know it would blow me away!
DeleteI am completely in awe. Not only is this incredibly creative, but it is also very chic. Well done!
ReplyDeleteThanks! Chic is definitely what I was going for and happy to hear I achieved it! :)
Deletevery cute!!
ReplyDeleteAbsolutely brilliant. Perfect color combination too. I want one.
ReplyDeleteWoah! "Brilliant"? You're tooooo kind!!
DeleteSuper cute!!
ReplyDeleteI love the tiny little frames! Must get crafty.
ReplyDeleteDarling.
ReplyDeleteHow fun! It looks super tactile. I probably wouldn't be able to stop playing with it : )
ReplyDeleteHaha. We'll see. I plan on using it for the first time this weekend.
DeleteI love this! Now I'm totally wanting mod melts...
ReplyDeleteWow.. This is super impressive idea.. I had a hard time making those rings, yours came out so neat! :)
ReplyDeleteOh, thanks! I kind of thought mine looked sloppy. By about ring number 40, though, I was really getting the hang of it. :)
DeleteWow another amazing project! Really your clutch is so en vogue! I bought some resin a couple of months ago, but I think this is much cheaper! Thank you for sharin!
ReplyDeleteThat looks really cool. I thought you used rubber washers for the rings. I think that would save a lot of time and look the same.
ReplyDeleteWhat a cool project!!
ReplyDeleteThis is so awesome and unique - I love it!
ReplyDeleteThis is seriously amazing!!! I love what you did with it, and the color is gorgeous. So creative.
ReplyDeleteWow-what a clever idea!
ReplyDeleteThis is amazing! Fantastic job and so creative!
ReplyDeleteThat is AMAZING! I never would have thought to use the rings like that. I love it!!!
ReplyDelete