
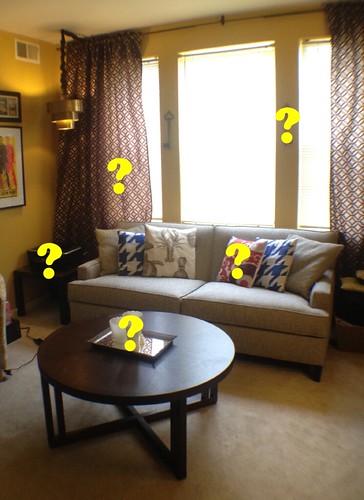
I continue to tackle the issues on my little living room to do list.
After we got our pretty new sofa and coffee table, it became oh-so obvious that we should find a new home for our printer. Because the printer had to stay accessible, I had originally intended to find a small cabinet that could house the printer and double as an end table. Well, we finally figured out how to make the wireless function work. This sort of changed the definition of accessible, so we were able to move into our media cabinet. Yay. This left us with room for decorative detail.
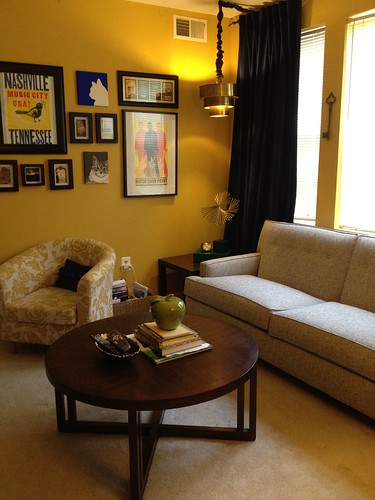
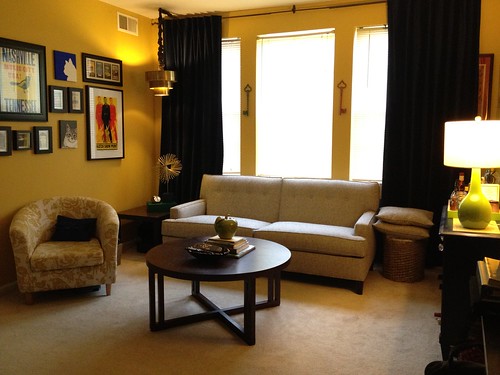
Enter this picture...again.

This month's Martha Stewart Living, which instigated my whole bookshelf styling venture. Note that little gold sculpture. Love it. Must have it. So, I made it...or at least something in the same spirit.
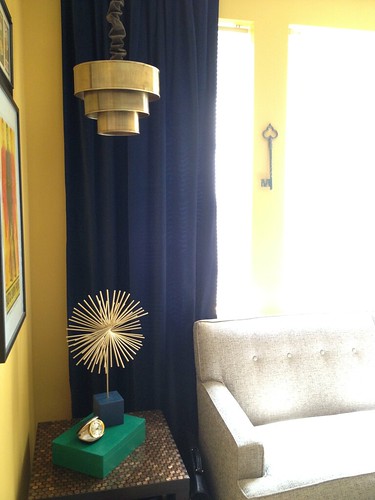
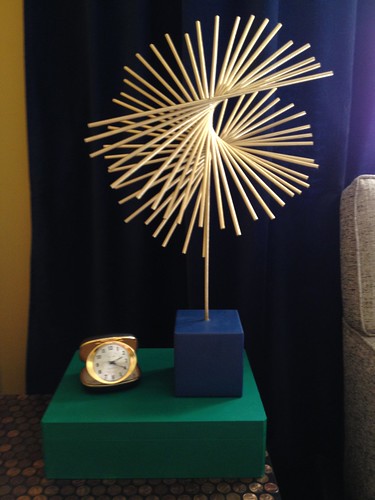
Pay no mind to the penny-covered Ikea table upon which it sits. Actually, I feel a little conflicted about it. It was an early endeavor when I was looking to try out epoxy. It sorta works with the whole copper/gold thing I love, but it also reminds me of a frat house for some reason. Anyway, on with the sculpture...
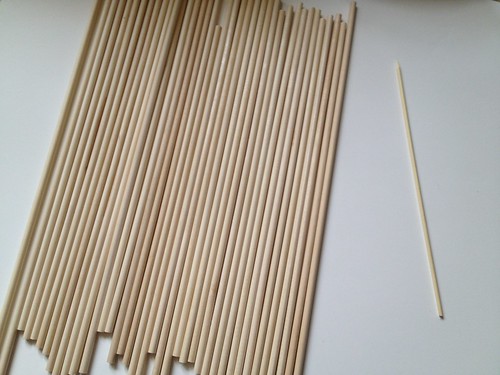
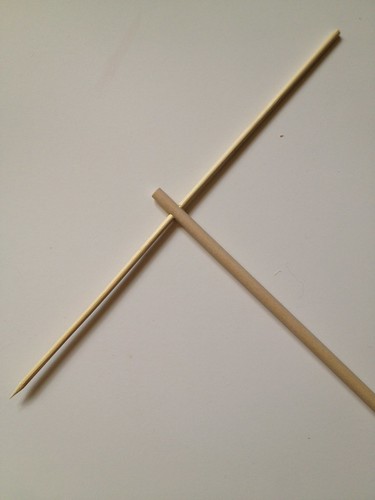
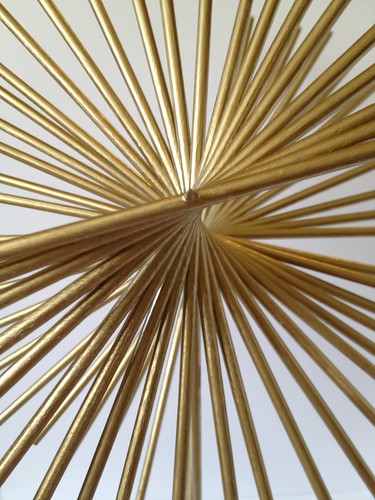
I started out with a couple packs of wooden craft dowels and a single skewer.

In one of the dowels, I drilled a hole at one end the same size (or a tidge smaller) as the skewer. I drilled it at a bit of an angle.
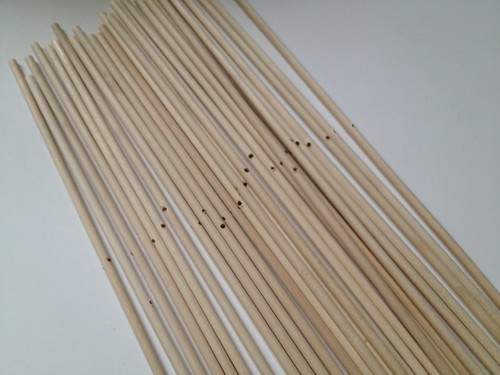
In the rest of the dowels, I drilled holes straight through the middle.
I slid the skewer through the end hole such that the dowel was directly in the middle.
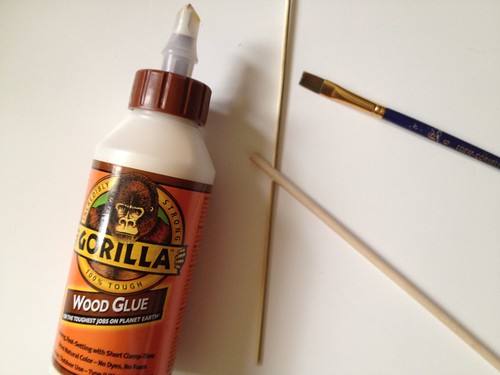
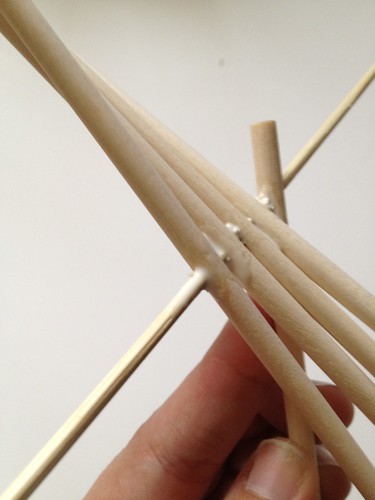
Then, I began putting the other skewers on one at a time, adding a little wood glue as I went.
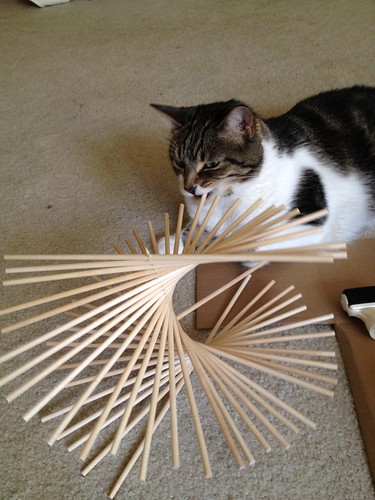
Along the way and at the end, I spread them out in a rotating way. Then, I let Pete gnaw on it a bit.


Using Martha Stewart's brass liquid gilding, I painted the whole thing brass (after using a little acrylic sealer so that I'd only have to do one coat).
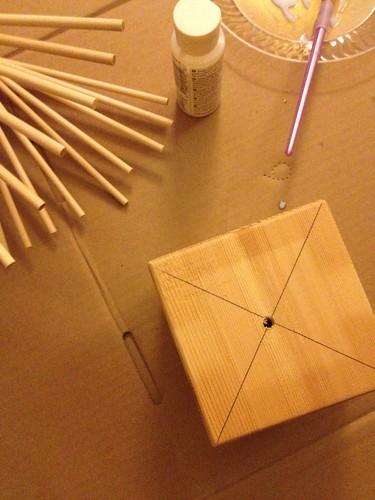
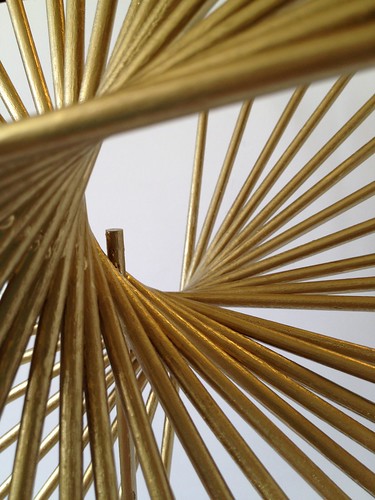
I picked up a wood block from the craft store. I drilled a hole the same size (or a tidge smaller) as the center dowel.
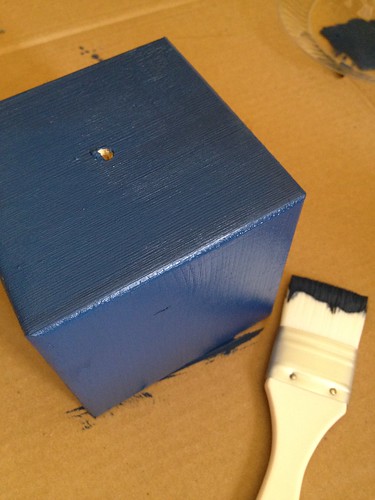
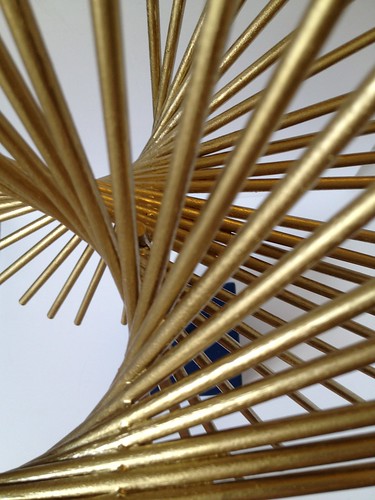
Then, I painted the wood block a deep blue.
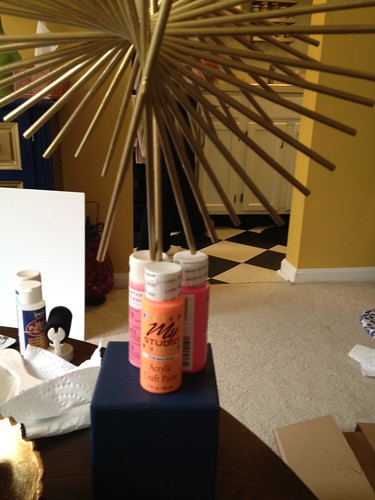
Next, I inserted the center skewer into the block base, applied some glue, and braced it while it dried with a very sophisticated apparatus of paint bottles.
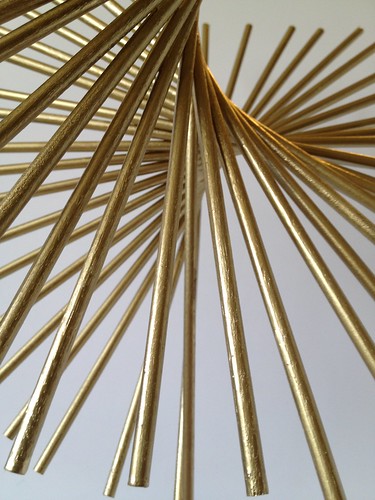
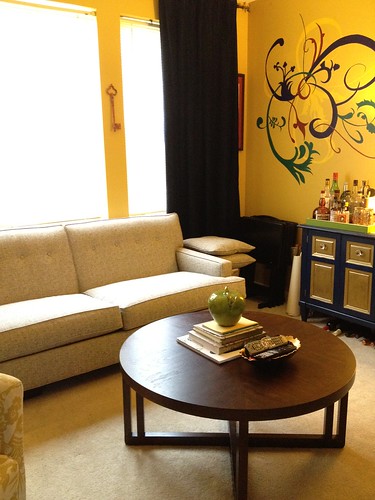
I'm sorta in love with this thing. I mean, first off, it's brass. It's cheap - maybe $15, including the gilding (which I only used about half of). And then it's really dynamic depending on the angle at which you're viewing it.
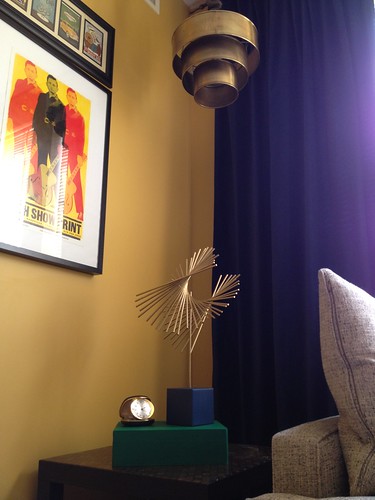
This combined with my sweet coffee table styling skills, the abandonment of my accent pillows (I know -- gasp), and some new blue velvet drapes c/o Ikea, and I'm pretty darn happy with where my living room is these days.
Let's take a look at where I was a couple of months ago -- complete with self-identified problem areas.
And now, here we are today.
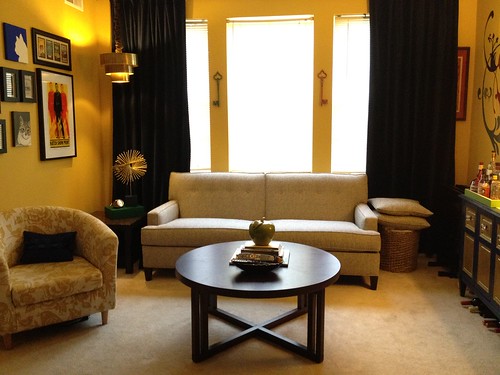
And because I can never be pleased ... I've done some serious contemplation about those mini-blinds. You never - and I mean ever - see mini-blinds in home decor photos. But I feel conflicted. We have to have something there because those windows look out to the ground level of a 5-building courtyard, and our condo rules require that they be white from the outside. We could go with the fuller sized white wooden (or wood-like) blinds, but I'm just not feelin' that for our room. I've contemplated perhaps leaving the mini-blinds and just covering them from the inside with like seagrass roller or roman shades. But three window coverings seems excessive. If you've made it this far, what do you think?

find me elsewhere
I love it and there are so many different ways you could interpret it!
ReplyDeleteYou're an absolute rock star.
ReplyDeleteI love it! It feels so much more grounded and heavy, but in a good way.
ReplyDeletewhat a fantastic piece of modern sculptural art you created. I love it!!
ReplyDeleteStunning, to say the least! Your living room is so lovely.
ReplyDeleteI love your living room. You have really done a great job with it. We have also lived in communities with the white background requirement so I've given that issue thought myself. I also agree with you re: mini-blinds so if I may make one suggestion; what about roman shades of a nice fabric which would pull your colors together but have a good solid white fabric (thick enough to hide the patterned fabric)lined on the back of the shades. I've seen them in stores and have had friends who have made many sets of them and they look and work great to serve both purposes.
ReplyDeleteWow! That is unbelievably beautiful. Living room really looks great! By the way, love that brassy hanging light hanging above the sculpture! Very cool!
ReplyDeleteSuch a cool DIY! I did a similar one but yours looks like it will last for the long haul! I also love your decorating style. :)
ReplyDeleteChampagne Lifestyle on a Beer Budget
That's a great project! I've been thinking of building a small pedestal for stones with a similar technique.
ReplyDelete