
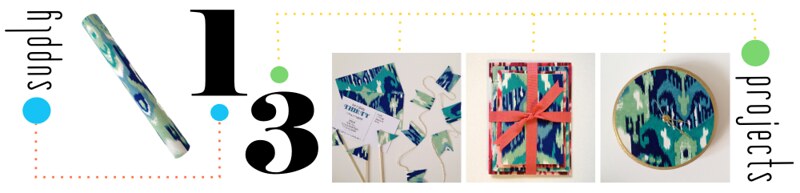
Time for the third and final project in this round of 1 Supply 3 Projects : Decorative Gift Wrap.
Be sure to catch up on Part 1 and Part 2.
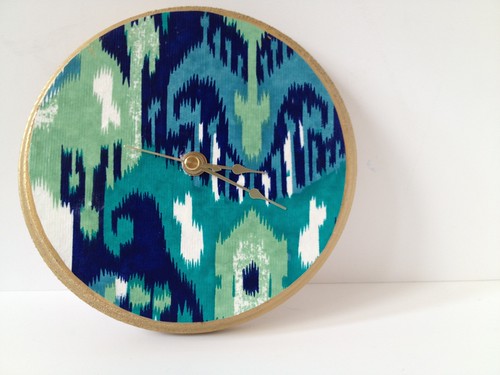
This time we're makin' a clock!
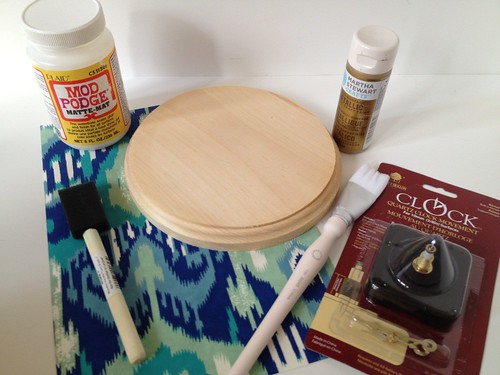
Materials: Decorative Gift Wrap, Wood Circle, Complementary-Colored Paint, Paint Brush, Sealer Glue (like Mod Podge), Sponge Brush, Clock Kit, Drill
My wooden circle was 6", and I picked it up from the craft store. You can buy pre-drilled ones made specifically for the clock kits at most craft stores, but the un-drilled ones are a few bucks cheaper. Make sure your clock kit is made for the thickness of your wood disk.
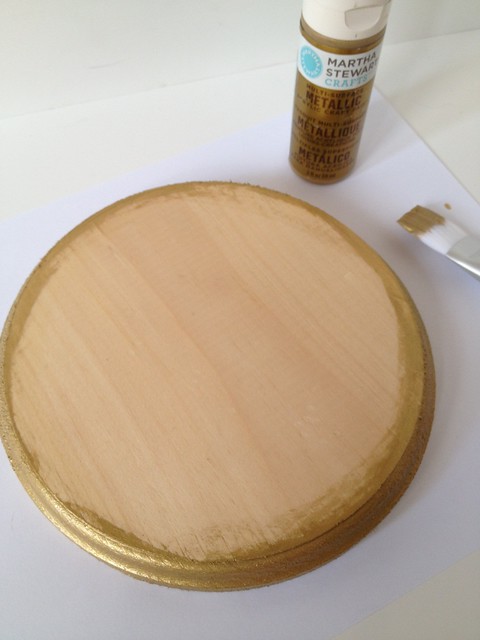
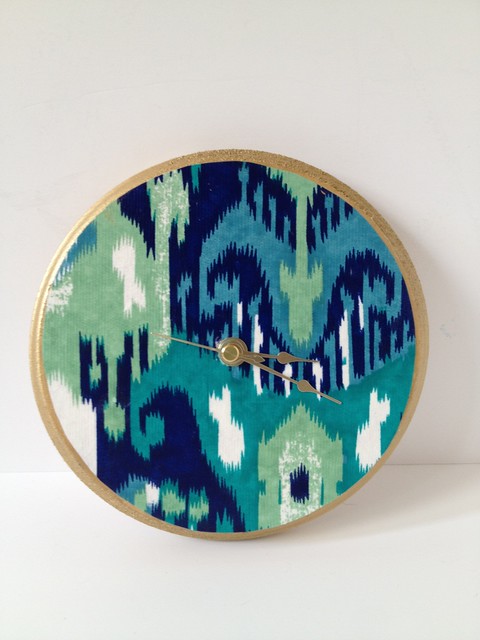
Directions: Paint the edge of the wood in a color that complements your gift wrap. I went with gold, because, well, I always go with gold. Gold is like a drug to me.
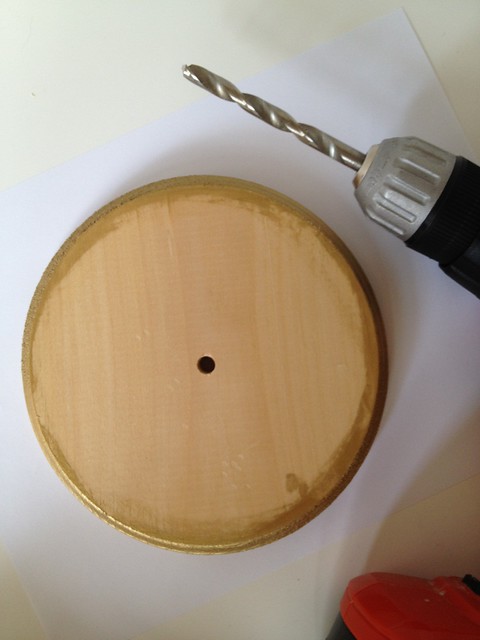
Drill a hole big enough for the clock kit in the middle of the wooden circle.
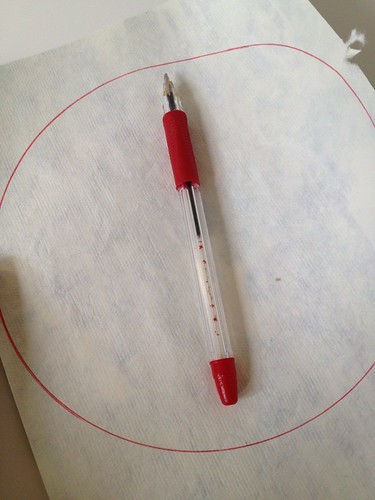
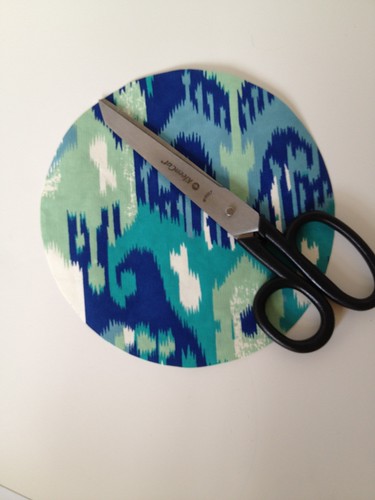
Trace the circle onto the gift wrap and cut out.
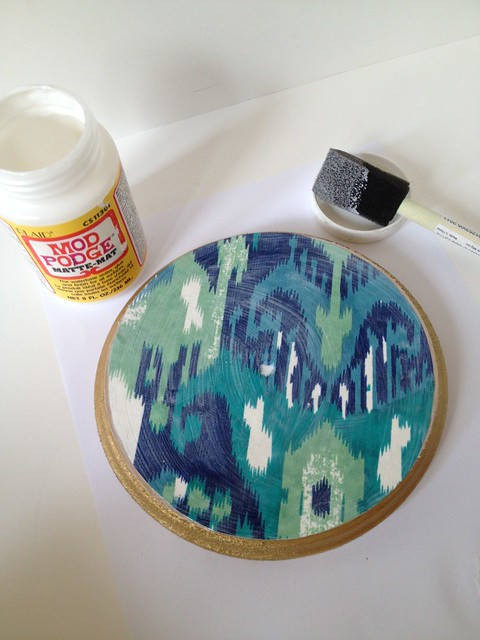
Glue the gift wrap circle to the wooden circle using the Mod Podge
both on the back and the front of the gift wrap.
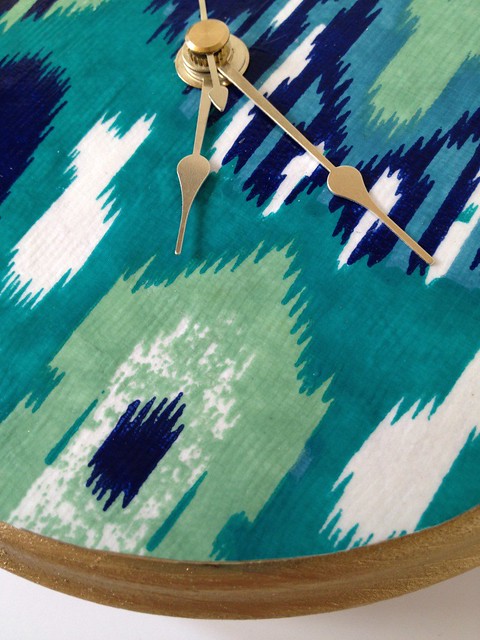
Let the glue dry, and install the clock kit.
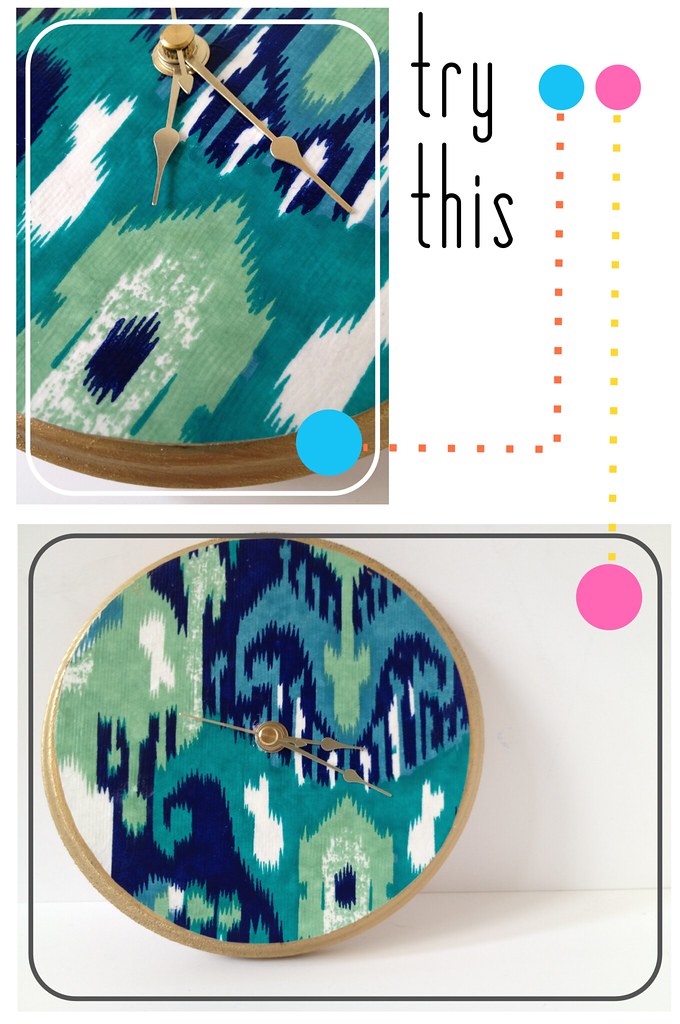
Just about as easy as they come, no?
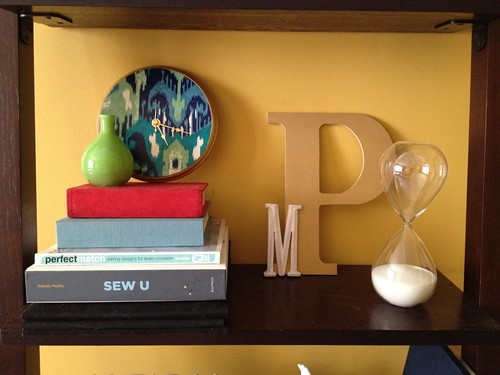
Form and function!


find me elsewhere
If you've ever given one of my tutorials or cocktails a try or you've just been inspired by something you've seen here on Fabric Paper Glue, be sure to share a photo. I'd love to feature it!
I love it!!! What about a clock with fabric in an embroidery hoop? Would it hold up to the hardware?
ReplyDeleteOoh, interesting idea, Molly. I've got to admit that this little clock kit got my gears turning (no pun intended). I'm trying my hardest not to make like 5 more clocks!
DeleteI was thinking the same thing actually. When I saw this on Pinterest, I thought it was an embroidery hoop. I love the way it turned out!
ReplyDeleteI also thought of using an embroidery hoop. I have some old wooden hoops and this would be a great use for them.
ReplyDeleteYou'll need to put some stiff cardboard cut exactly to inside circumference of the hoop hot glues to it to hold the clock mechanism if you are going to do the embroidery hoop thingy!
ReplyDeleteGreat idea love it! How do you get it to hang on a wall?
ReplyDeleteThanks! The clock kit actually has a hanger on the back.
DeleteDo you think this would work with a photograph?
ReplyDeleteHi, Krissy! A photograph would work great for a project like this! If you print it at home, you'll want to seal with a spray sealer that you can get from the craft store before you decoupage it. Otherwise the inks might bleed.
Delete