Showing posts with label 1 Supply 3 Projects. Show all posts

2.07.2013

Try This: Heart Clips

1 Supply 3 Projects - Wooden Hearts

I'm spending the better part of this week showing you how to turn a cheap bag of wooden hearts into three pretty freakin' fabulous projects (if I do say so...and I do.).  We've already ticked off a simple little necklace and some cute, customizable napkin ties.  We are finishing this grand affair off with the most adorable set of heart clips.

Wood Heart Clips

Try This: Heart Clips

Read on for the full tutorial.

2.05.2013

Try This: Chalkboard Hearts Napkin Tie

1 Supply 3 Projects - Wooden Hearts

This week, I'm showing you how to use one $2 bag of wooden hearts to create three adorable projects.  Yesterday, we whipped up a little heart necklace as cute as it is simple.  Today, we're creating a little napkin tie perfect for a Valentine's placesetting.

Wood Heart Napkin Ring
Try This: Chalkboard Hearts Napkin Tie

Read on for the full tutorial.

2.04.2013

Try This: Simple Heart Necklace

1 Supply 3 Projects - Wooden Hearts

It's February, people, and if you think I was posting a lot of heart projects before, well, hold onto your hats because it's about to be an all-out heart love fest up in here. And what better way to celebrate hearts than by reviving my 1 Supply / 3 Projects series to show you three stupid easy projects to put a cheap little bag of wooden hearts to use?!

Wood Heart Necklace

Try This: Simple Heart Necklace

Let's start this trio of projects with a step-by-step for a really simple heart necklace. Read on for the full tutorial.

6.21.2012

1 Supply 3 Projects: Wood Veneer - Part 3

Graphic

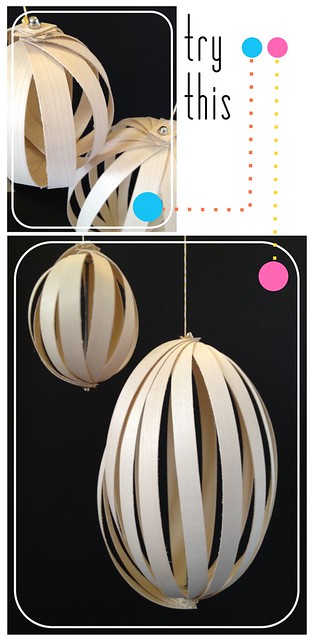
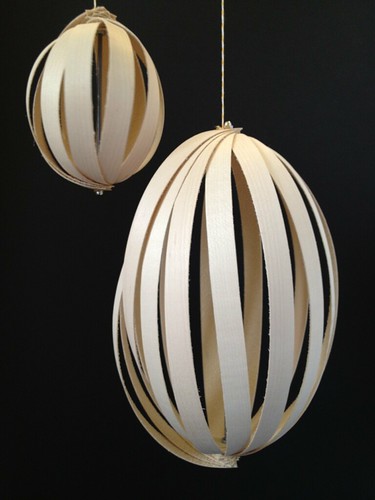
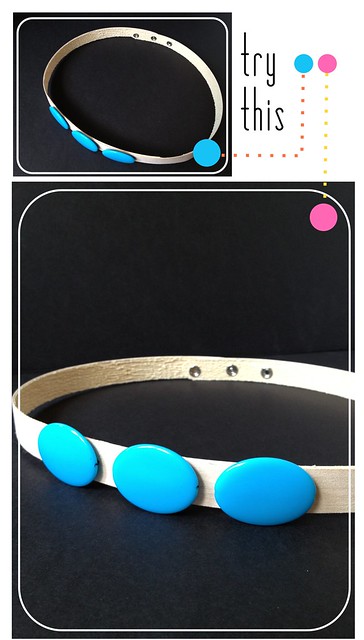
We're wrapping up this 3-part series with a ridiculously easy veneer pendant!

Be sure to check out parts 1 and 2!

Try This - Wood Veneer Pendant

Veneer Pendant 1
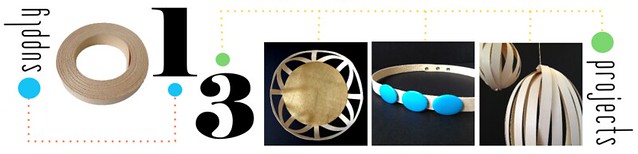
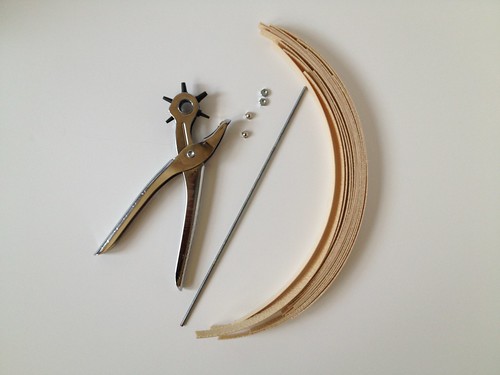
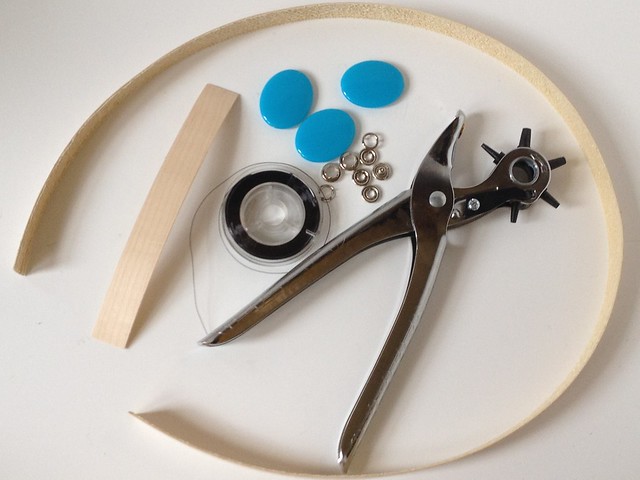
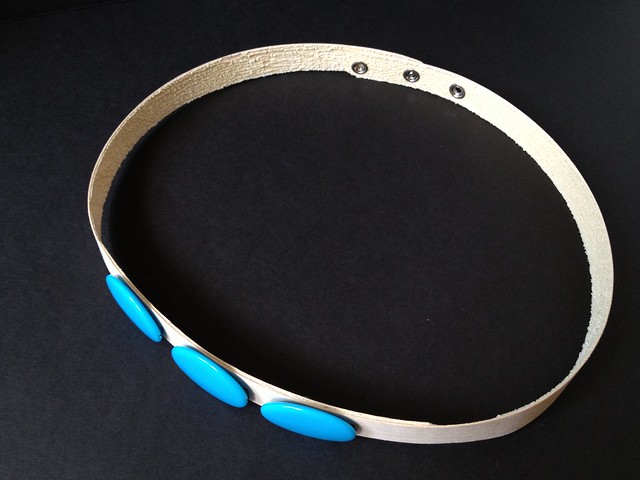
Materials:  12" Threaded Metal Rod, 2 Washers, 2 End Caps, Hole Punch, String, 14 - 15" Veneer Strips

You can find the metal rods and washers/end caps at the hardware store.  These rods are about $1 a piece, so you can easily and cheaply make lots of these for a big impact.

Veneer Pendant 2
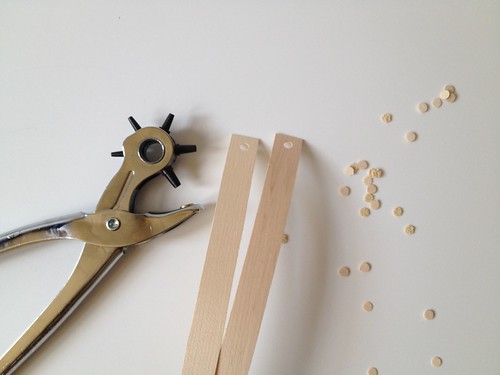
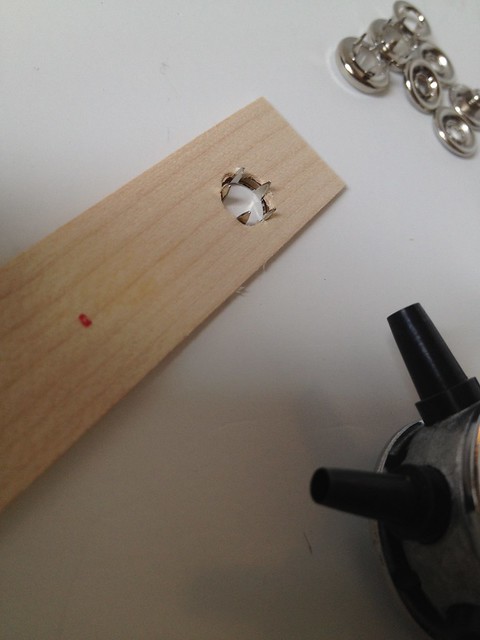
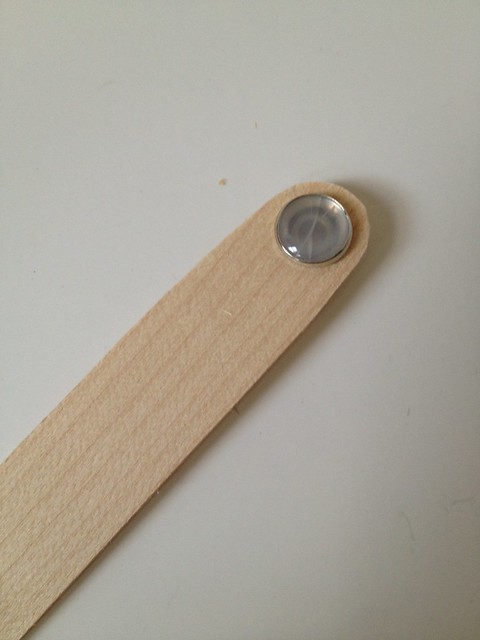
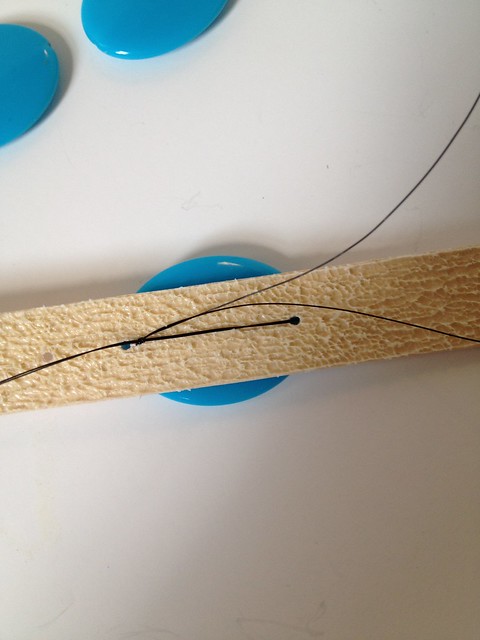
Directions:  Punch a hole just large enough for the rods in each end of each veneer strip.

Veneer Pendant 3
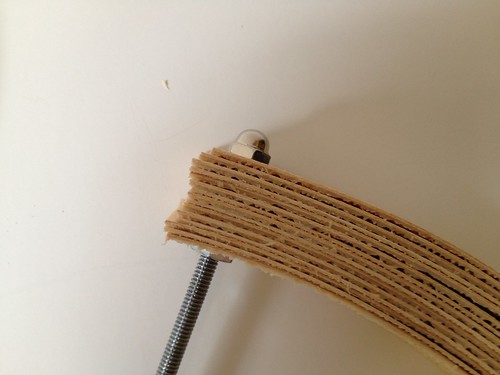
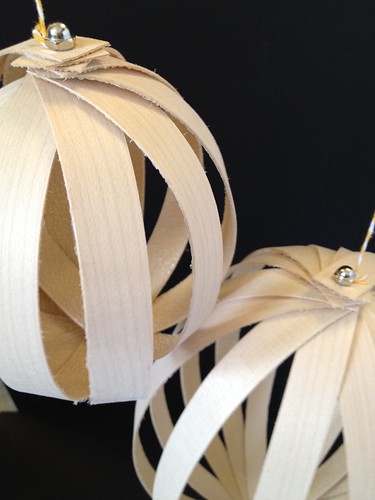
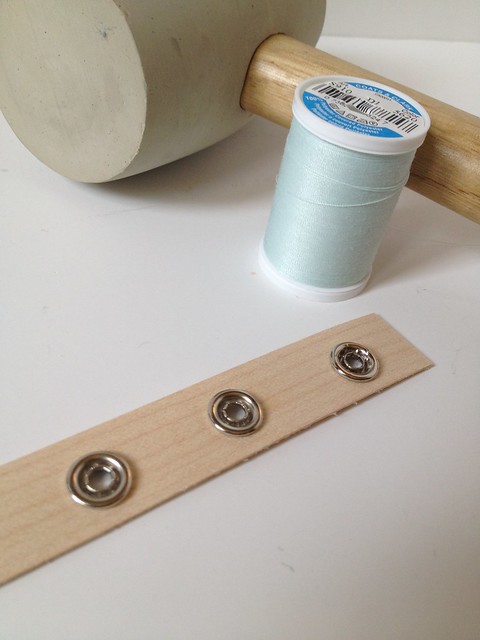
On the end of the rod, place the washer, all the veneer strips, and the end cap.

Veneer Pendant 4
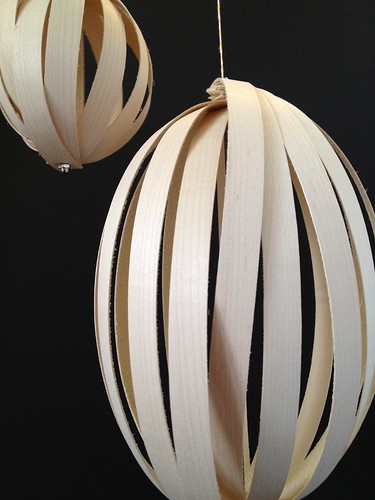
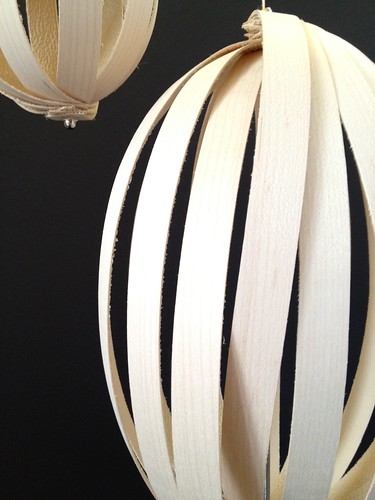
Spread the strips out evenly around the rod.

Veneer Pendant 5
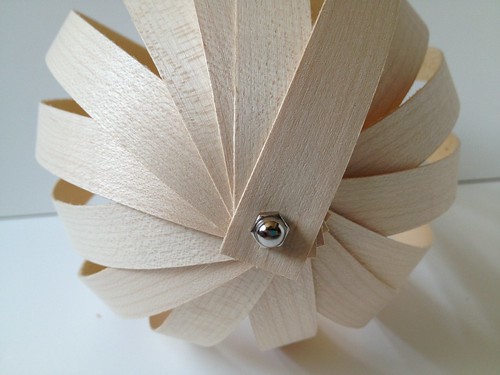
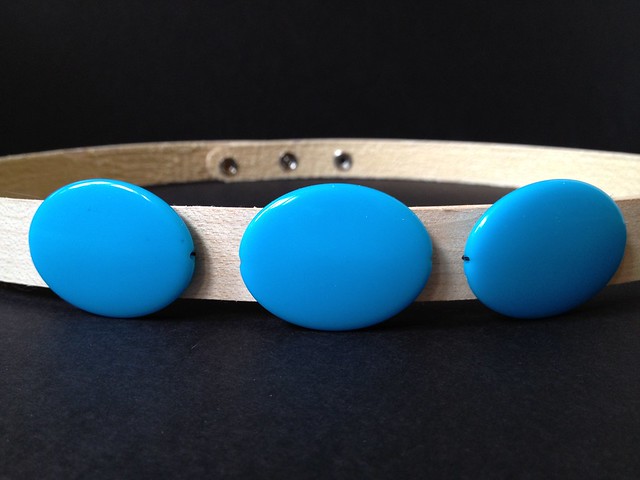
At the opposite end of the rod, place the other washer, the opposite end of each of the veneer strips, and the other end cap.  The most outside strip on the first end should be the most inside strip on this end.  In other words, the last one on on the first end should be the first one on on this end.  Make sense?  I think so. Just wrap a string between the end cap and the strips and hang.

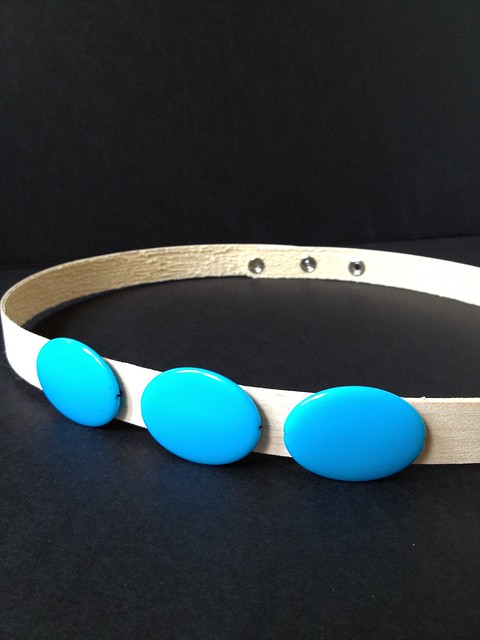
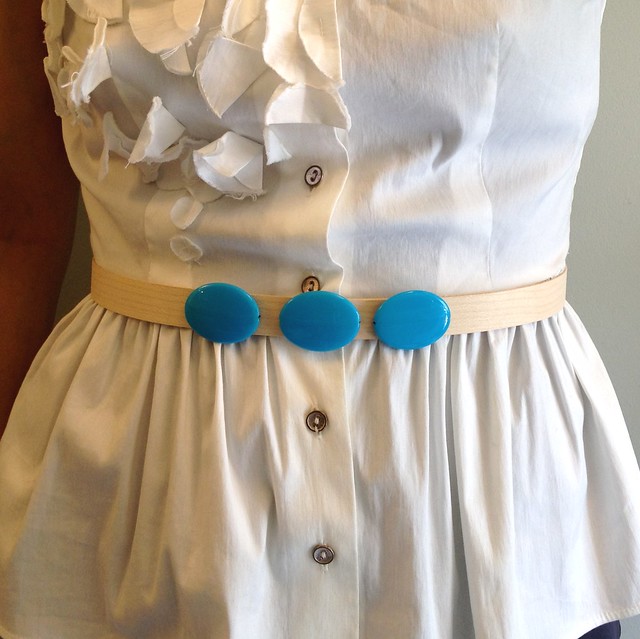
See, uber easy!  You can make a bunch of these super quickly.  Make 'em in various lengths and circumferences by varying the length of the rod and the length of the strips relative to the rod.  You could spray paint one side of the strips and have a little peak of color from the inside.  I imagine these looking super cool on patio or pergola with some twinkle lights.  Or a cluster of them hanging in the corner of a room.  How would you use them?

Veneer Pendant 6aVeneer Pendant 7Veneer Pendant 8Veneer Pendant 9

signature
find me elsewhere
Fabric Paper Glue on Twitter Fabric Paper Glue on Pinterest Fabric Paper Glue on Facebook Fabric Paper Glue on Etsy Fabric Paper Glue on Instagram Fabric Paper Glue on Flickr Fabric Paper Glue via Email

6.14.2012

1 Supply 3 Projects: Wood Veneer - Part 2

Graphic

In this iteration of 1 Supply: 3 Projects, we're finding 3 creative uses for wood veneer edging.  This week, we're making veneer fashionable by making a pretty freakin' adorable little wood + turquoise belt.

Try This - Wood Veneer + Turquoise Belt

Veneer Belt 1
Materials: 3 Large Colorful Beads (mine are about 1.75" wide), 3 Snaps, Beading Line, Hole Punch, 6" Veneer Strip, and a Veneer Strip 4" longer than your waist

Veneer Belt 2
Directions: At one end of the long veneer strip, mark three positions for your snap ends.

Veneer Belt 3aVeneer Belt 3b
At each mark, punch a hole (or series of holes) just large enough for the snap prongs to fit through.  Make sure that the actual snap apparatus (the male and female sides, if you will) are on the inside of the strip.

Veneer Belt 4
Install the snaps according to the directions on the package.

Veneer Belt 5
Install the, uh, male end of the snap on the other end of the veneer strip.  As you can see, I've never figured out how to install a pearl snap without cracking it.  If you can, I say go for it.  If you can't, buy the other kind of snaps (as I should have).  You can also round off the end of the strip with some scissors just to make it look finished and professional.

Veneer Belt 6
Line up your three beads end to end in the very middle of the belt.  Space them out as you like, but place a mark at the edge of each bead.  I'd recommend placing the marks just on the inside of each edge so that the bead line will be hidden.

Veneer Belt 7
Punch a small hole where you marked.

Veneer Belt 8a
Veneer Belt 8b
Affix your bead with the bead line by threading it through the holes and tying off on the inside.

Veneer Belt 9
To finish off the back side, iron on the shorter piece of veneer.  And that's it, folks!  I think it's a pretty easy project and, um, kind of adorable (especially considering this is something you pick up in the lumber aisle)!

Veneer Belt 11Veneer Belt 12Veneer Belt 13Veneer Belt 14Veneer Belt 15

signature
find me elsewhere
Fabric Paper Glue on Twitter Fabric Paper Glue on Pinterest Fabric Paper Glue on Facebook Fabric Paper Glue on Etsy Fabric Paper Glue on Instagram Fabric Paper Glue on Flickr Fabric Paper Glue via Email
Pin It button on image hover