
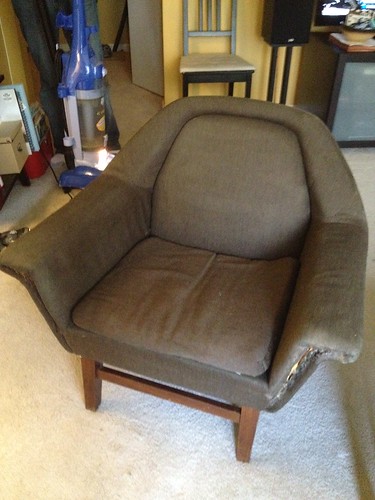
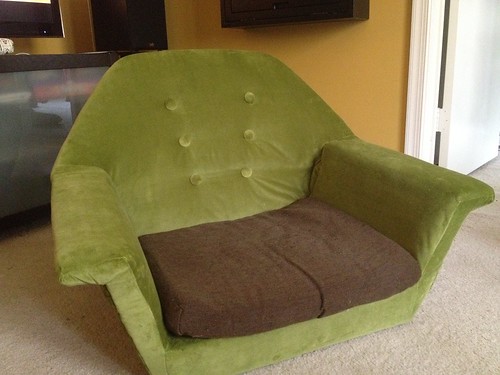
So, I logged about 5 more hours this weekend in my attempt to reupholster a chair that I neither need nor have a place for. You can catch up on the first two installments of this nail-biting tale here and here, but here's a quick reminder of my progression.

This week, I finished the button tufting.
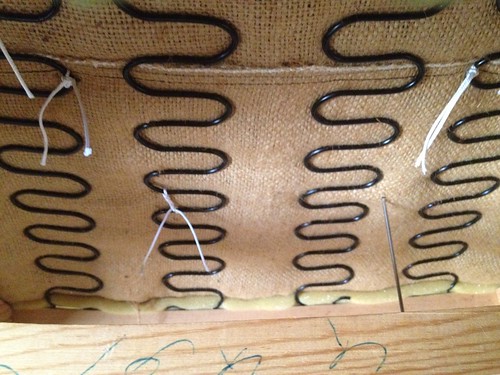

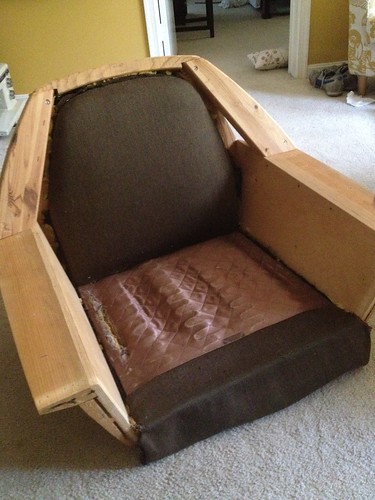
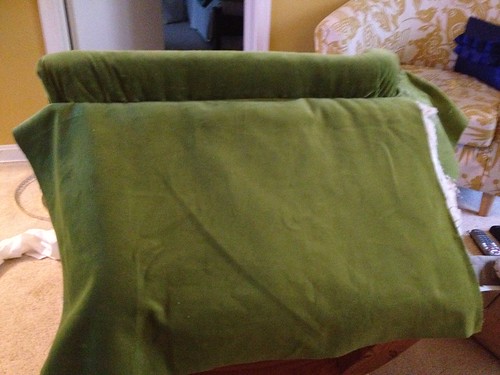
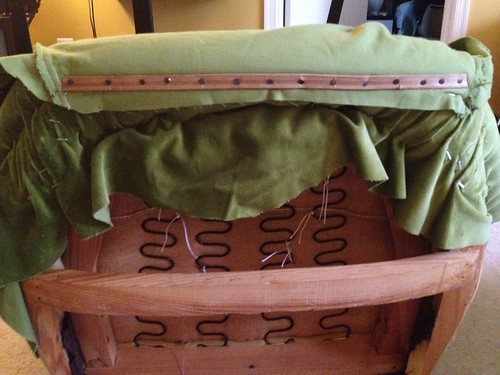
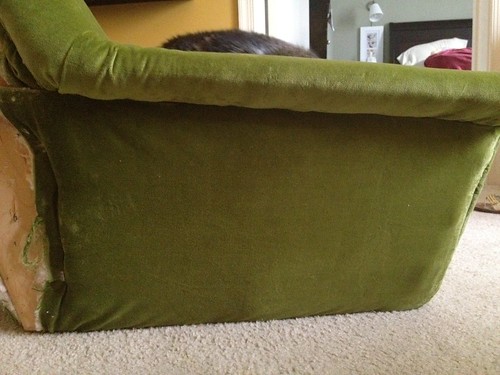
Then, I started on covering the back and sides. Let me remind you of what I was facing here:

Man, oh, man. So far outside my comfort zone on this one. This back was why I ordered way too many miscellaneous upholstery supplies...like 100 feet of cardboard tacking strip and another 100 feet of metal tacking strip. So, I started with the sides. I'm too exhausted from the project to recount in words what I did, so I'll let my mediocre pictures speak for themselves.
Not bad. Not exactly good, either. If you want to see better pics and a tutorial on using the metal tacking strip (which is ah-mazing), Centsational Girl has a great post.
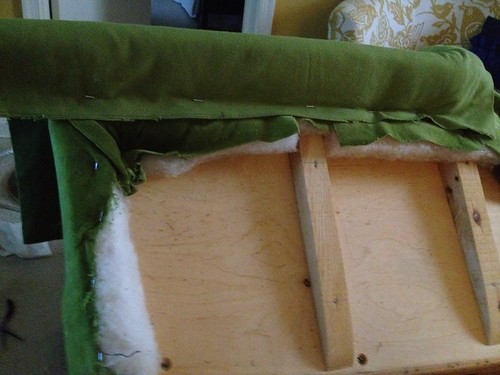
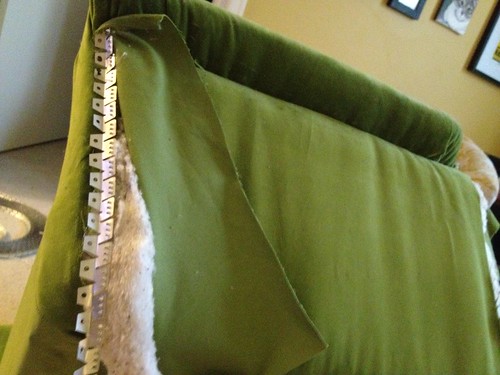
Next up was the back. I started by sewing together the center back panel with the two side back panels. Um, this did not work because...I don't know how to explain it but I couldn't staple it in the same way as the sides and still get it to fit down over the chair. So, in the end I figured I'd have to just attach all the panels separately. Here's the center back panel process.
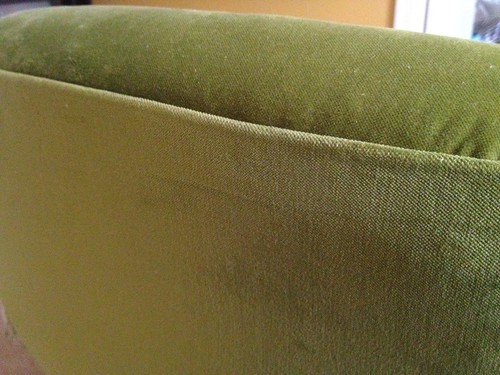
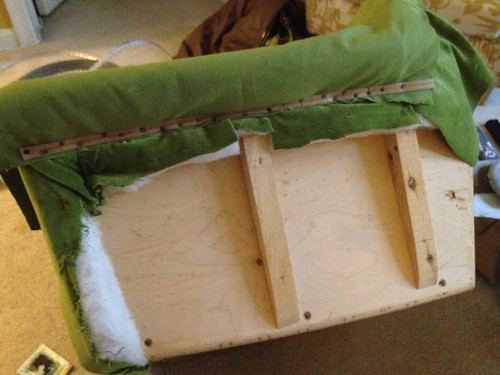
Really happy with the clean line on the top there because it's pretty prominent on the chair.
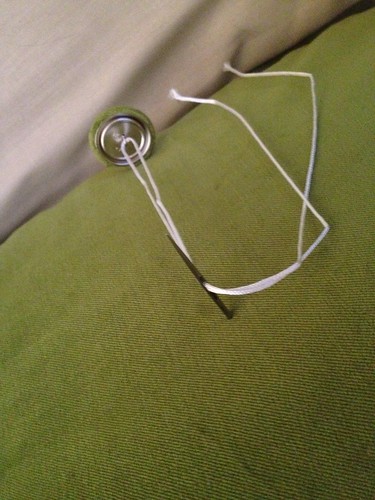
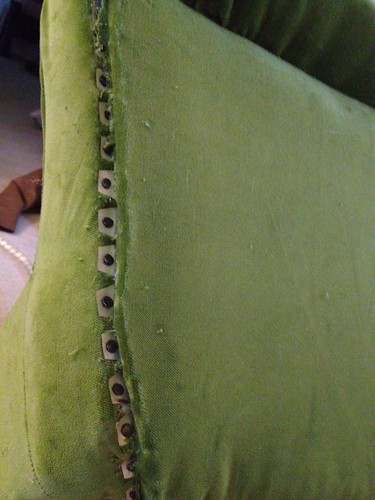
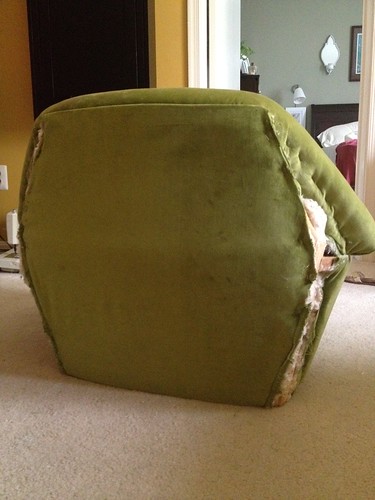
I tried to attach the side panels separately using the metal tacking strip, but I cut my pieces to small, and ended up with seams like this:
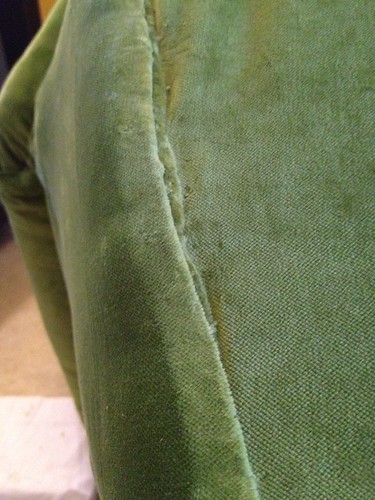
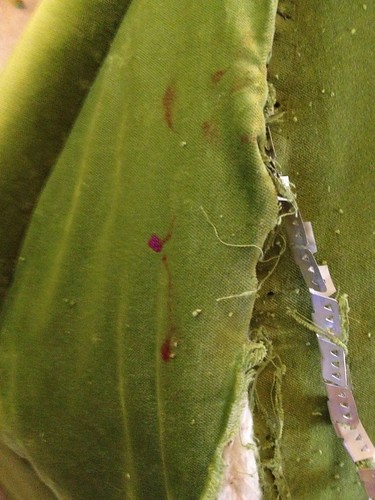
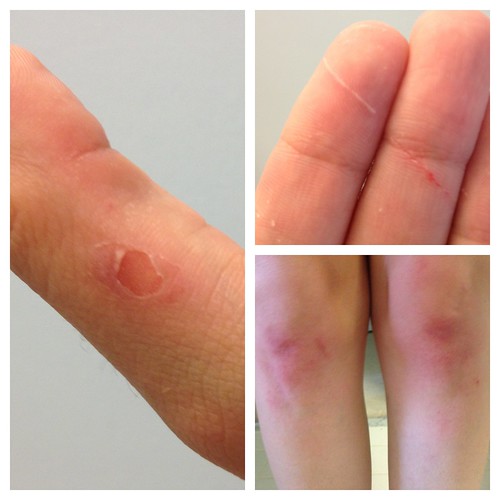
Gross. And speaking of gross, this was the part where I got sloppy and slashed the crap out of my fingers, so while I was ripping this work out, I bled all over the fabric. Disgusting, no? At least it was on fabric that was on its way to trash can. Can you imagine if I'd done this to the back of the seat?! Oh, the expletives that would have escaped my mouth!
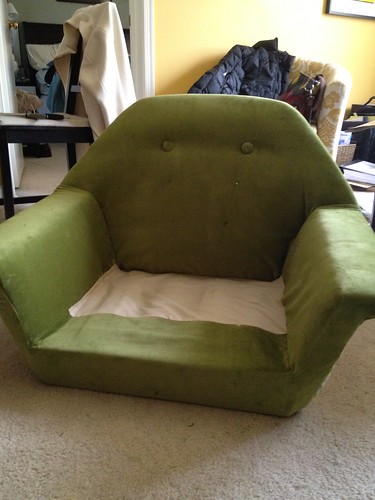
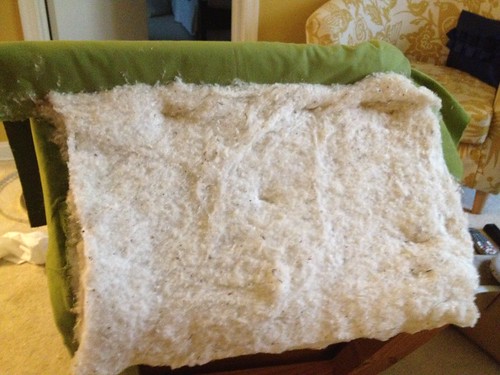
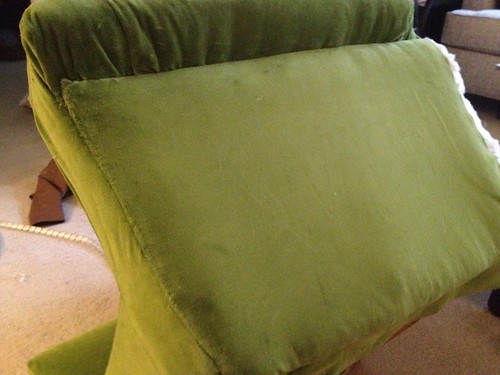
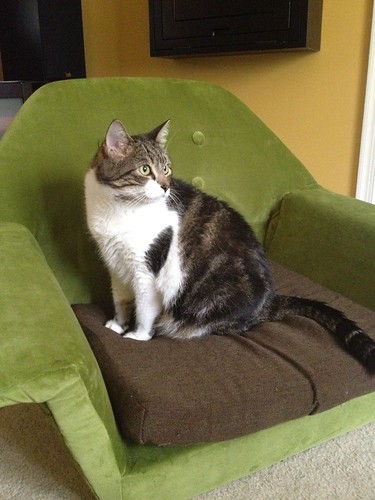
At this point, I decided that these side panels could wait, so I called it a day. And here's where I ended up.
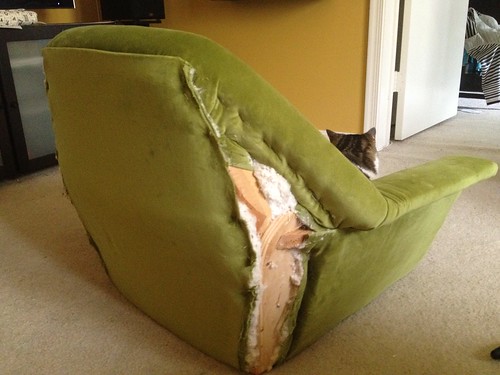
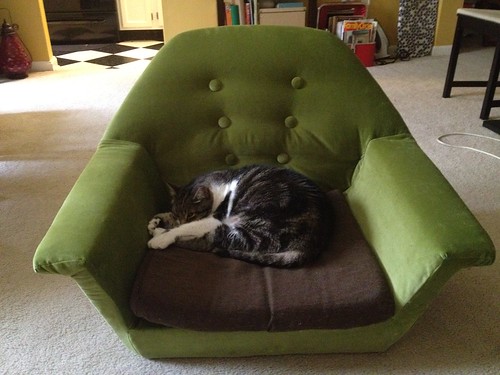
And to warm your heart, here's Pete enjoying the chair.
At this point, I'm kind of wondering if I even want to finish this project. It looks okay in the pictures, but it's just so sloppy in so many places, and the velvet...oh, the velvet! It's just so mercurial and over-worked. The only thing driving me towards finishing it is the thought that I can only give it to Goodwill if it's actually finished. Is that awful of me? Yeah, it is.
But seriously, look at my injuries - slashed fingers, re-opened blisters, raw knees (because I'm wallowing around on the carpeted floor for all of this).
But seriously, look at my injuries - slashed fingers, re-opened blisters, raw knees (because I'm wallowing around on the carpeted floor for all of this).
I don't know. I sort of feel like this project may cause upholstery PTSD (What? It's a thing.). Bleh.

find me elsewhere


That seam line on the back really is lovely!
ReplyDeleteBut, if you're not enjoying this project, don't invest more time and effort into it. You've got so many other interesting projects that perhaps this is an exercise in knowing when to say when?
Of course, I'm a stubborn old goat and would probably do what you're doing, and force myself to finish it just so I could say it's done... so do as I say, and not as I'd do. :)
oh man, ow. but look how much pete is enjoying it!
ReplyDeleteI think it is totally awesome that you are even attempting this. I would never look at a chair and think that I could reupholster it. If it were me, I would be amazing to have finished it, even if I don't love it. But I also know that I don't tend to stick with frustrating tasks, so who am I to talk :)
ReplyDeleteOh my word. The blood picture is so frightening with the exposed metal and all. I don't know Mandy, are you really just finishing it to give it to Goodwill? I hope it turns out lovely for you but I just can't imagine putting so much effort into it. You are doing a good job so far, though. You will prevail!!
ReplyDeleteAnd Pete is such a pretty cat. :)