
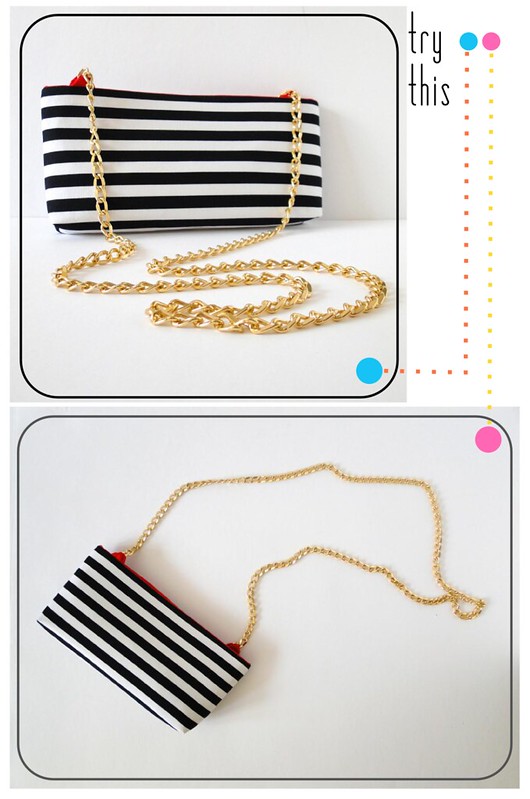
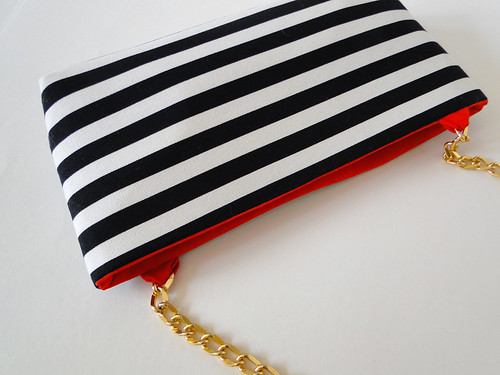
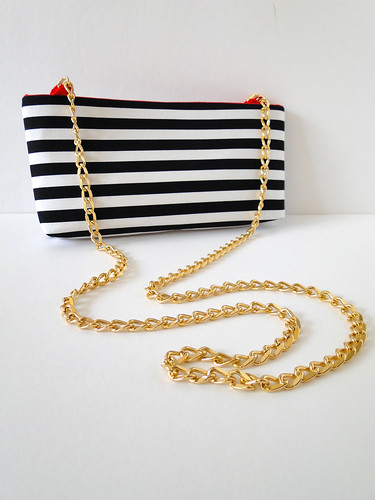
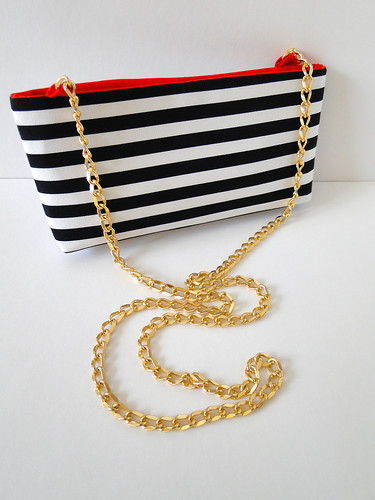
Try [/Buy*] This: Striped Crossbody Clutch
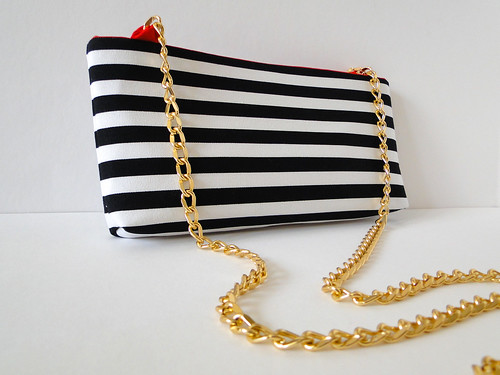
I'm a broken record, people. I love makin' a bag. And I love using striped fabric. Deal with it. This week, I'm making a fabulous little crossbody bag, which I actually think is a pretty versatile little number that's perfect for day or evening.
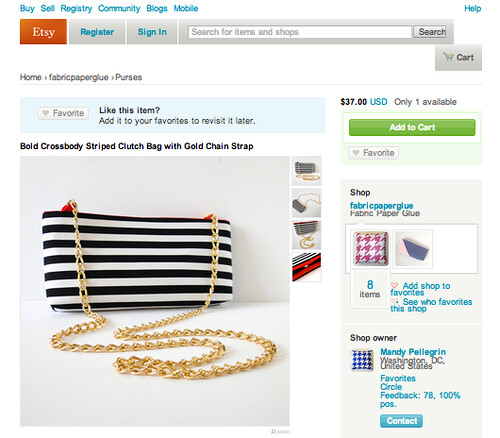
*Aaaaaaand...if you can't sew or you don't have the time and you love this little number as much as I do, I made an extra that you can pick up from my Etsy shop. We can be crossbody clutch twinsies!
Read on for the full tutorial!
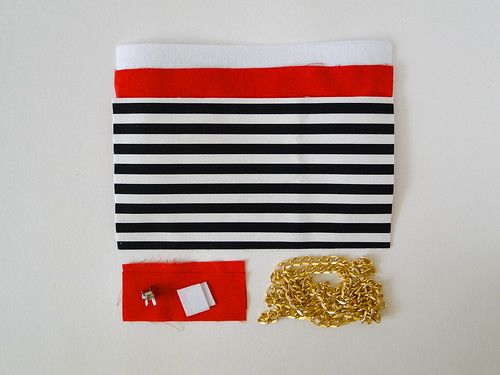
Materials: Magnetic Snap Closure, 44" of 1/2" wide Gold Chain*, Fabric Cuts as follows:
Black and White Striped (pattern optional, obviously) Canvas
(2) 6" x 11"
Red (color optional) Cotton
(2) 6" x 11"
(2) 2" x 3"
Heavy Sew-In Stabilizer
(2) 6" x 11"
(2) 1" x 1"
*I ordered this 9mm gold chain from M&J Trimming.
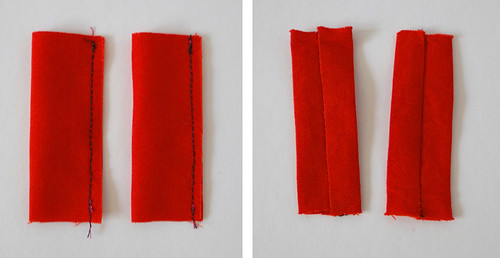
One: Fold each of the two small cuts of red fabric in half, and stitch along the long edge where the two sides meet. Turn them right side out and press.
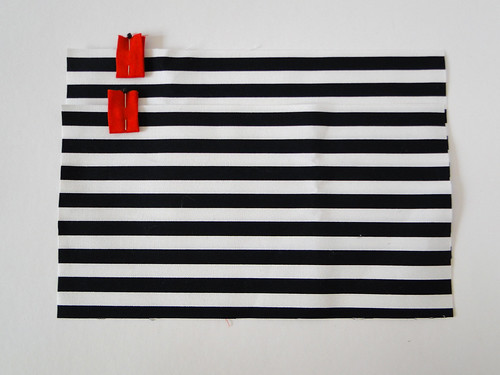
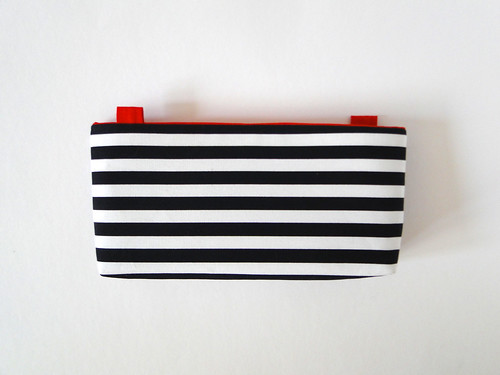
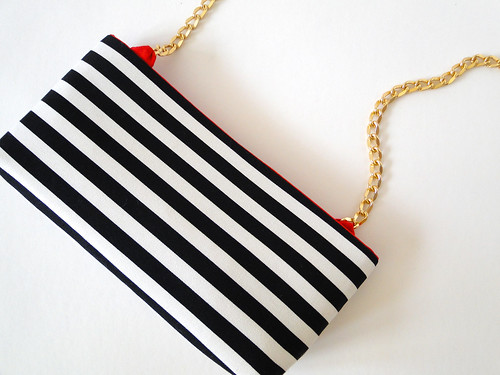
Two: Fold each of the red tabs from the last step in half lengthwise. Keep the seam inside the fold for a cleaner look. With the folded edge of each tab pointed down, position each tab about 1.5" from the side of a striped panel with about a 1/2" of the tab hanging off. Pin and stitch as close to the top edge as possible. This step just keeps these little guys in place for the rest of the construction process.
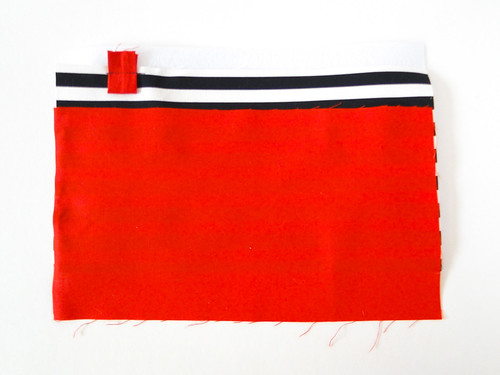
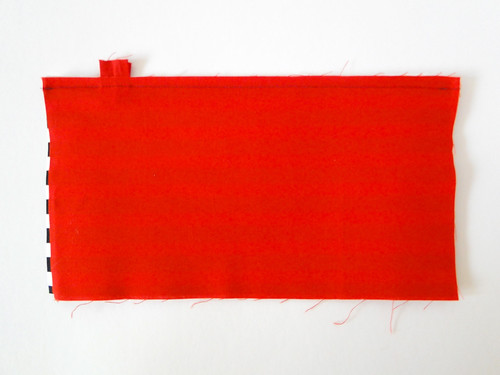
Three: Stack the following fabric cuts in this order: 1/ stabilizer 2/ striped canvas 3/ red cotton. Make sure that the right side of the striped fabric is facing the red cotton. Line up all the edges. Stitch the three cuts together along the top edge (the one with the tab on it). Make sure that your stitch is further in than the little stitch that you made a minute ago to keep the tabs in place. Repeat with the three remaining cuts of stabilizer, striped canvas, and red cotton.
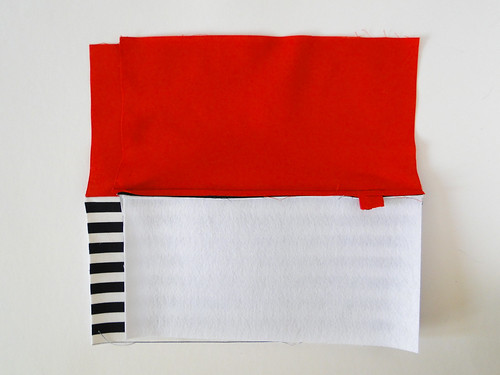
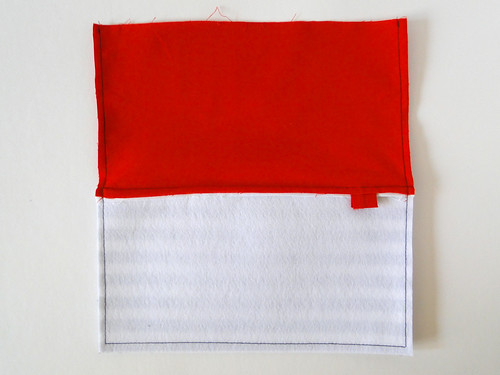
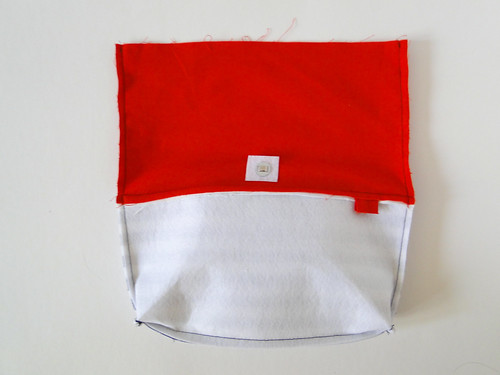
Four: Spread the red cotton from the striped canvas and heavy stabilizer on the two pieces you created in the previous step. Press the seam allowance down towards the stabilizer. Now take the two pieces, stack them on top of one another so that the right sides are facing. Line up all the seams, pin into place, and stitch around all three sides except the bottom of the lining (see photo).
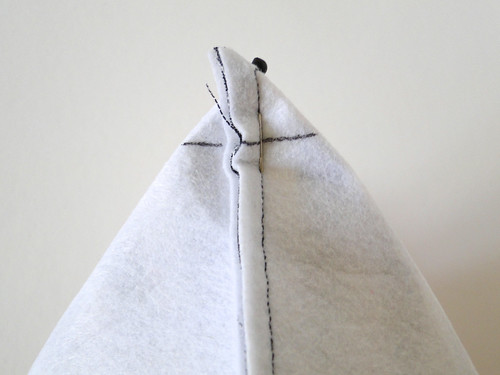
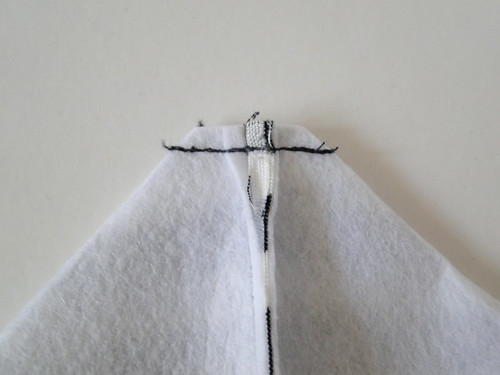
Five: To box the bottom corners of the bag for volume, fold the bottom corner of the bag so that the side seam aligns with the the bottom seam, creating a tip where the corner is. Pin this together, and mark and sew a line perpendicular to the seam about 3/4" from the tip. Trim the excess fabric away. Repeat on the other bottom corner of the bag.
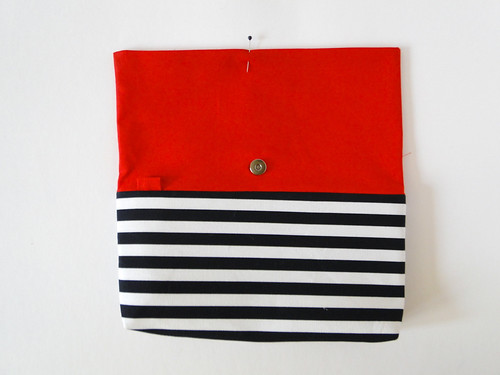
Six: Install the magnetic closure in the center of the lining about 1" from the seam where the the lining meets the striped canvas and stabilizer. Use the squares of stabilizer to give a little extra cushion for the snap to wrap around.
Seven: Now, pull the whole bag through the unsewn side. On the unsewn side, tuck the raw edges in, press, pin, and top stitch shut.
Eight: Tuck the lining into the bag and press everything into place.
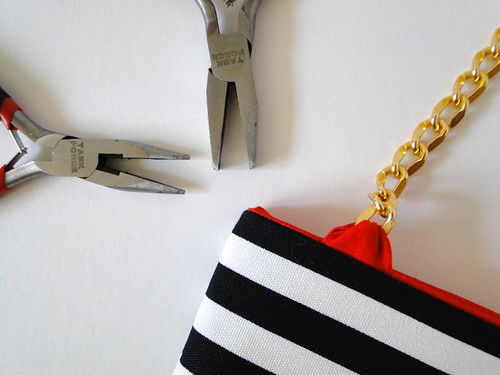
Nine: Attach each end of the gold chain in a tab by using a pair of pliers to open and close the first and last chain links.
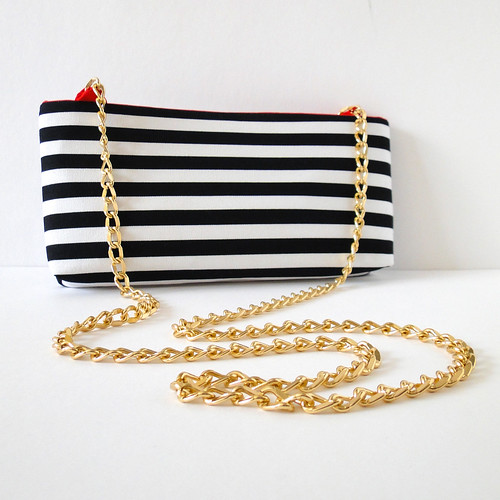
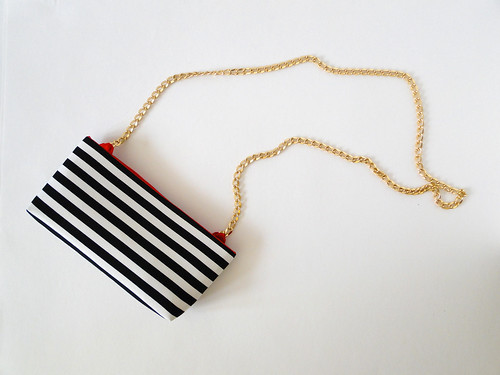
Congrats! You're done! Do you love it?
If you do give this tutorial a try, please be sure and share a picture through the "Share Your Projects" link at the top of the blog page. I'd love to feature some!
Love it? Feel exhausted just reading the tutorial? You're in luck! I made an extra, and it's available for purchase in my Etsy shop.

find me elsewhere
waw... I'm definitely gonna try making this!! I just bought mini portable sewing machine and I have some stripe fabrics! thx for the tutorial ^_^
ReplyDeleteIt is a lovely purse and easy to make it!! Thanks for the tutorial!!
ReplyDeleteThis small Clutch Wallet with a thin golden chain is so lovely. I am definitely going to try it out and will share my creation with you
ReplyDeleteOhhh...nice!!
ReplyDelete