

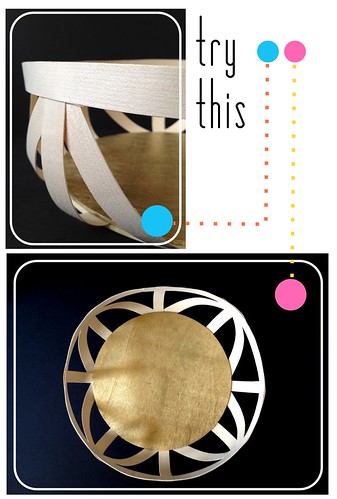
Alright, folks. This time I've got three projects for you using 3/4" wood veneer edging. You can pick this stuff up in the lumber aisle at the hardware store for about $6 a roll. First up, is a decorative bowl.

Materials: 2 - 8" Wood Circles, Gold Spray Paint, Wood Glue, Clamps, Iron, the following cuts of Wood Veneer Edging:
4 - 16"
8 - 6"
2 - 36"
You should be able to find big wood circles like this at your local craft store.
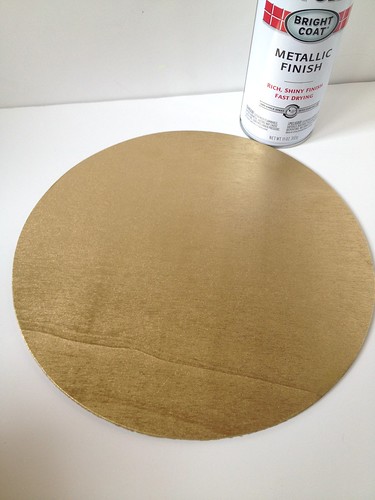
Directions: Begin by spray painting one of your wooden circle gold (or the color of your choice). I'm a gold fiend. I can't help myself.
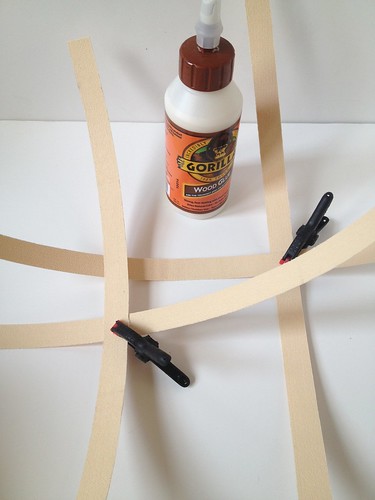
Create an X with two of the 16" pieces, and glue them together at their mid-points. Clamp together until the glue sets. Do the same with the other pair of 16" pieces.
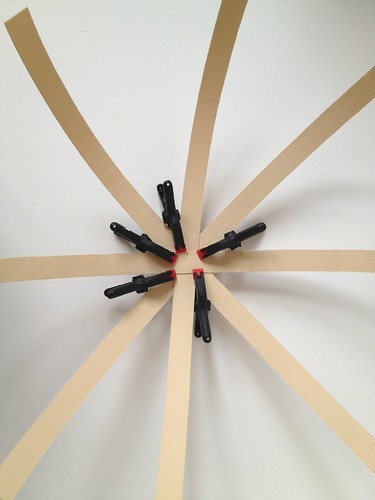
Glue together the two pairs at their midpoints as shown.
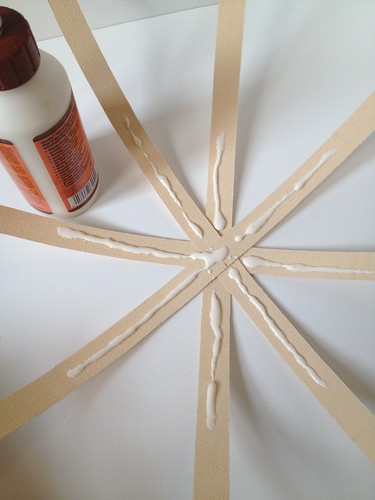
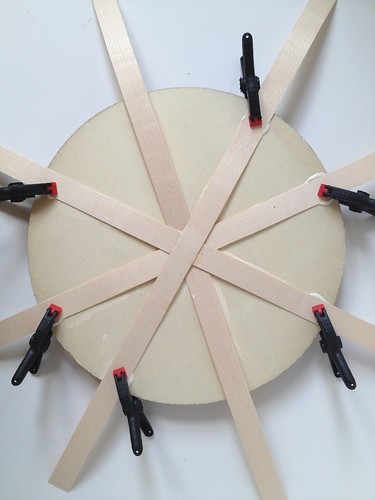
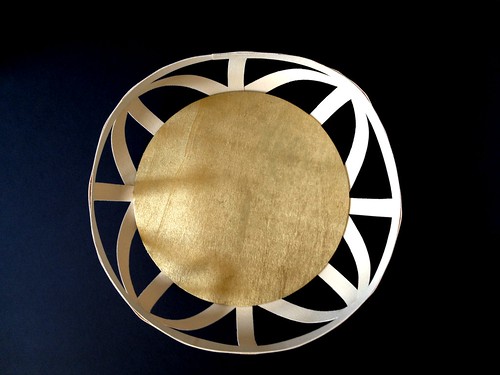
Apply glue to the back of these pieces and center and glue to the bottom of the spray-painted circle. Again, clamp until the glue is set.

Take one of the 36" cuts and form a circle. To form the bowl, begin with just one of the pieces of veneer protruding from the gold circle. Glue the outside end of one of these pieces to the circle and clamp until the glue is set.
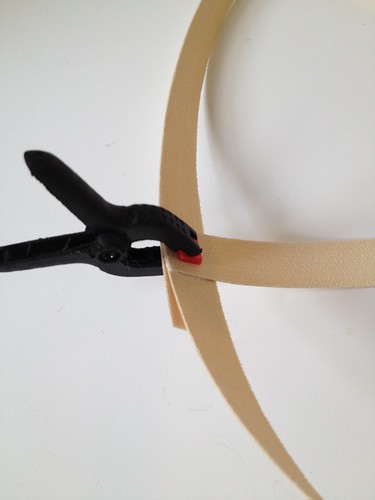
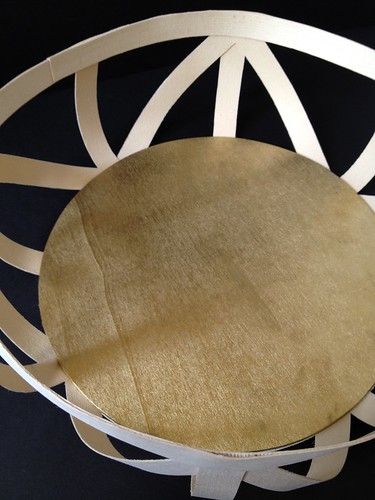
Continue gluing and clamping in this way around the entire circle. I switched back and forth between opposite pieces just to ensure that my spacing remained consistent. So, for example, after the first piece was glued, I glued the piece directly across the circle from it.

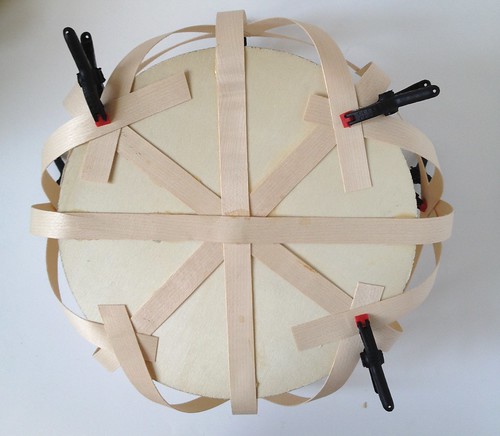
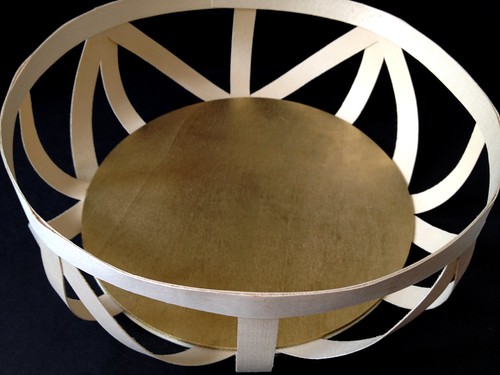
Once all the vertical pieces are glued and set, begin working on the diagonals. I simply glued these to the inside backs of each vertical piece, wrapping around onto the bottom of the wood circle under the next vertical piece. Up and down around the bowl. Glue, clamp, set.
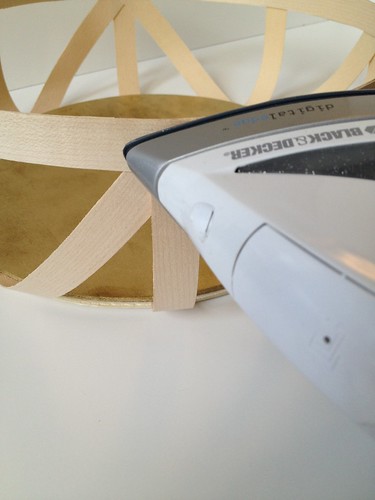
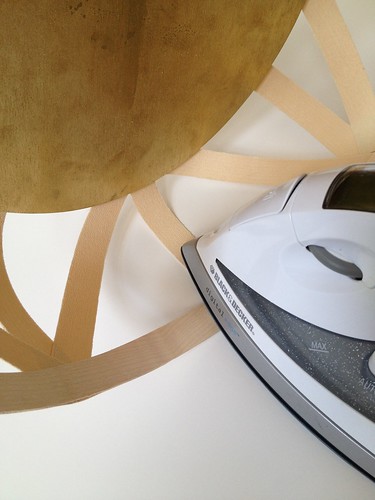
Most veneer edging is iron-on. So, at this point, run a hot iron over all the joining points to let the veneer's glue backing firmly affix everything into place. Conceivably, you could assemble the whole thing this way. I liked using the glue a long the way instead because it remained repositionable for a bit while drying.
Affix the other 36" piece on the inside of the bowl, back-to-back with the other 36" piece. This sort of just finishes everything off.
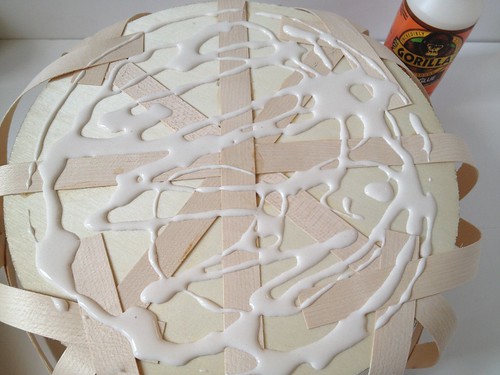
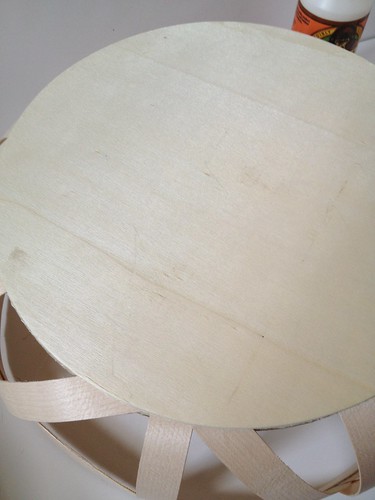
Almost done now. Flip the bowl over. Apply a generous amount of glue to the bottom and affix the other, unpainted wood circle.
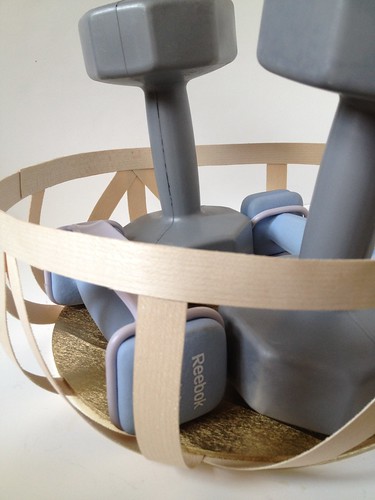
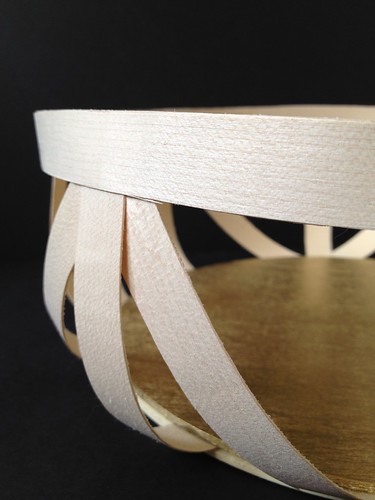
Weigh it all down long enough to ensure everything is nice and dry. Now, enjoy your fabulous wood + gold decorative bowl!

find me elsewhere


This turned out great! I love the gold - nice choice with the light natural birch!
ReplyDeleteI love this idea! Veneer is something I've never played with before. Hmm... I might have to try this!
ReplyDeleteWow, that's pretty awesome!
ReplyDeleteHave you heard about our Craftastic Competition? I'd love for you to enter in it! Lots of prizes to be won too!