Showing posts with label Home. Show all posts

8.08.2011

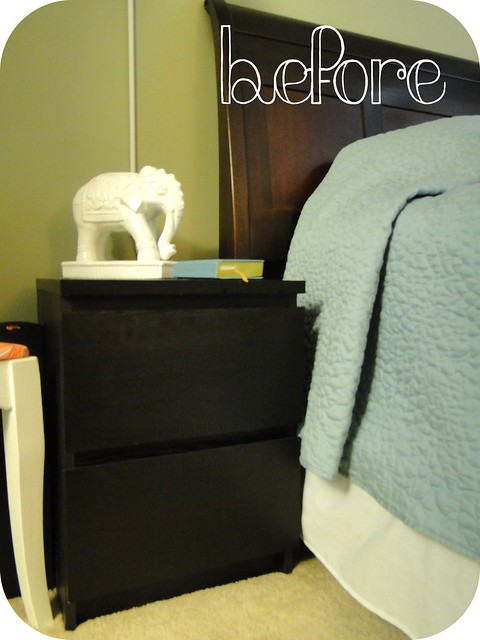
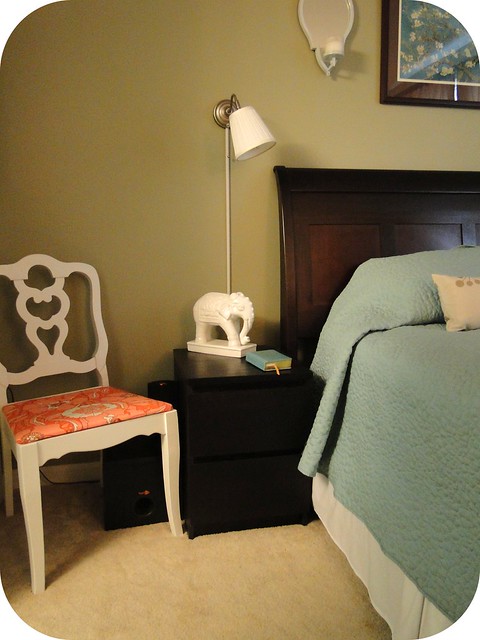
Before & After: Ikea Malm Nightstand Makeover

I finally finished a project this weekend that has been on my list for a while now.  We have two Ikea Malm nightstands.  I mean, seriously, talk about blah, so I'd been wanting to do something to these guys for a while now, but I'd had a hard time deciding what exactly to do with them.  A few of the ideas that had my gears turning...

Lord knows I love a good chevron...

Or Greek key moldings...

Or maybe a lace overlay...

Or these amazing new and super easy moldings from O'verlays.
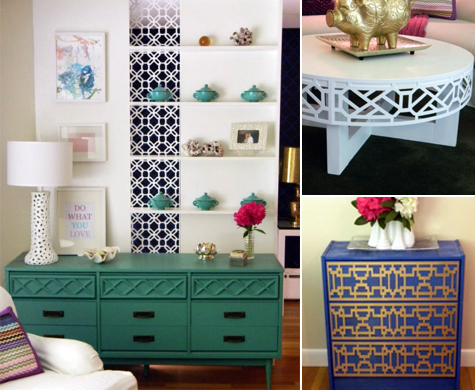
But once I saw this picture, I knew immediately that the search was over.

This beautiful dresser redo from Birdhouse Blog is absolutely gorgeous (as is almost every detail in her new craft room).  I love the simplicity, the contrast, and the beautiful hardware.  She was working with a quality, stainable midcentury modern dresser, but I thought it had the potential to translate to my boring old box o' particle board and laminate.  

Here's a couple of before shots for you.

DSC02088DSC02084

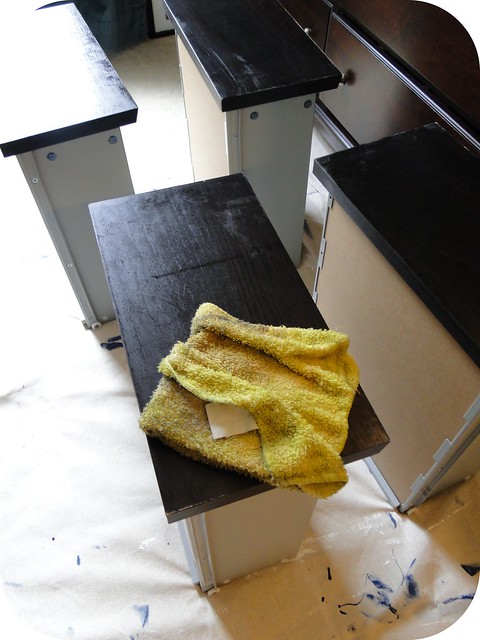
I gave the drawers a good sanding with some pretty high grit sandpaper.
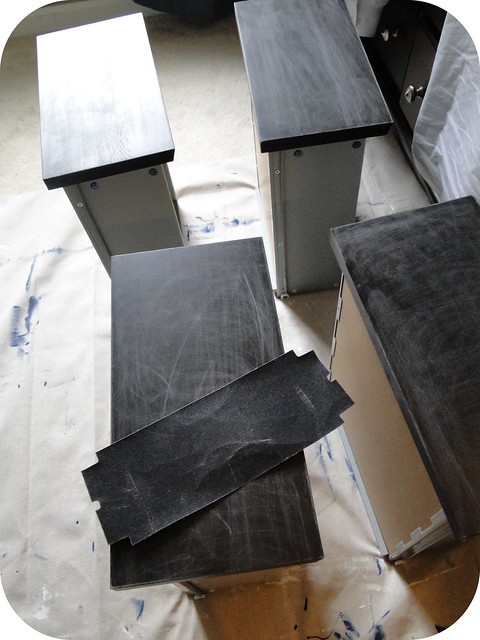
DSC02090
Wiped them down.
DSC02093
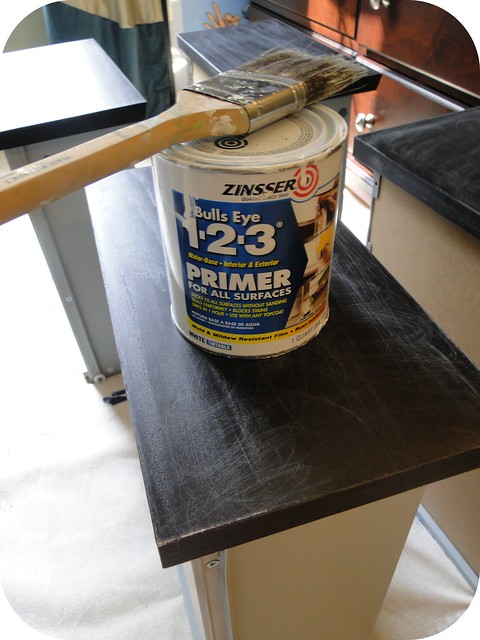
A couple of coats of primer.
DSC02094
With a light sanding between each coat.
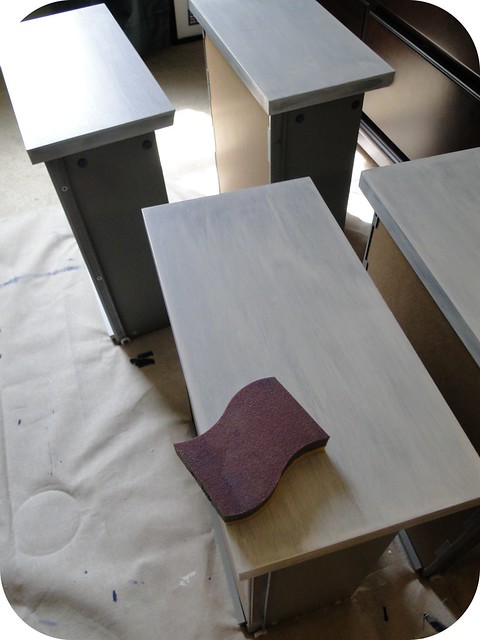
DSC02095
And a few coats of high gloss white paint (also with a light sanding between each coat and at the end).
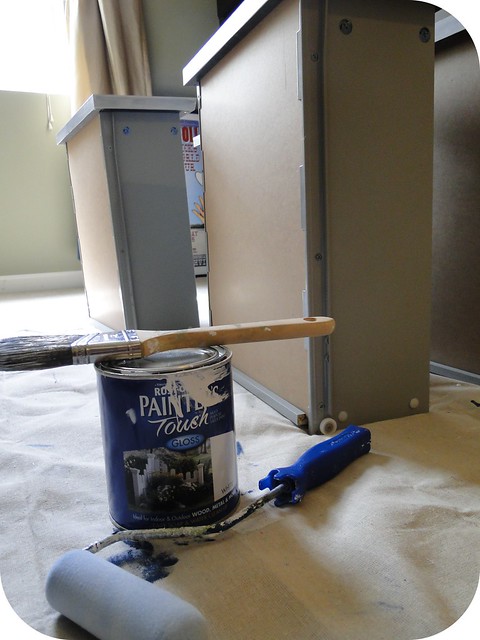
DSC02096

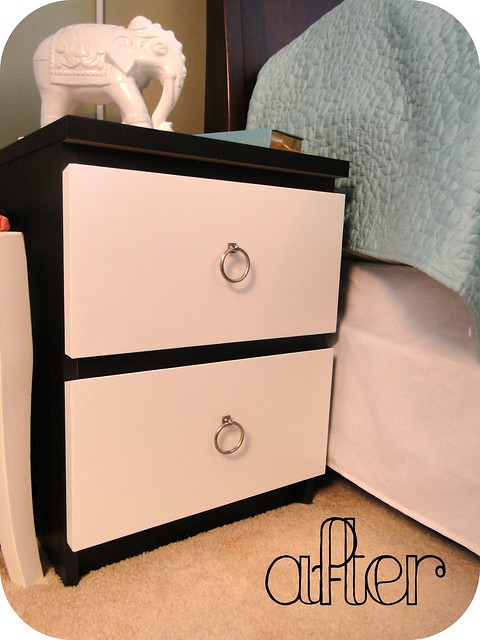
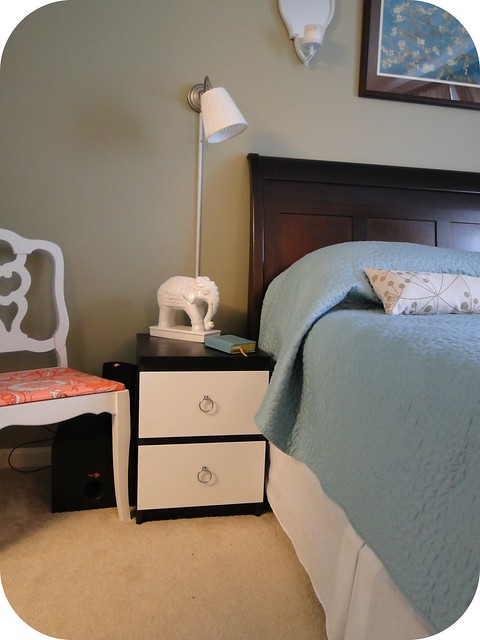
Finally, I installed the hardware (as much as  I love gold - and man, do I love gold - I went with a satin nickel that matches the metal finishes on the other furniture and the lamps), and I really, really love the final product.

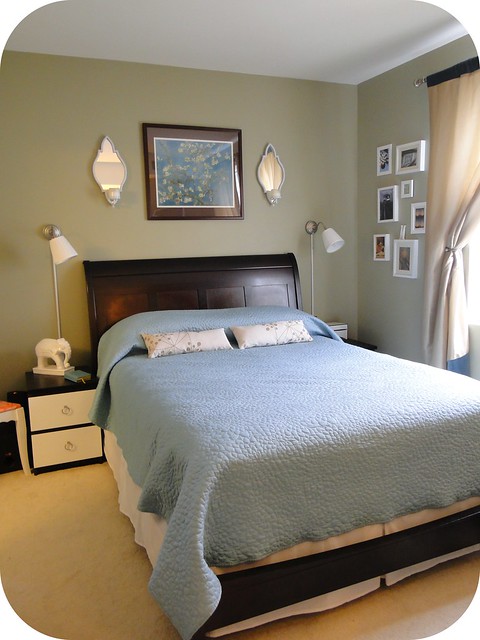
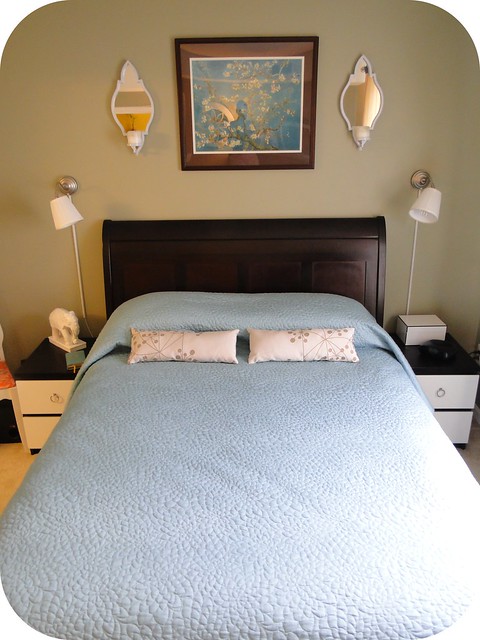
DSC02119 DSC02108DSC02113 DSC02099

In the end, it was a pretty simple, fast project that cost me less than $25.  Money and time well spent, I say!

And now I leave you with the all-important side-by-side:
DSC02088DSC02119

Signature
-----
7.25.2011

Summer Projects

I'd like to pretend that I could find the time or wherewithal to post about each of these projects separately, but I think I'd prefer to be honest with myself.   So, I hope you find some inspiration here, because you certainly won't be finding any in-depth tutorials...

Filing Cabinet Spruce-Up
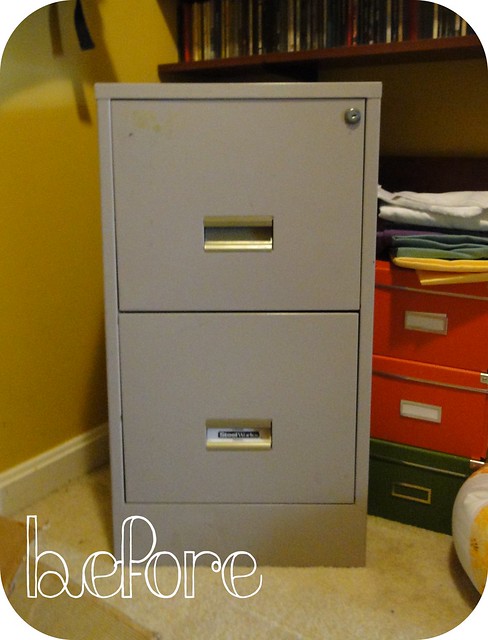
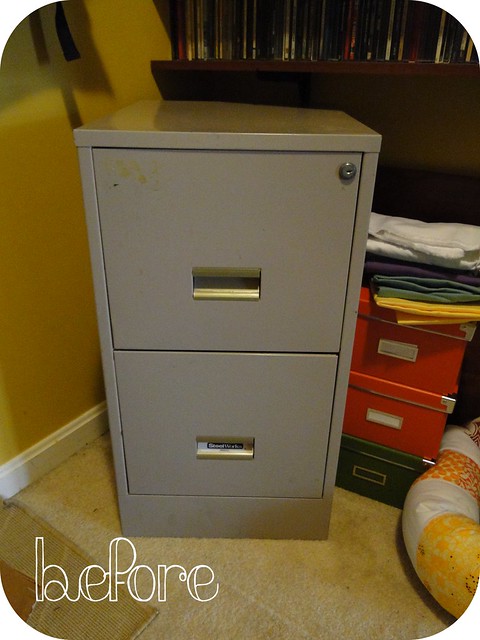
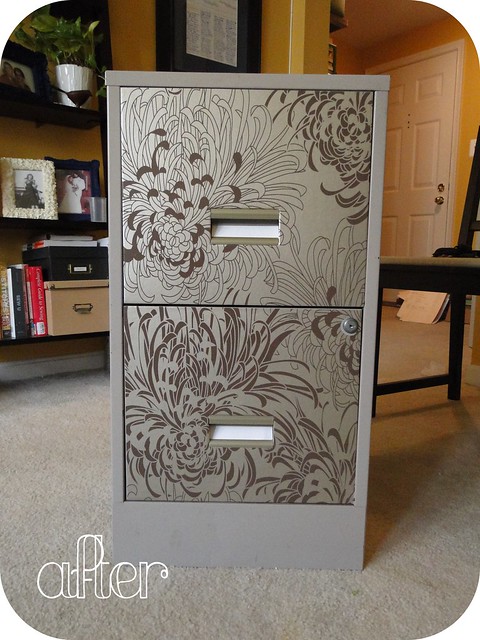
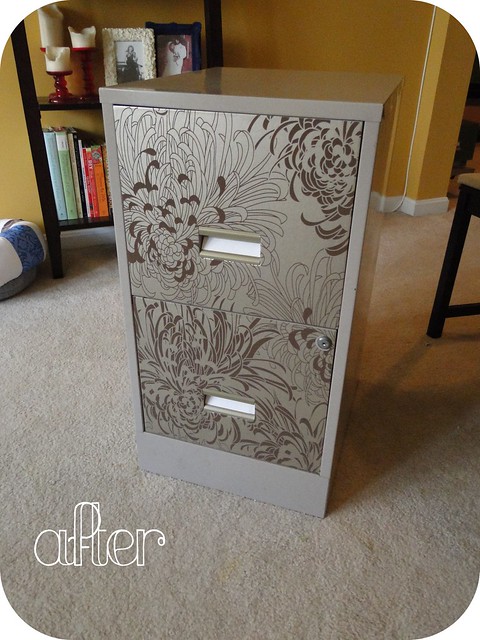
Among my recent projects is a filing cabinet spruce-up.  Michael is in the full swing of working largely from home these days, which means that we have stacks and stacks of legal files in various places throughout our condo.  I finally got him to get his hands on a Craigs List filing cabinet as I had found some inspiration through the interwebs on how to spruce these babies up (check out my dedicated Pinterest board to this very thing here).   I bit the bullet a while ago on a roll of this gorgeous Graham and Brown wallpaper for many an unknown project, so I finally put it to use on this one.  I had originally envisioned covering the drawer fronts and painting the rest a royal blue a la our bar cabinet, but once I had the paper on, I wasn't convinced I needed to take it any further.  I would welcome your thoughts on that, though.  Of all the inspiration that I pinned, I largely followed this tutorial from Picadilly Market.  Thoughts?

File Cabinet (2)File Cabinet (3)
File Cabinet (1)File Cabinet (4)

Class Reunion Decor
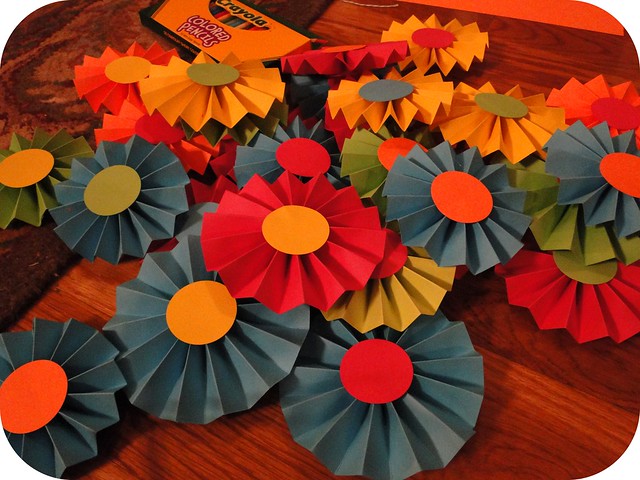
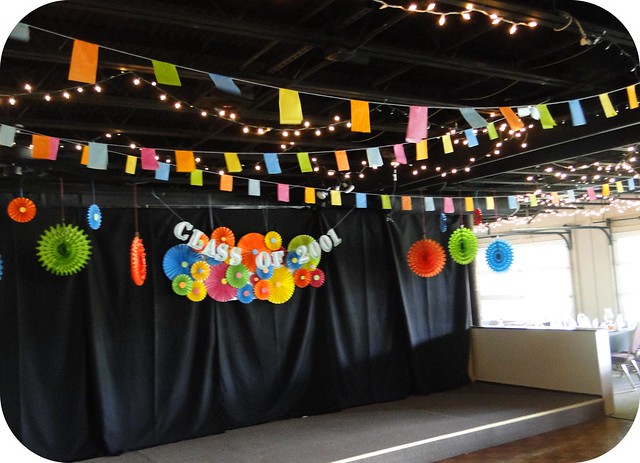
My next big project was the decorations for my 10-year high school reunion, which was this past weekend back in Tennessee.  Since we were trying to pull this off on the cheap, I stuck to decorations made from cardstock and tissue paper.  Specifically, tons of paper rosettes and tissue paper garland.  I didn't actually start the rosettes untill I got home, and they quickly begain to take over my parents' entire living room.   They were patient with my mess and even made some helpful suggestions along the way.  Seriously though, if I never make another paper rosette as long as I live, I'll be happy. 
Reunion Decor (14)

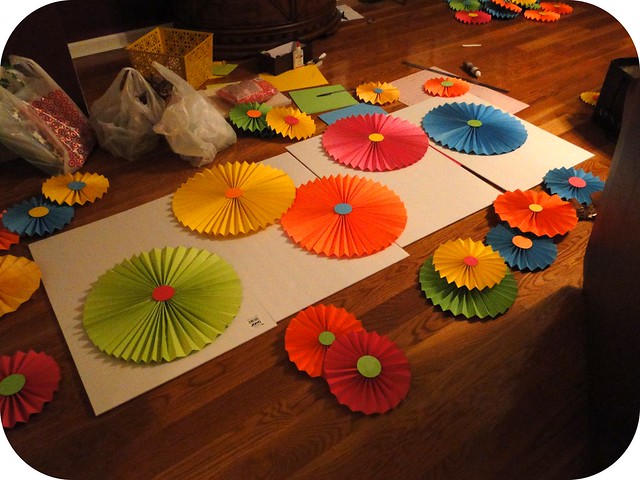
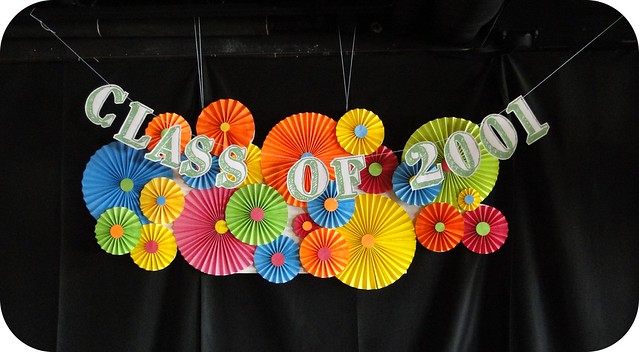
For the primary installation, I hot glued rosettes of various sizes to four pieces of foam board.  After all the rosettes were in place, I carved around them with an xacto knife to get rid of the extraneous and  unsightly foam board.  I labeled each appropriately on the back so that it was easy to put them together once I got to the venue.  No pictures of all of this, but I attached them to one another by hot glueing a few cheap balsa wood sheets that I picked up at Michael's.  Finally, I hung the whole thing from the ceiling with some twine and topped it all off with a banner I made by printing out this free font in size 400 or so. 

Reunion Decor (13)Reunion Decor 2

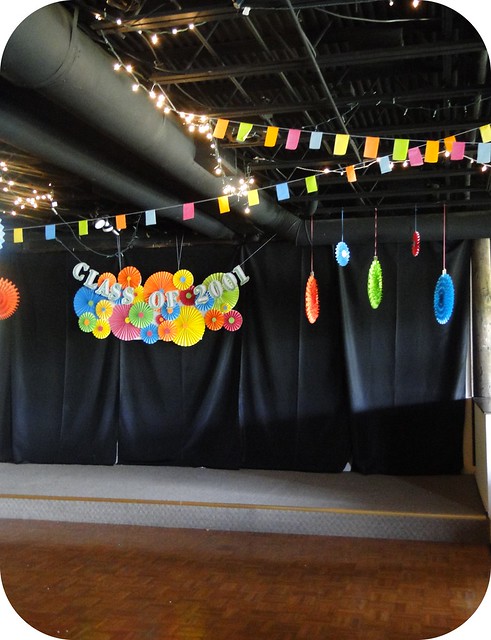
All of this was supplemented by tissue paper fans (that I picked up for a great price here) and some scrappy garland (inspired by this tutorial).
Reunion Decor 1Reunion Decor 3

Circle Quilt
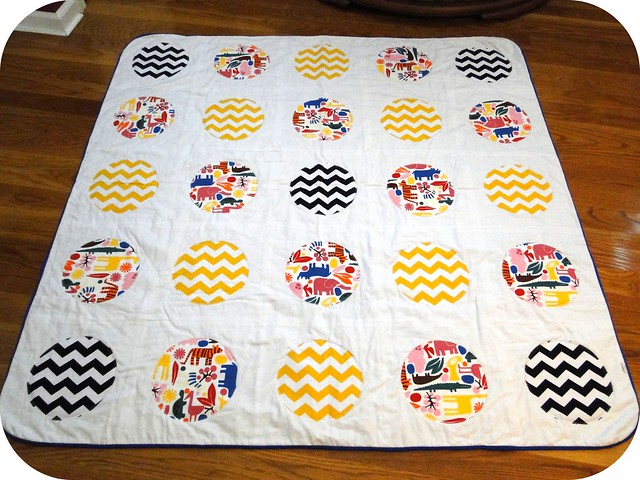
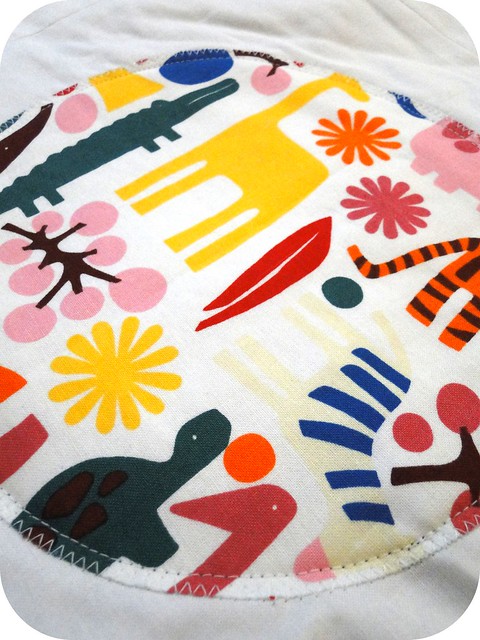
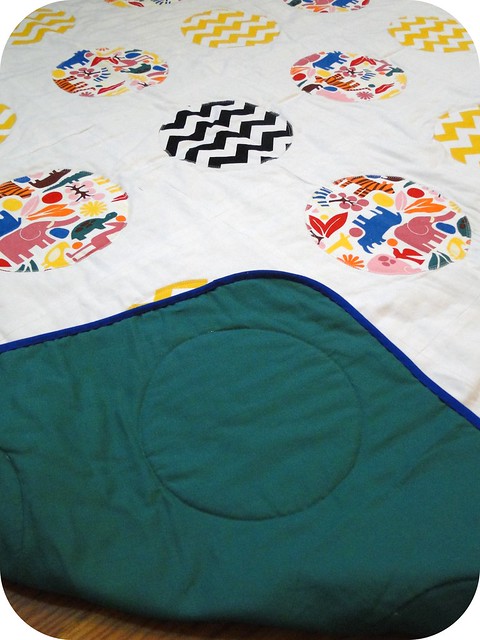
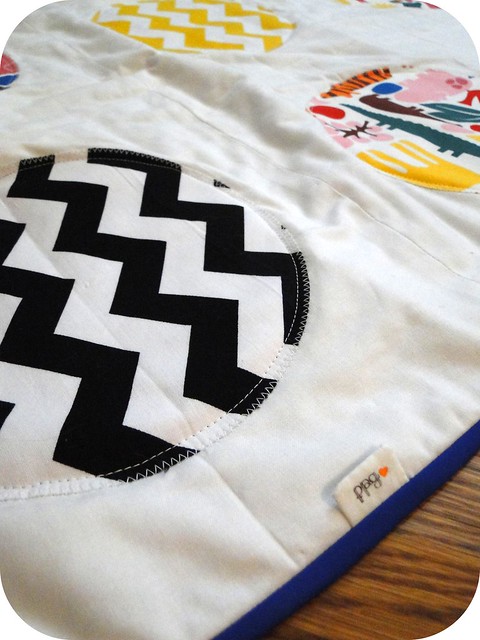
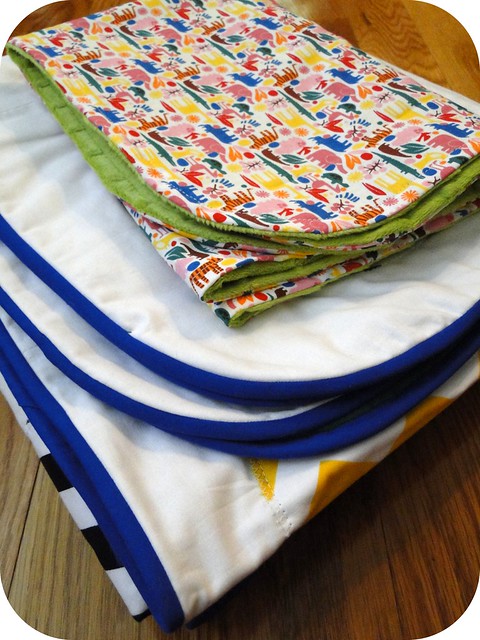
And finally, I made what may be my favorite baby quilt to date for our friends Brad and Sarah.  I tried my hand at a circle quilt using this tutorial, and I love it.  I used Michael Miller's Summer Soiree cheveron fabric in both yellow and black and Michael's Miller's 2-D Zoo fabric.  Check it out!

Vander Wielen Quilt (2)Vander Wielen Quilt (3)Vander Wielen Quilt (4)Vander Wielen Quilt (7)

And I made a cute little minky blanket with some matching, but much smaller scale 2-D Zoo fabric.
Vander Wielen Quilt (9)

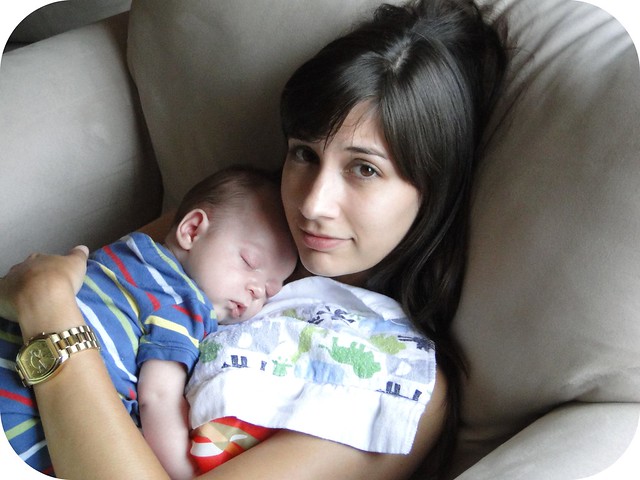
While at home in Tennessee, I also got to enjoy some time with my best friend Sarah's new little guy Brooks.  You should fully soak up this pic, because a scene like this is unlikely to be witnessed again for quite some time.  Suffice it to say that this is one life step that I am not remotely ready for, but I did enjoy my brief time with Brooks.

Mandy and Brooks - 07.20.11

That is all for now. 
Mandy P
find me elsewhere
Fabric Paper Glue on Twitter Fabric Paper Glue on Instagram Fabric Paper Glue on Pinterest Fabric Paper Glue RSS Feed Fabric Paper Glue on Flickr Fabric Paper Glue via Email Fabric Paper Glue on Facebook Fabric Paper Glue on Etsy

5.01.2011

Too Many Gallery Walls?

Never!

I flag a lot of ideas for my home (both current and future)--a lot of ideas that I don't find the time, money, space, or wherewithall to actually execute, but when I saw this one from Martha Stewart, I was ready to move forward:


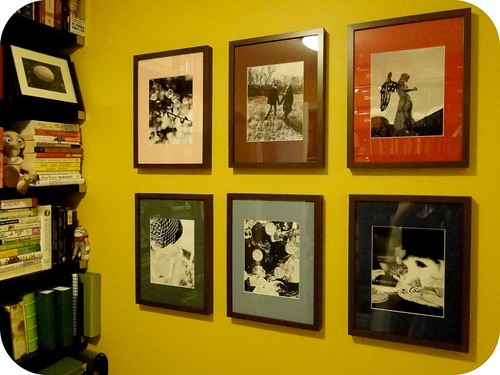
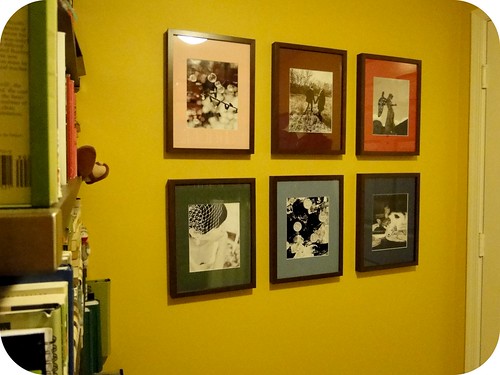
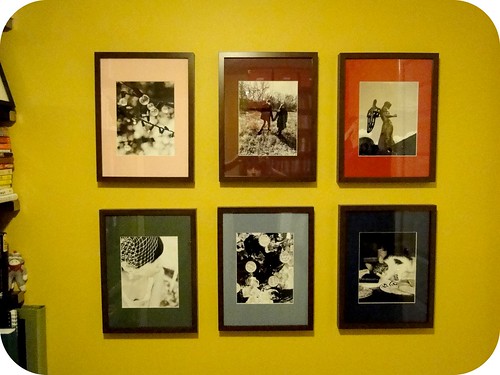
There really wasn't much creativity to this project.  I picked up six frames from Ikea and ordered the very same set of mats used in the Martha Stewart photo (available here).  I relentlessly searched around to see if I could get a set a little cheaper, but this set really is the cheapest so if you're going to do this, save your time. 

Then, I picked out some photos.  I tried to pick out some arty ones.  Of the six photos, four are wedding-related, but what can I say, they are by far the best quality photos that I have on hand and obviously encompass some pretty awesome memories.  I converted them to black and white, and just printed them off here at home. 

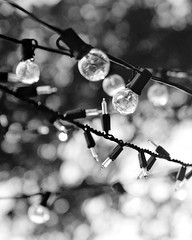
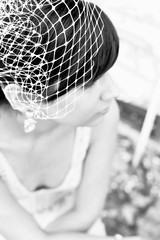
Photo for the FoyerPhoto for the FoyerPhoto for the FoyerPhoto for the FoyerPhoto for the FoyerPhoto for the Foyer
Photo Credits: personal photo, personal photo, all others by betsy limbaugh photography

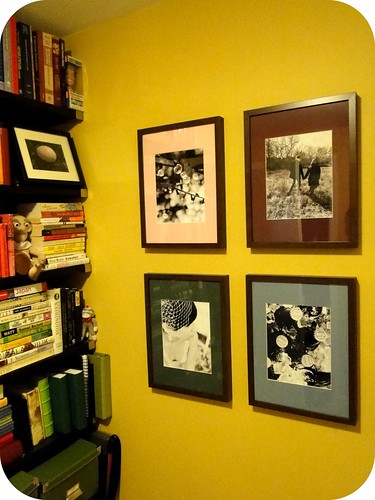
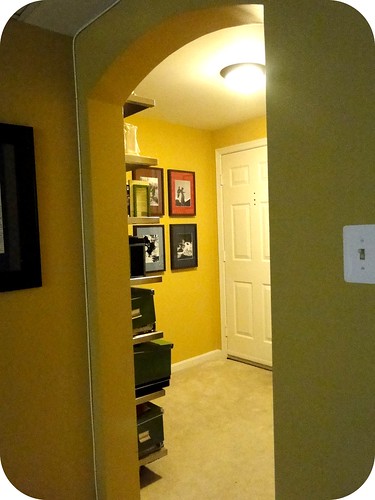
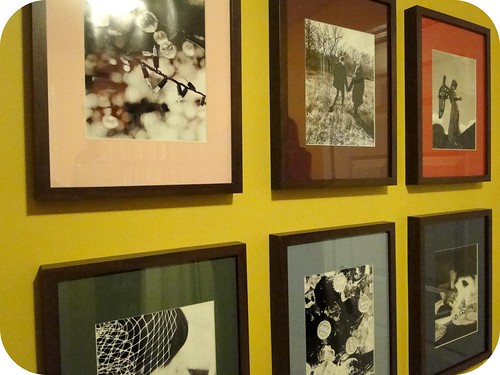
Finally, I put it all together and hung it in our foyer.  I don't have a picture of what was going on in there before, but I had a wooden sunburst mirror on the wall.  Here is the poorly lighted, poorly photographed, full-of-glare after:

DSC01536DSC01537DSC01538DSC01542DSC01544DSC01545

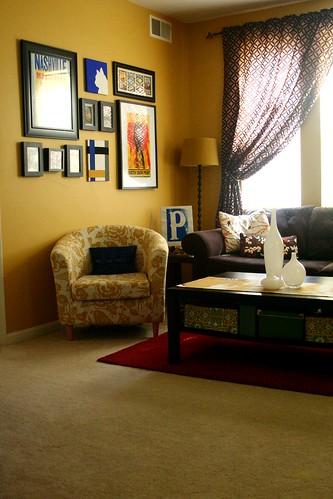
This brings the gallery wall tally to three...
Living Room Gallery Wall

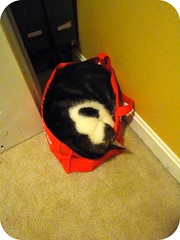
In other news, despite Pete's adorable new bed, he still prefers the most ridiculous sleeping spots.  For the past five days, when we've not been able to find Pete he's often curled up in this grocery bag...

DSC01518DSC01519DSC01529


Signature
-----
Pin It button on image hover